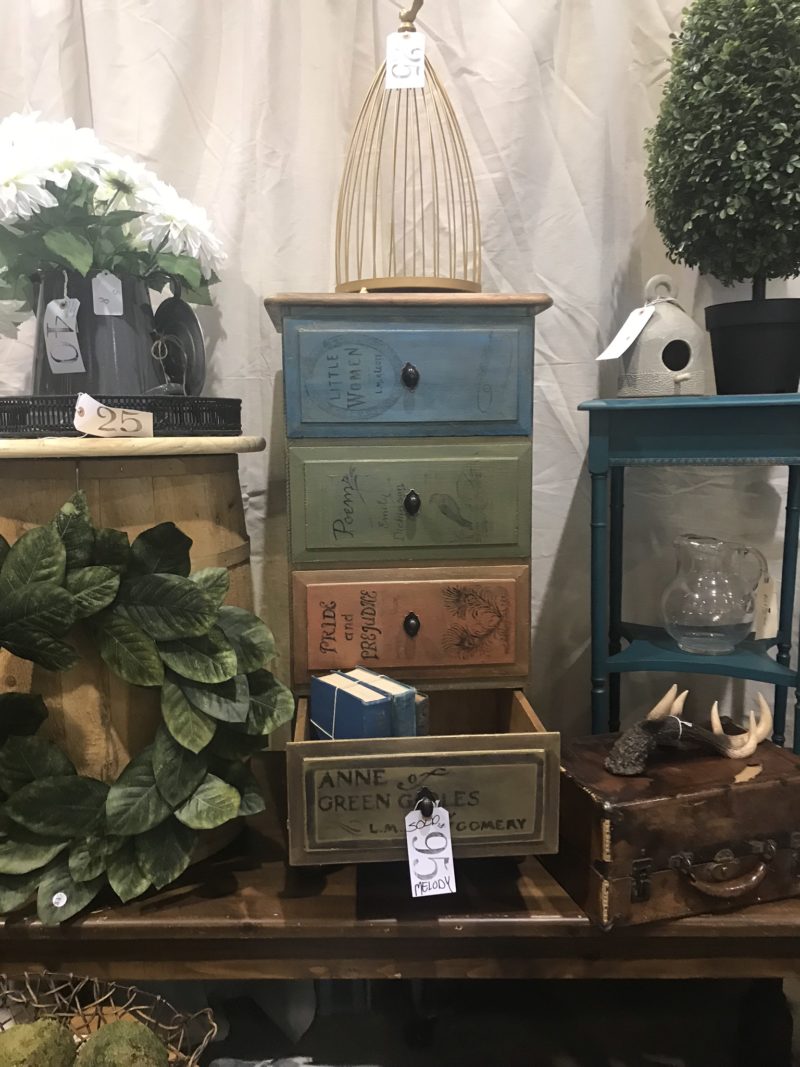
I have been wanting to paint vintage books on dresser drawers – with faux stacked books – since I saw my first faux stacked suitcase dresser on Pinterest. I love those dressers and will still do one of them when the right piece comes along. But first this little side dresser came to

I adore vintage books, like seriously adore them. They have these beautiful histories, have been read and passed down for years from person to person. They have beautiful aged covers and intricate designs. The printing is gorgeous, and there is just so much to love about them. And can we talk about women authors for a
Ok, first steps first. Clean this funky old beast! I scrubbed her down and tightened up the drawers and feet.

Mineral Paint
I just covered the front and sides with mineral paint which required no sanding. I exclusively use the eco-friendly mineral and acrylic paints on my furniture upcycling. Because I have used many, many brands over the years and have a nice stash of tidbits I decided to use them up on this project. On this piece, I used Annie Sloan, Miss Mustard Seed, Fusion Paint, and DIY paint. You can see the DIY below, it’s one of my new favorites, in the pic below.

Creating the “book” pages
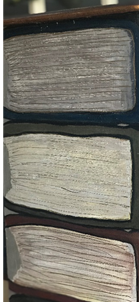
I painted the sides first. Creating the book pages was fun. The first try – meh – but after I got the hang of it, it was easy, fast, and pretty fun. I laid the paint on in different tones and put it on pretty thick.
I actually used the metal comb I use to clean my paint brushes to scrape the paint to get the individual book page look. Then I kept roughing it up and painting and adding texture until I liked it.
My final touch was using a fine point paint pen to highlight some lines and sections. I think it’s pretty good actually for my first time!

Creating the “book” spines with image transfers
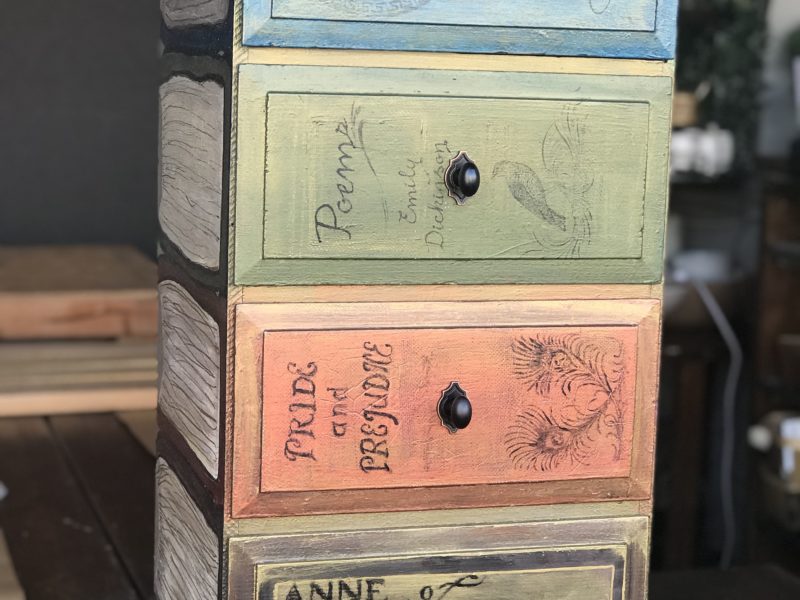
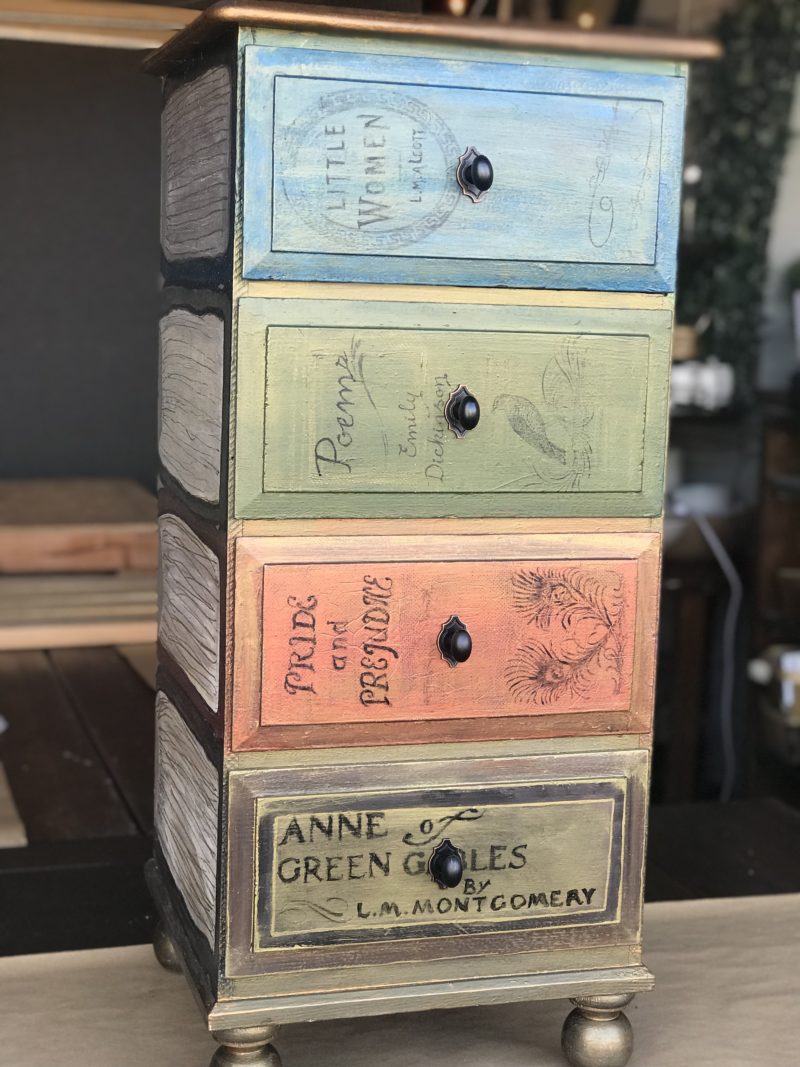
Once the sides had a good base, I moved on to the drawers. I mixed and blended colors for each drawer front “book spine” and experimented (a LOT) to get the look I wanted. For inspiration, i went to my vintage book stash and used them to copy the book spines and colors. (My vintage book collection is a little bit of a problem…I can’t stop collecting them!)
I painted and repainted these faux vintage books spines a few times. It took some trial and error!
The first 2 were fails – or at least


The hand-painting method was crap-o-la! Instead, I decided to try a mix of image transfers and hand painting…and that was the ticket! I covered these bad boys and then started fresh.
I used my Epson printer and found images of the actual vintage spines to these amazing women writers. (Read all about how to find great images here). If you use the paper from mailing labels the ink just kind of sits on top of it and transfers nice and vintage-like to your surface. I reversed the image when I printed so when I laid it down it would read correctly. Carefully, oh so carefully I laid the images down and burnished them – you can’t slip or the ink will slide about! The images are far from perfect when transferred and need to be touched up but they give you a great place to start. I forgot pics of this step (sorry, next time!) You can read all about how to do this transfer method here.
Next up I hand painted all the touch up work – lines and letters here and there. Here they are before the top coat went on.

Tip: To get a worn vibe on the drawer fronts I waited until the paint was a little tacky, not too wet, then I used a piece of burlap and pressed it on randomly. It left a really cool imprint and removed just little bits of the paint. Here’s a pic up close.

The top of the dresser stripped to the Doug Fir
The dresser top was painted white originally. But I hated how boring it looked (sorry no pic). So I stripped it off to find a gorgeous Doug Fir wood grain on the top. However, I am an incredibly impatient crafter and I foolishly didn’t remove all the paint at first and it was uneven. So I thought I’d try a diluted milk paint stain. And it kind of matched the vibe I was going for when it was hemp-oiled. But once it was dry it was kind of sad and dirty looking (pic on the right).


I was unhappy and got some frowny faces from a few bystanders. So my pal and shop landlord, Reed LaPlant, helped me take it all off again to expose the natural Doug Fir and all its goodness. He also gave me an incredible lesson on wood, grain, quarter sawn wood, sanding, scraping, electricity and more (he’s very informative, and that’s another story!). He used his sharpened paint scraper (got a lesson on that too) and his fancy 2-speed orbital sander (beats my single speed Ryobi in a duel) and sanded it smooth as butter.

Then I simply HEMP OILED that beauty. The picture on the left is right after applying the oil, you can see it is shiny and lighter. The pic on the right has soaked in a few days and is a very matte finish.


Top Coated
I used a topcoat on all the painted portions of the dresser. Now, normally I don’t topcoat painted furniture. I usually just use hemp oil or wax. But I didn’t want this one to scratch off since it was labor-intensive! I did do the top, it received 3 coats of hemp oil.
Drawers Lined and Pulls Picked
As a finishing touch, I lined the drawers with some cool scrapbook paper I had that just happened to have images of book pages from Little Women! Perfect!
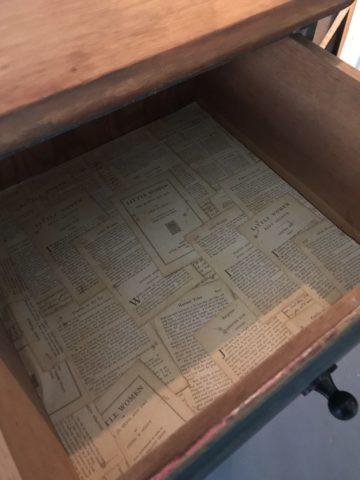
The final touch was the knobs. I took off the old wood ones and stashed them for another day. I found these and just turned them vertically for a look that reminded me of a book plate.

And that’s all she wrote folks. This beauty is done! I am in love with her and kind of want to keep her but I don’t have room to keep all my treasures, sniff sniff. At my Spring show it was the first thing I sold.
Since she didn’t come back to pick it up until the end of the day a lot of people got to oogle and aaaah over it!




 The Top 5 Ways I Score Great Free Stuff

[…] I decided to use my new favorite technique, the vintage book look, read about it here. […]