Learn how to quickly make your own face masks to protect yourself and your family.
This post may contain affiliate links, see my full policy here.
I wanted to make some protective face masks for myself when I go out to the grocery store and pharmacy. People who know me recognize that I am a germ-a-phobe and there is no way I was going out without all kinds of hazmat protection! Like, I seriously take it to the next level.
My husband thought I was loony to make my own masks to wear out in public. But then the hospitals started asking for them and I started giving them to friends and friends of friends who wanted them too! And soon it will be nationally recommended!
This pandemic is a wild time for all of us.
This is such an unimaginable time – some days I can’t keep from just breaking out in tears, others I’m glad to be surrounded by my family all day. It has been scary. My son was sick first, in February, then my husband got it in early March and I came next. By the time I got it, covid19 was a household name and I was fortunate to have a doctor who had me tested, thankfully it was negative, but we lived in fear and quarantine for a month. If it wasn’t covid-19 or the flu, then what the heck was that!?
You can see I understand intimately how hard this pandemic is to handle. How do I cope? My therapy time is crafting and making stuff so I’ve been doing that a lot! And I have some skills that people need now and it makes me feel good to give away masks!
So I set out to make my own face masks.
As per my usual, I did a bunch of research on face masks – there are already a trillion versions and they are all different! For the sewn version I used templates from the hospital requests since they know best, right? So I experimented with a few different versions and methods and settled on these to share with you here. The in-depth research on type of masks is on my other post, What Type of Mask Should I Make – and is intended for those of you who want to make a lot of them for donation, etc.
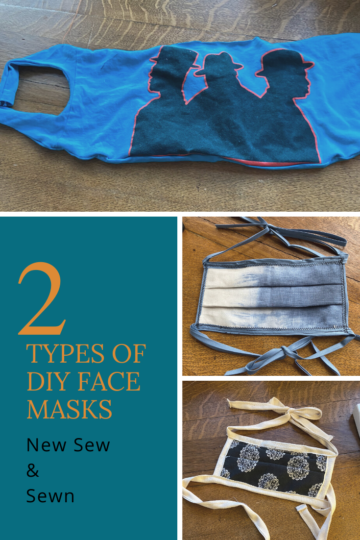
I’ll Show You Two Types of Face Masks
- TSHIRT One from a t-shirt that is no-sew but has optional sew-in features
- SEW IT And one fancy sew-it-all version with a pocket for a filter.
DISCLAIMER: I give no medical advice, I ain’t an expert. These are not hospital-grade N95 grade masks. These are just a little extra protection for you and to protect others from you! The experts say it isn’t perfect but it helps. Please continue to use ALL precautions.
Filter optional:
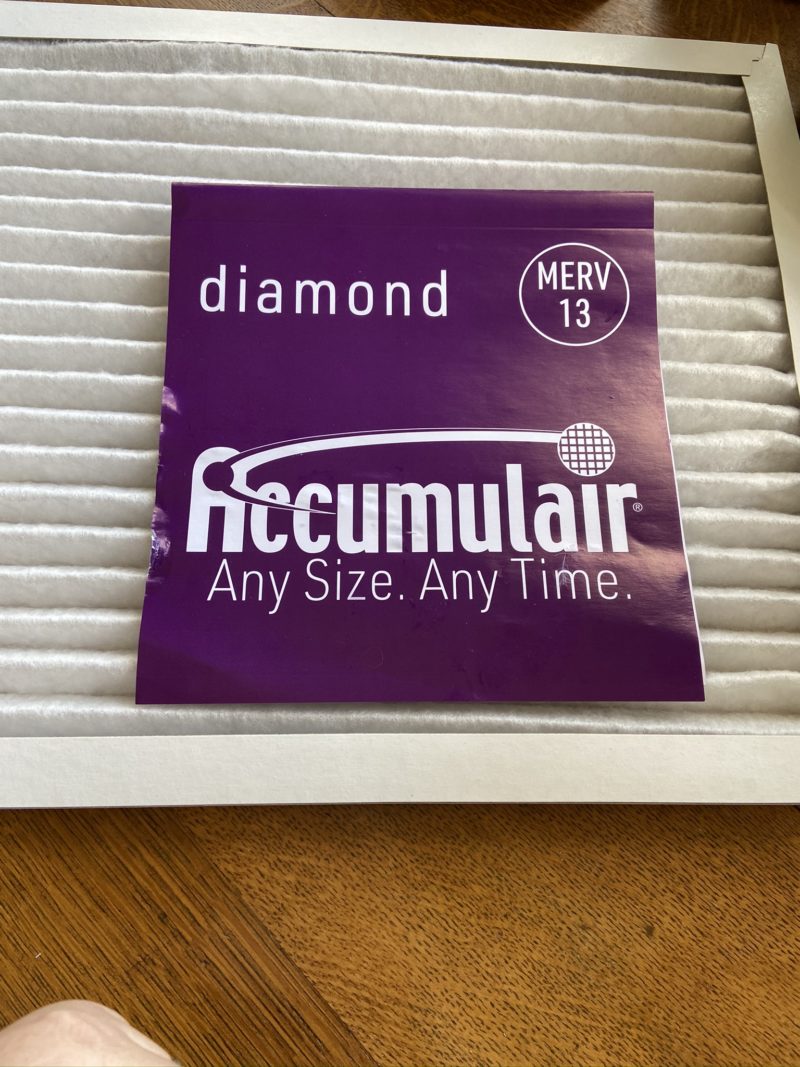
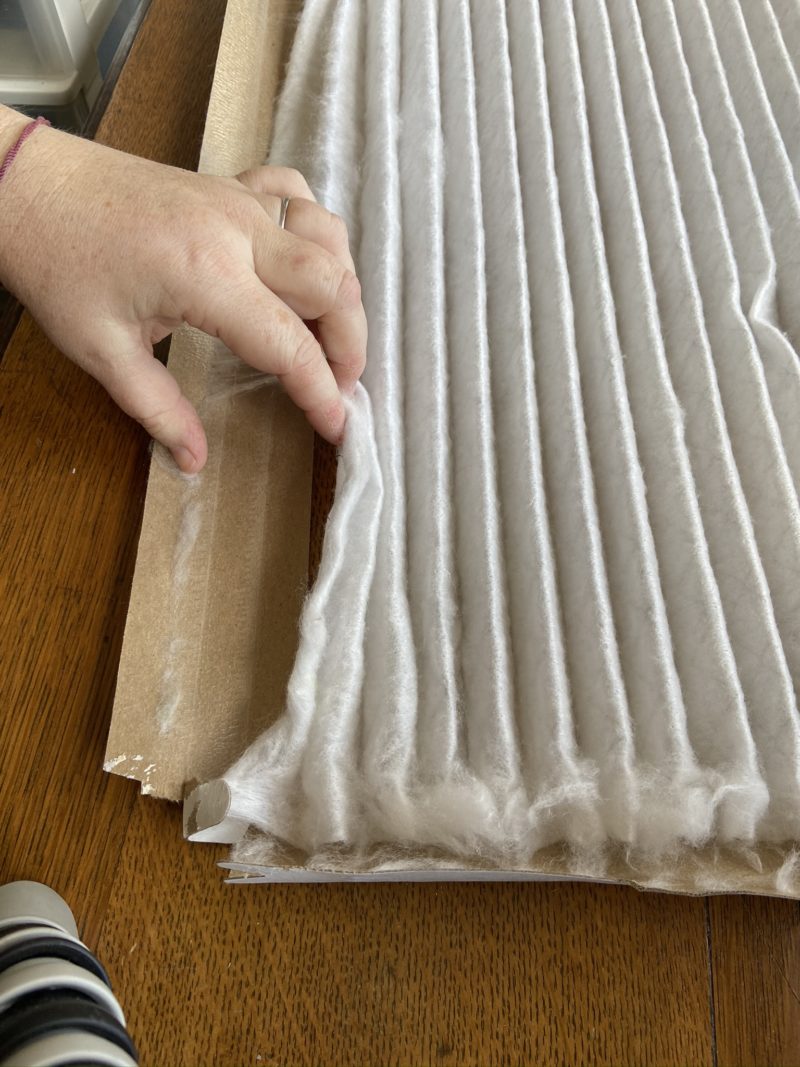
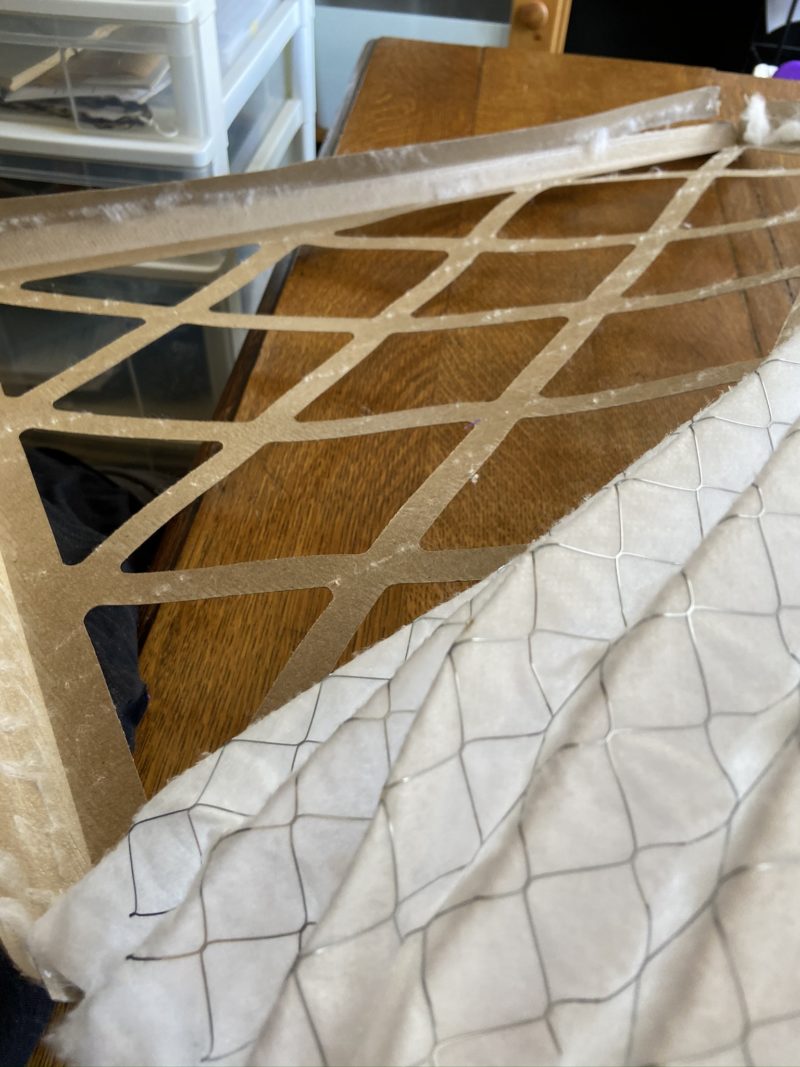
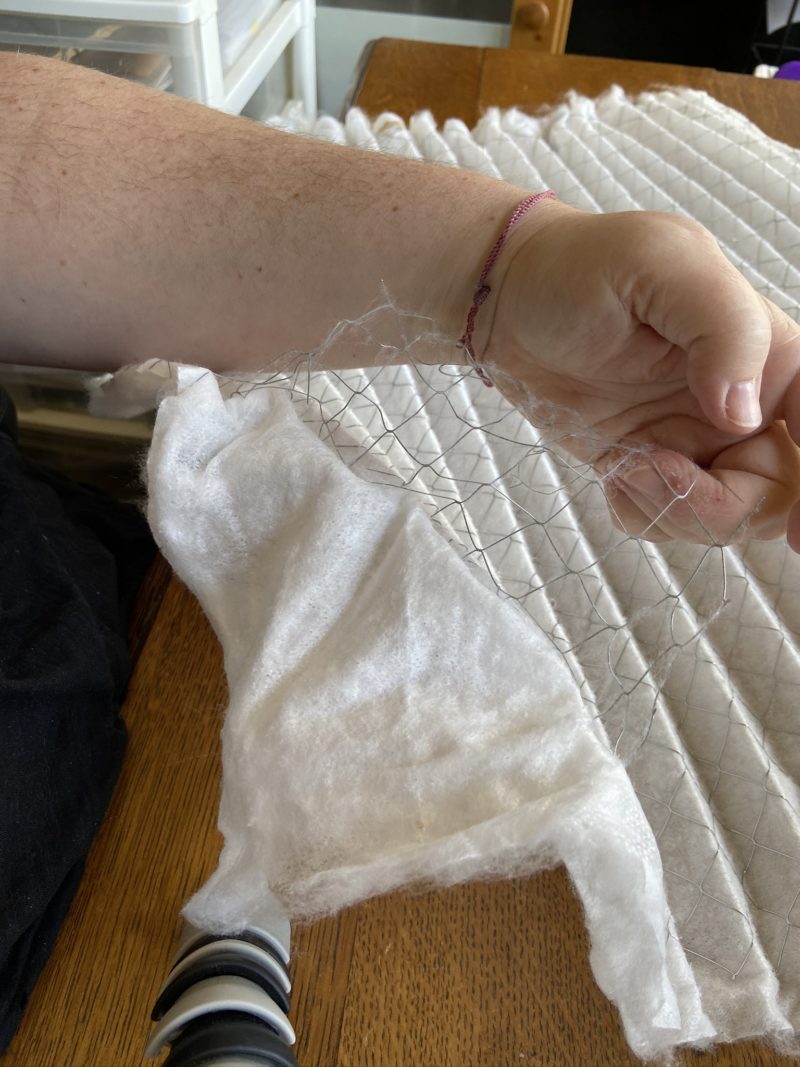
Based on my research at the time I did this, I HAD added an extra layer of protection by inserting a filter that is called Merv 13 (Minimum Efficiency Reporting Value) which removes very small particles including virus. The higher the MERV the smaller the particles blocked.
BUT recommendations are changing on this so please stay informed. I follow JenniferMaker.com and she a new post on filter options…go check it out!
.
No-Sew Version Made from a T-shirt
Quick and Easy – You can do this in 10 minutes or less!
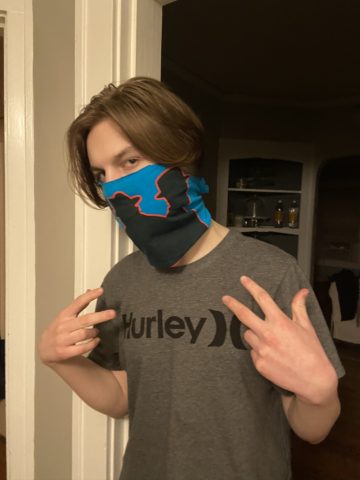
This is for all my peeps that don’t sew! This one I saw on Twitter but it was in Czech (wear they mandated mask-wearing early), so I intuited it by watching and tweaked it a bit. You can use any t-shirt, I used a tightly woven one that was my son’s youth size and it worked great.
This can be a fun one for the kids to help with!
They can use their favorite t-shirt they’ve outgrown. Make it a superhero one! The kids might as well have some fun during this time too!
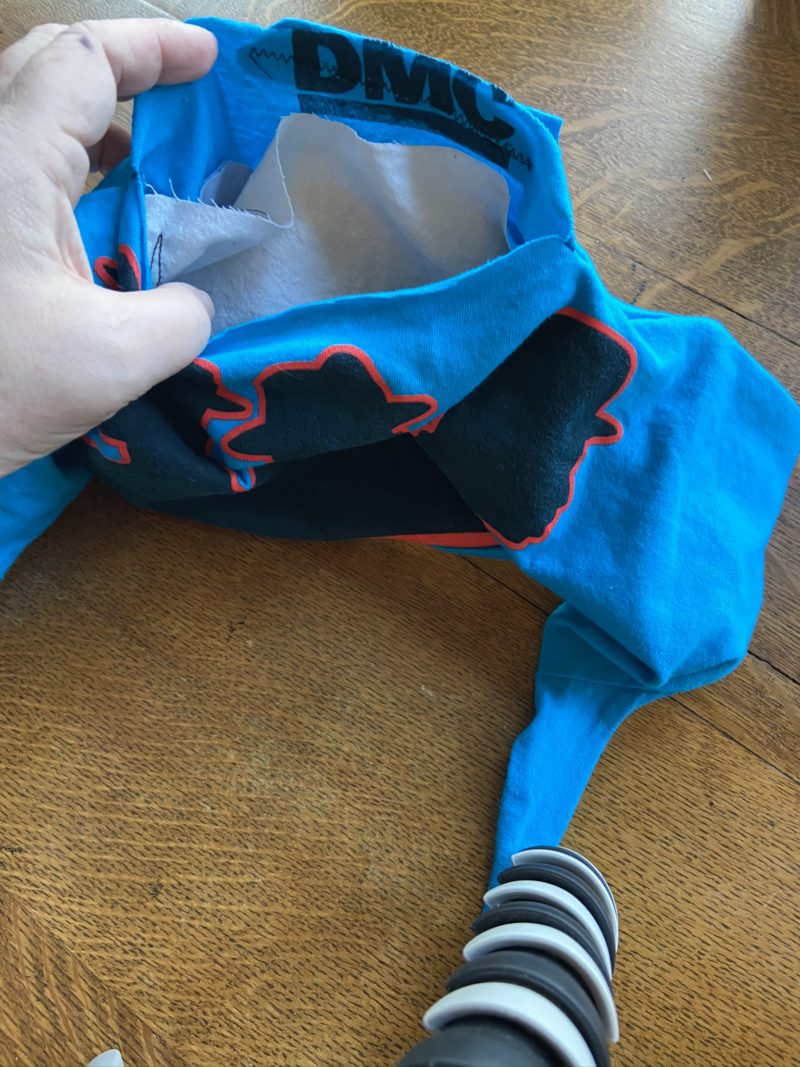
I also added some upgrade options if you want to get fancy. You can sew it together, or use hot glue and glue it! Did you know they make fabric hot glue just for this type of project?! You can add an extra pocket between the layers for a filter (see the note).
Supplies you’ll need to make the no-sew T-Shirt
- A t-shirt – choose a tight weave if possible
- Scissors
- Wire and tape, optional
- Filter, optional
- Sew or hot glue, optional
Instructions for the T-Shirt Face Mask
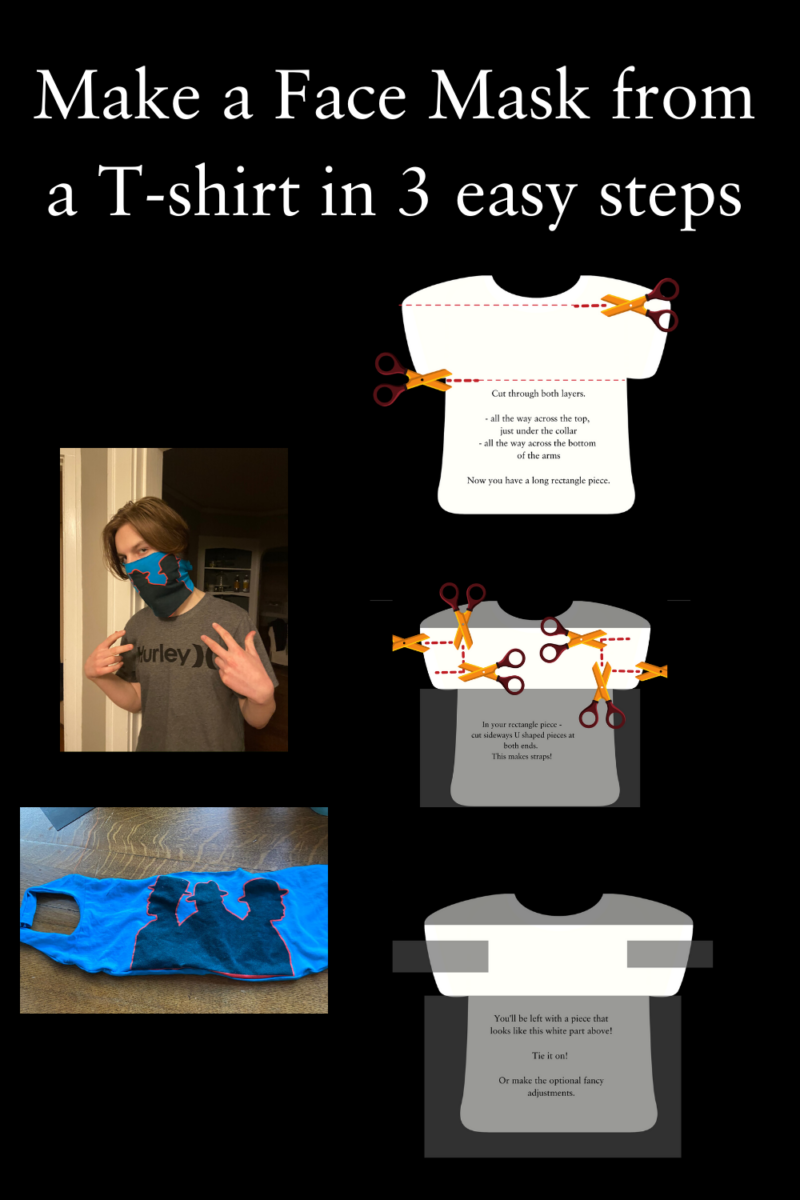
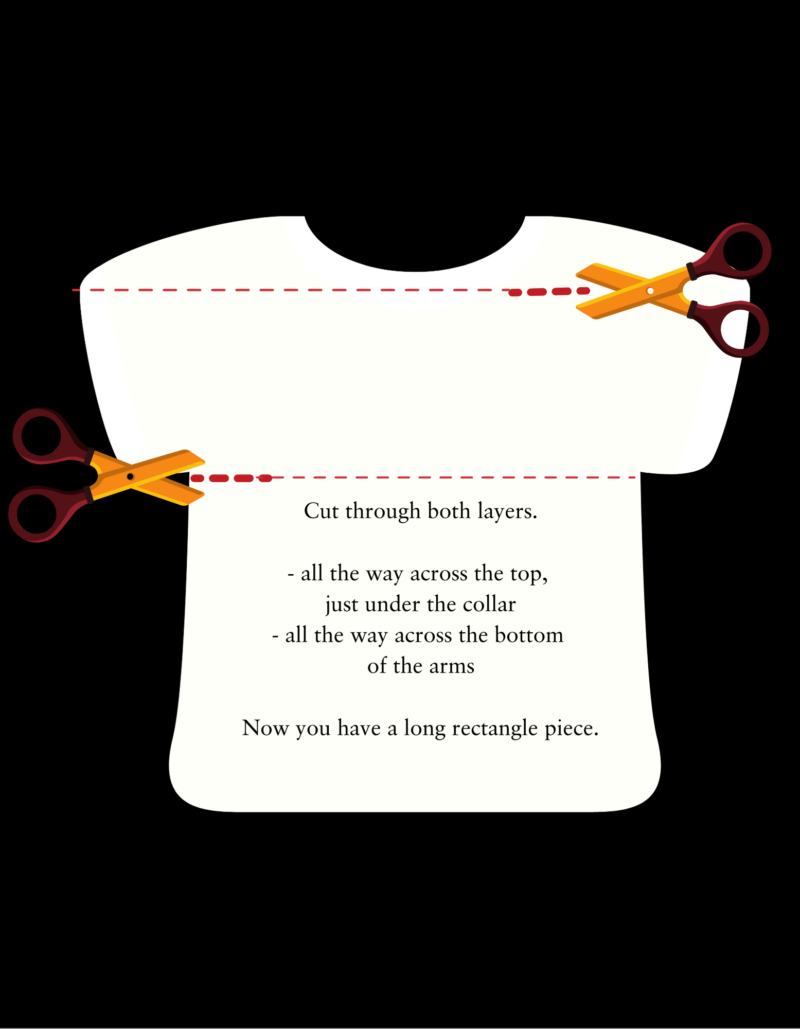
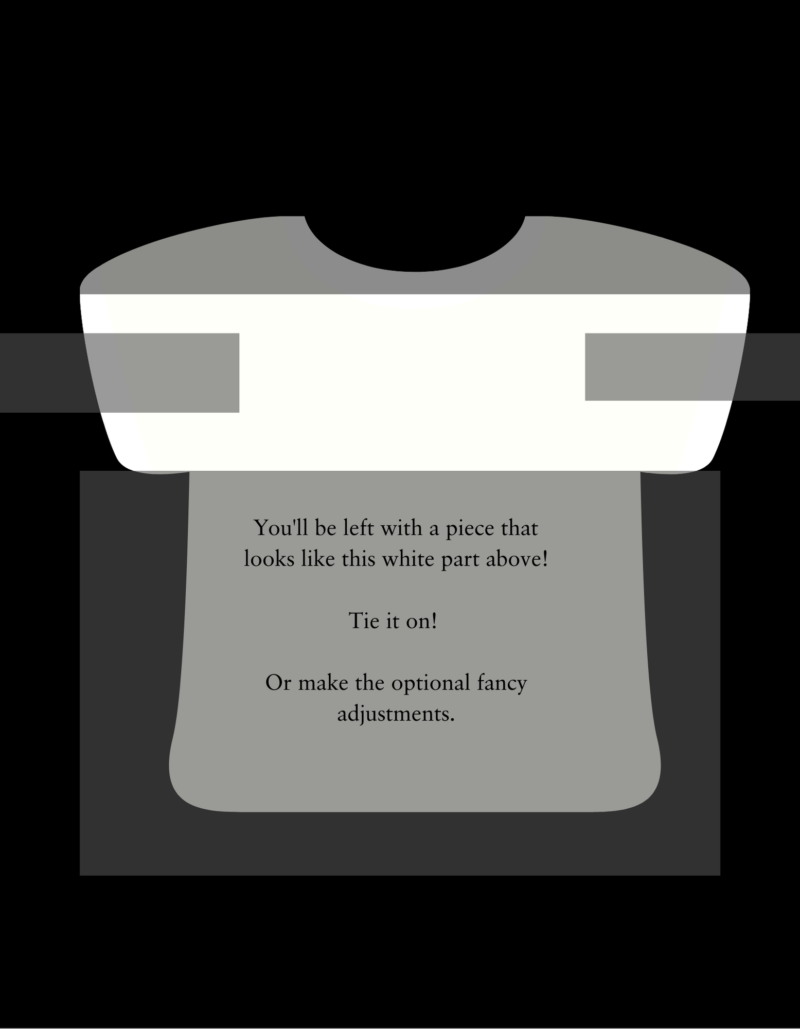
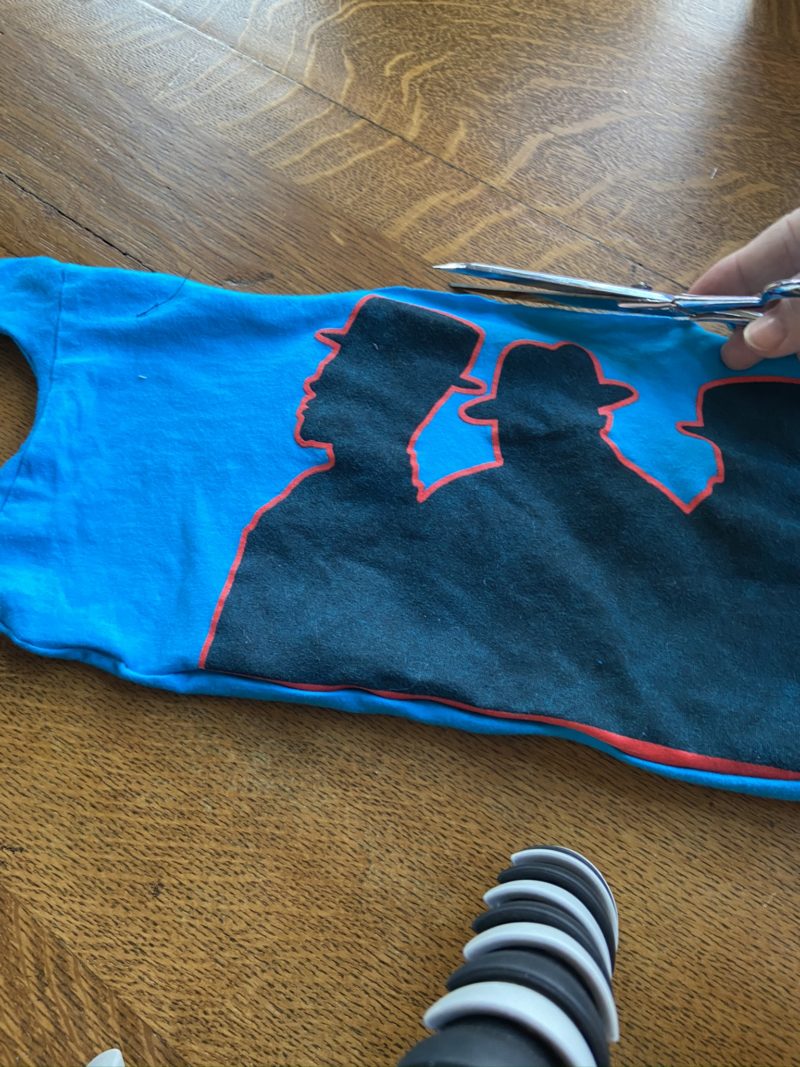
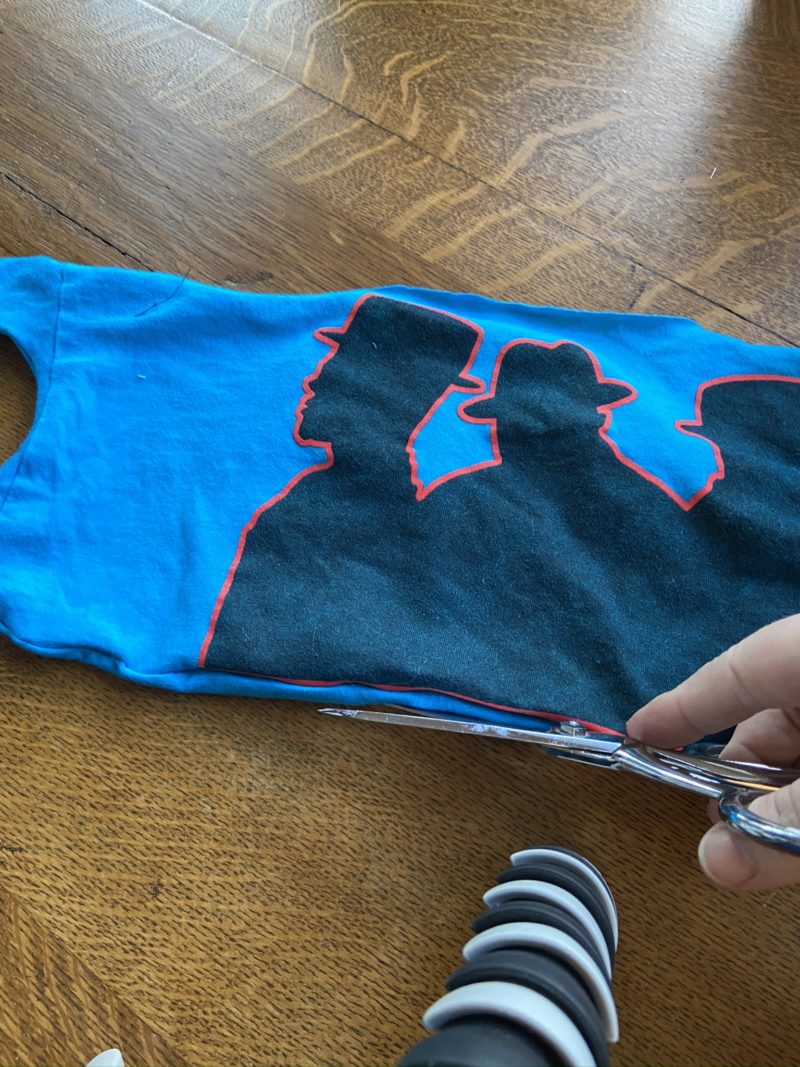
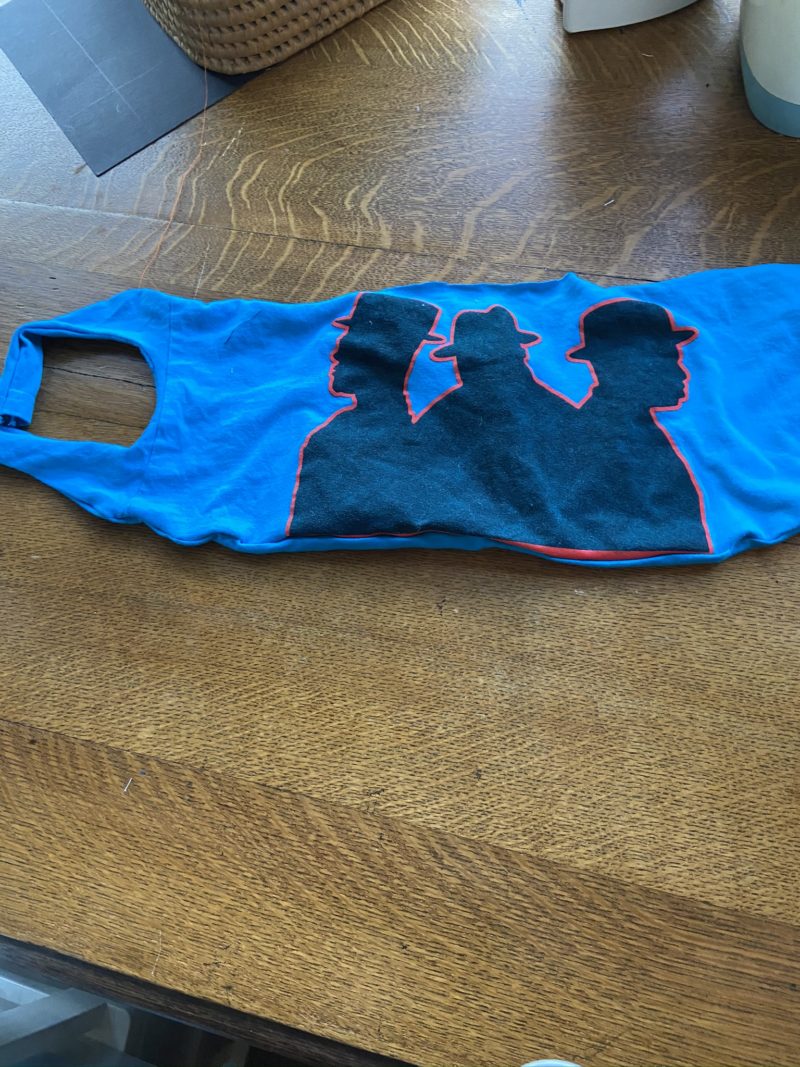
- Lay t-shirt flat with arms laid out to the sides. You will be cutting through both layers.
- Start by cutting straight across the length of the top of the arms. This will cut the collar portion off.
- Next, you’ll be cutting at the bottom of the arms – all the way across. You will now have a long narrow rectangle piece of t-shirt.
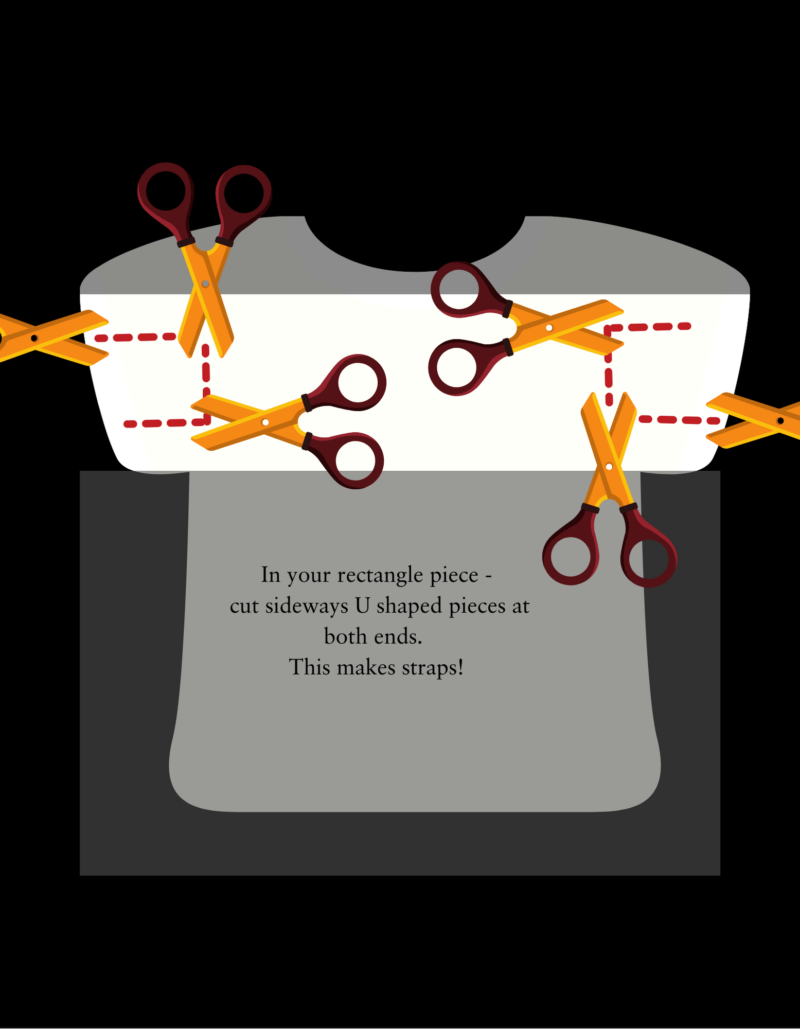
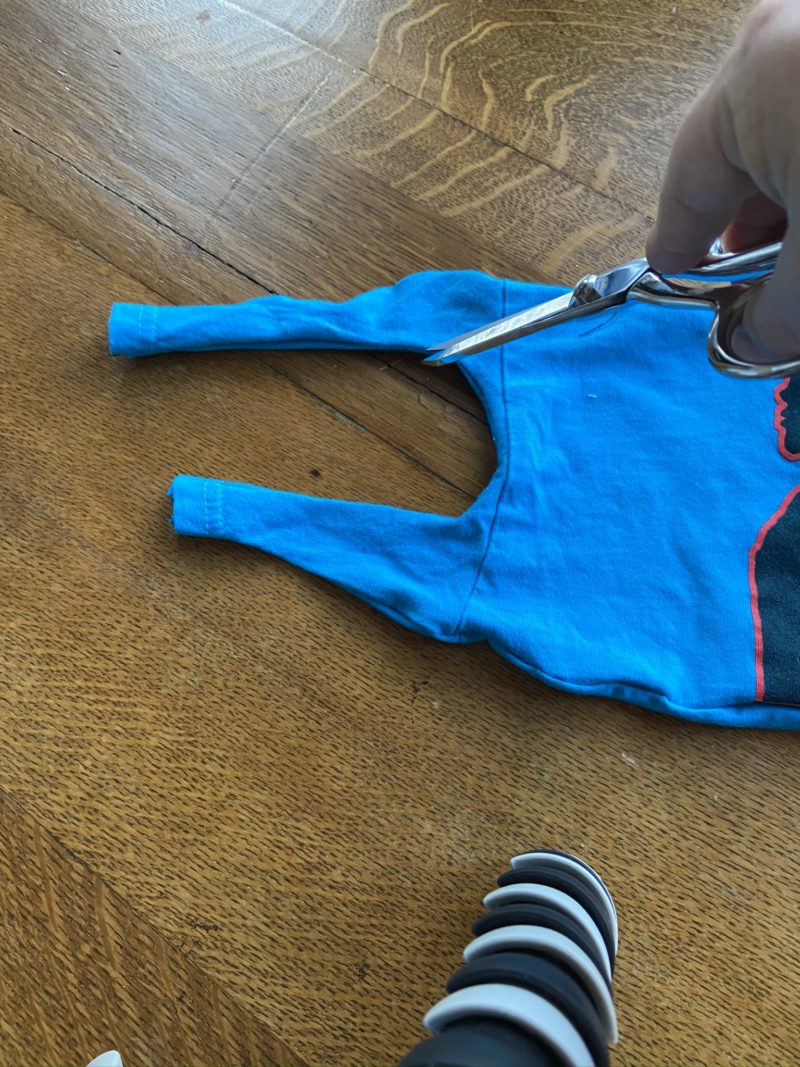
- Now you need to make some straps! Cut a sideways u-shape at the end of each arm, this separates the t-shirt arms into ties! You can knot the ends to keep it together.
Now you can be done here and just tie it on … or get fancy with some options:
- Option 1: You can add the optional wire for the nose piece. Take a 4″ piece of wire and tape it between the 2 layers where it lays across the nose. Just take it off when you wash it.
- Option 2: Two layers are good protection, but 3 is better. For another layer, just cut another piece off the t-shirt and put it in between the two layers.
- Option 4: Make a filter pocket. Use a piece of t-shirt remnant and sew or glue on a filter pocket inside on the back piece of t-shirt.
- Option 5: I put the right sides together and sewed around the edges of my t-shirt version to reinforce it, but it’s not necessary!
The Fancy But Easy Sew Version
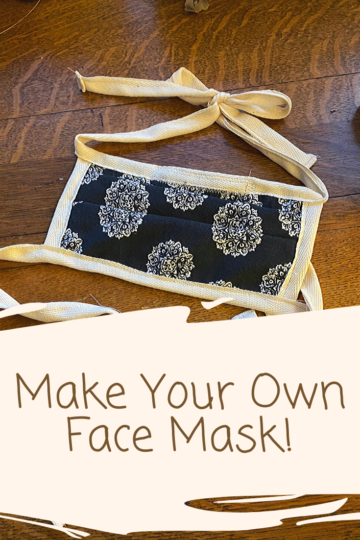
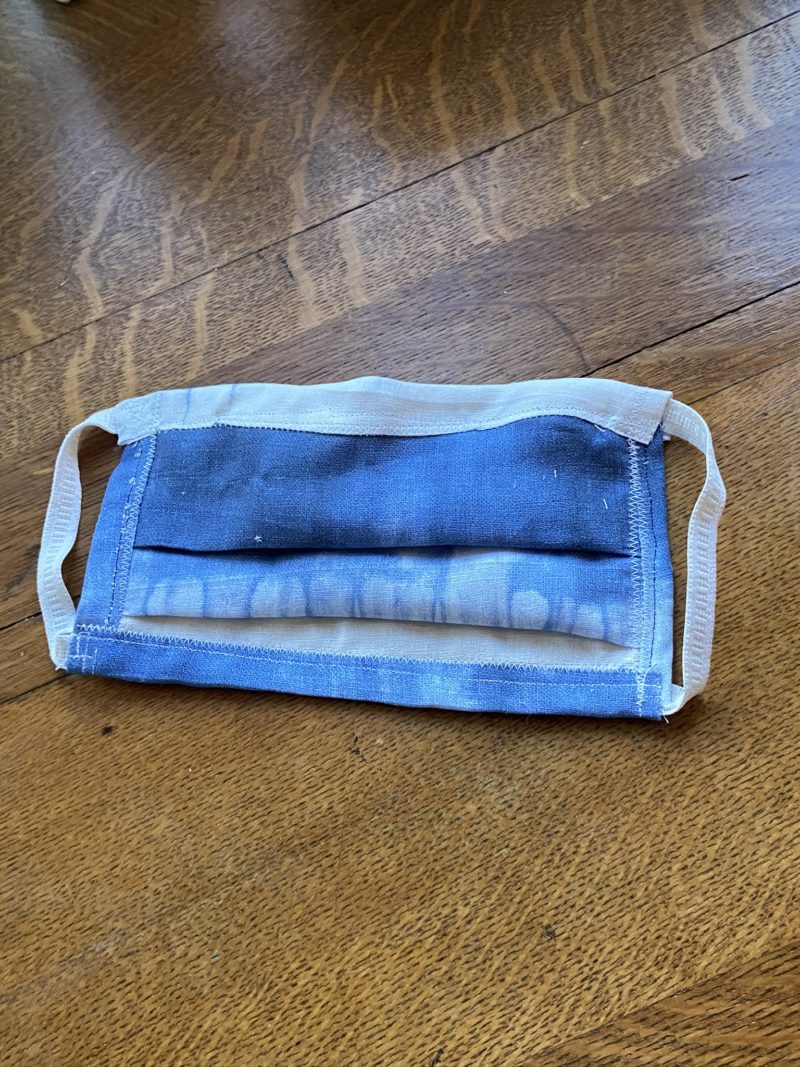
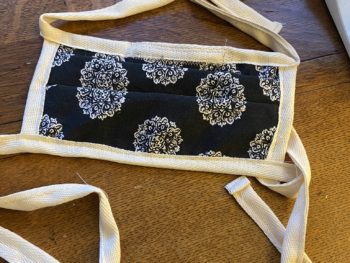
Now on to my personal favorite. I used the basic template for this Face Mask from one of the hospitals (balladhealth.org) and then added the extra filter pocket. I liked that it is just a big square, I didn’t need to print a pattern. This is a sturdy one, it can be washed over and over. I also like the pleating (makes it adjustable), the pocket for the filter, and the fit. It’s the one I wear out in public now, and the one I’ve been giving away!
Supplies Needed for the Sewn Face Mask
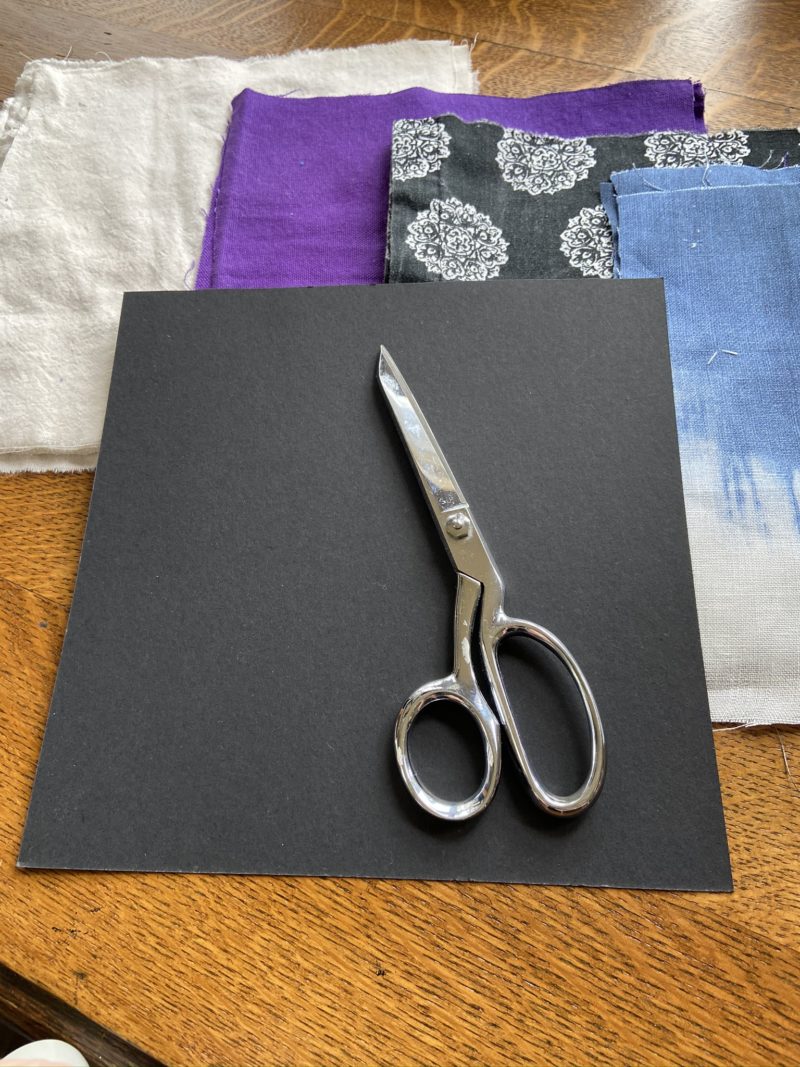
- 8″ squares of tight weave fabric. 3 layers for each mask. I have a giant fabric stash but you can be creative – an old curtain? bed sheet? or clothes you don’t wear? You get the idea – just make sure it is a tight weave and that it’s clean.
- 14″ piece of narrow elastic, cut in half making (2) 7″ loops (steal elastic from something in the giveaway pile, even hair ties work.
- About 30″ of binding, ribbon, or bias tape, more if making ties
- 6″ wire – a twist tie, floral wire, pipe cleaner for the nose piece
Ear loops vs. Ties
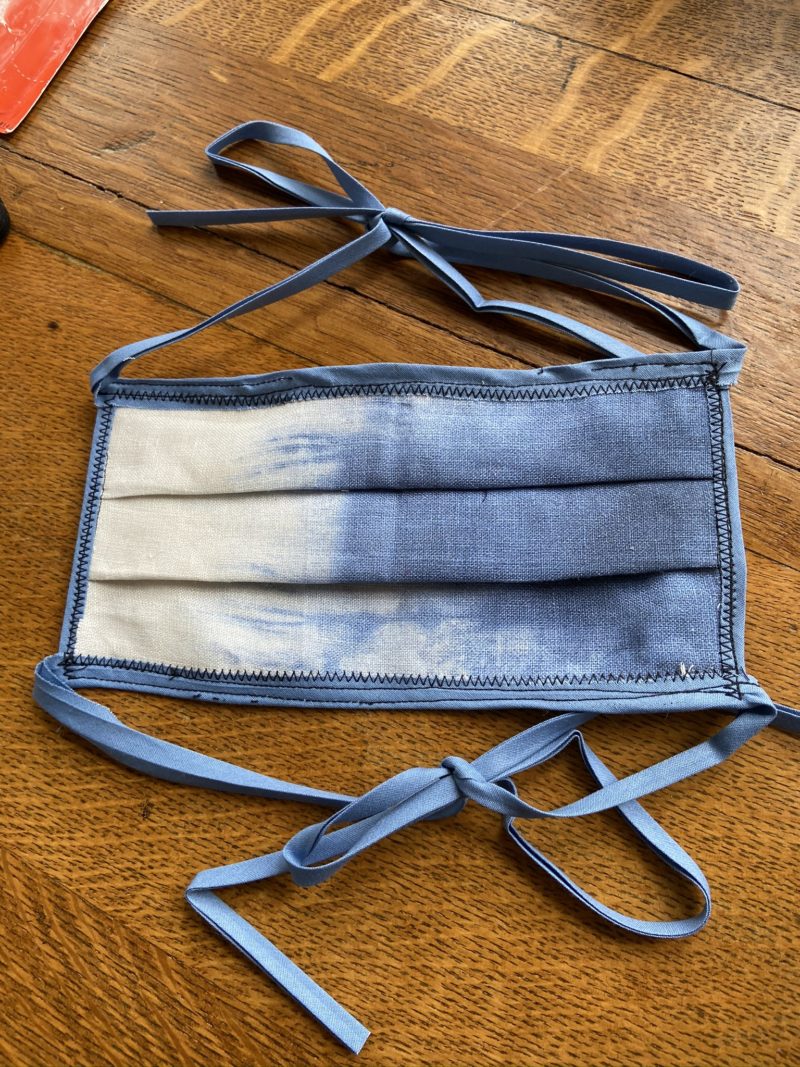
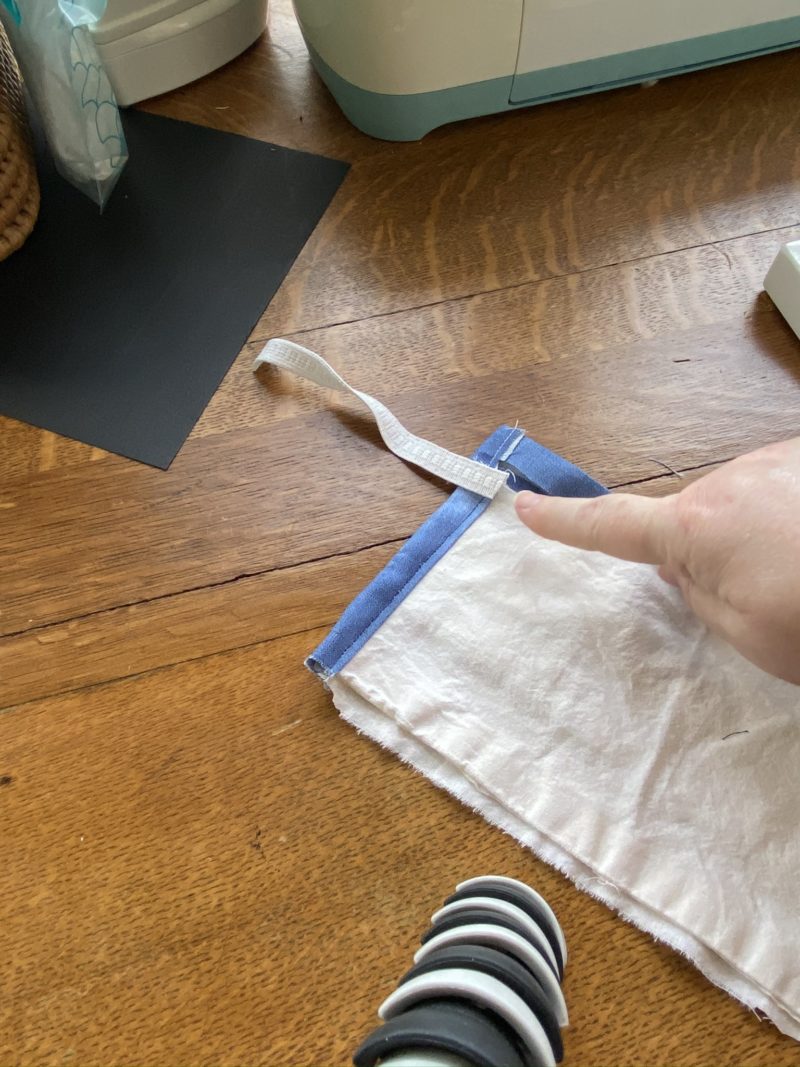
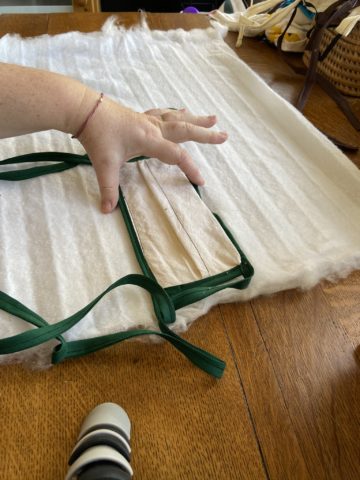
If you want to make it tie on instead of elastic ear loops there are two easy ways to do it. First, just leave the top and bottom binding extra long, adding about 20″ to each end. Or just take 2 18″ pieces of cloth or ribbon and tuck one into the binding on each end and sew it down.
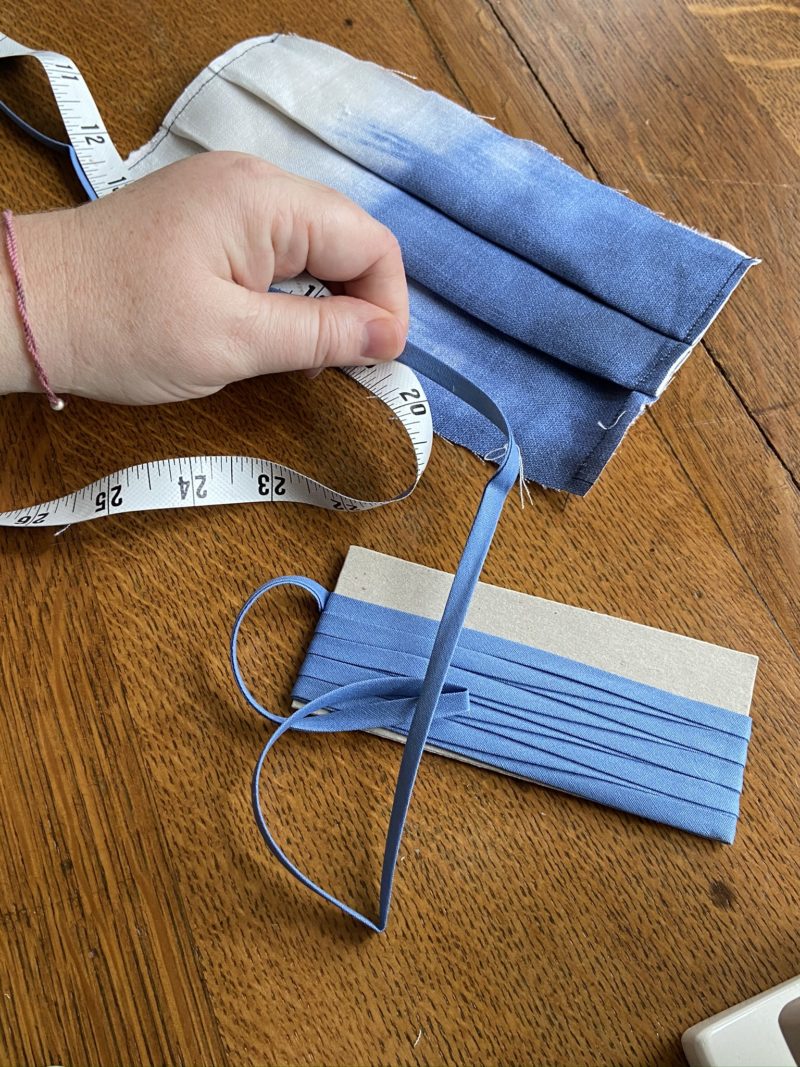
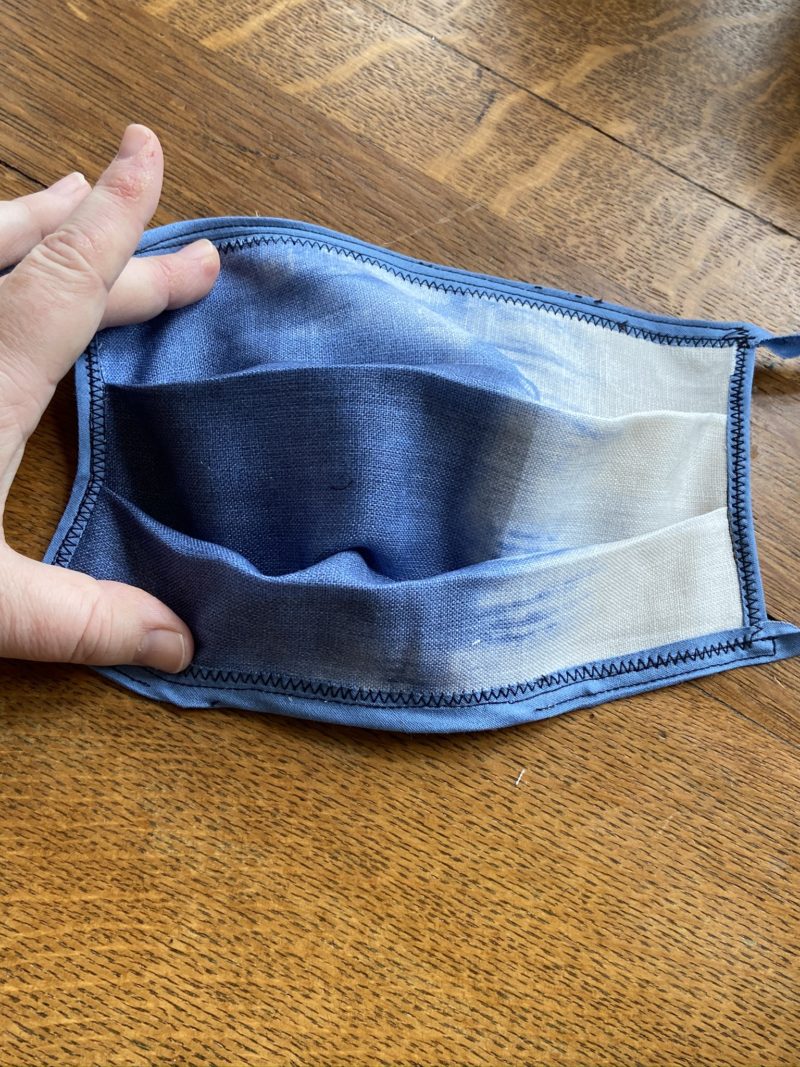
Ties may be better if you are donating them or plan to wash them a lot since they are adjustable and will hold up to high heat sanitizing unlike elastic which may wear out. The blue mask pictured here has binding ties.
Instructions for the sewn Face Mask
CUT FABRIC:
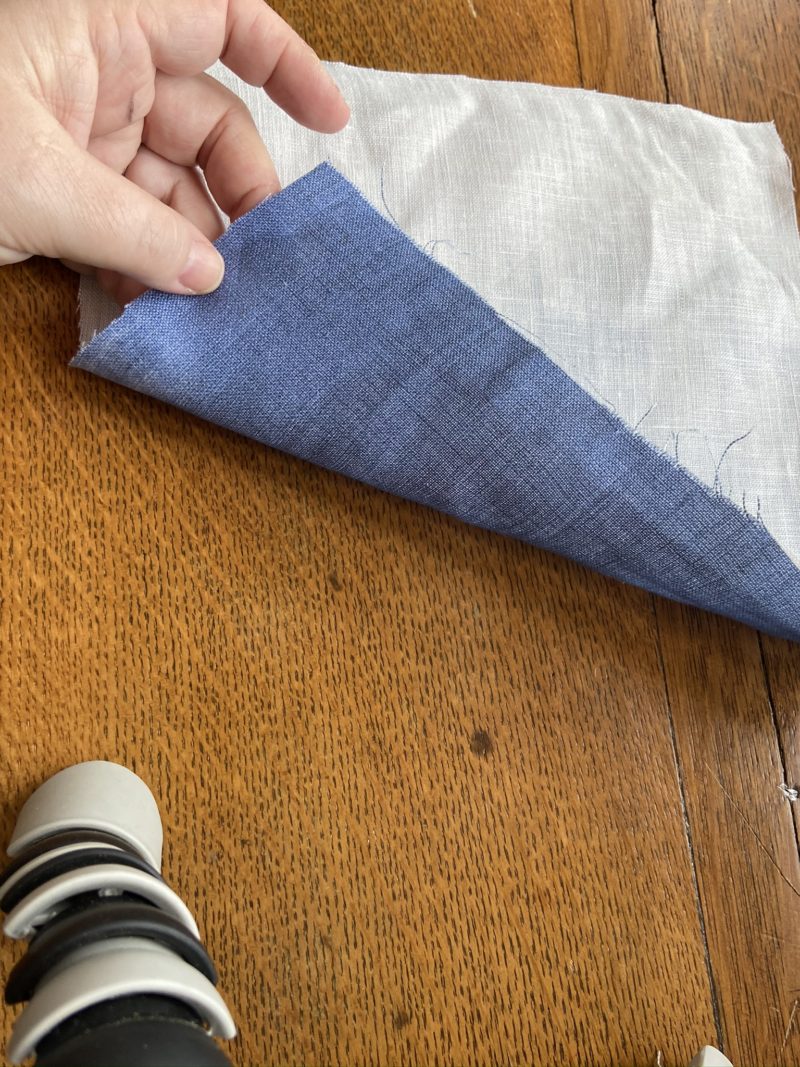
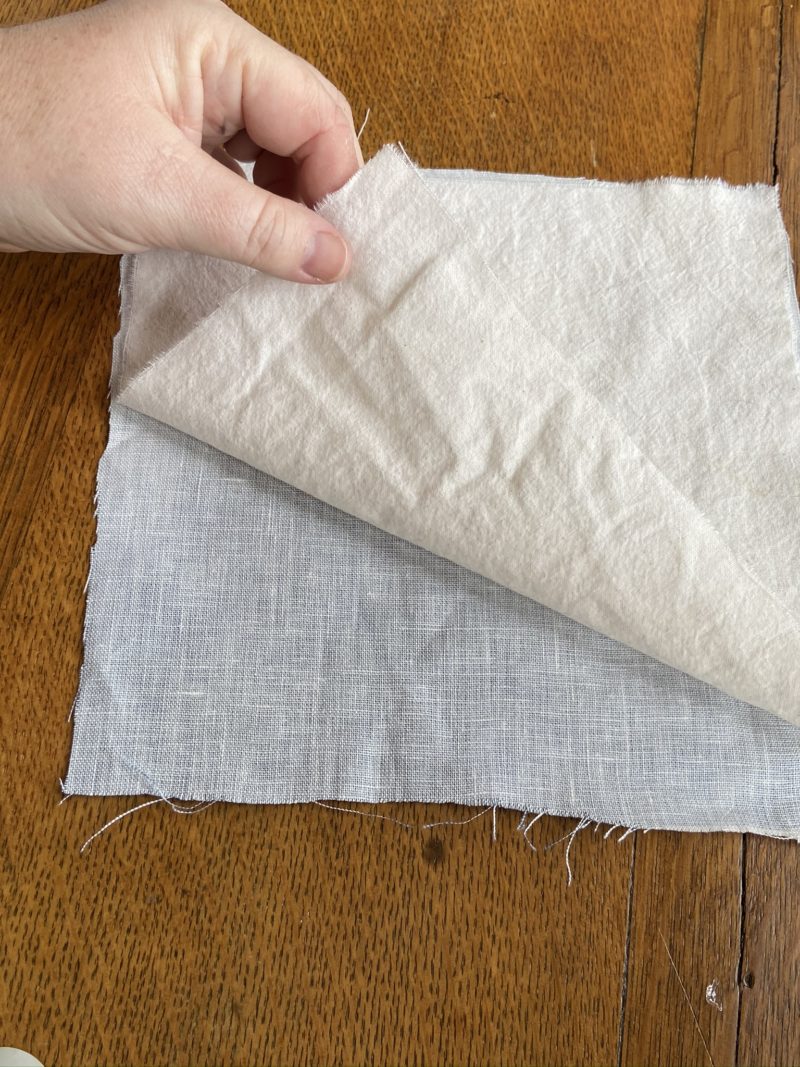
Cut three 8″ squares from your fabric. I made a template out of cardstock. I used a pretty one for the front and cotton muslin/remnants for the back. Lay the pretty side down, then the 2nd piece on top (save the 3rd piece for later).
PLEAT & SEW:
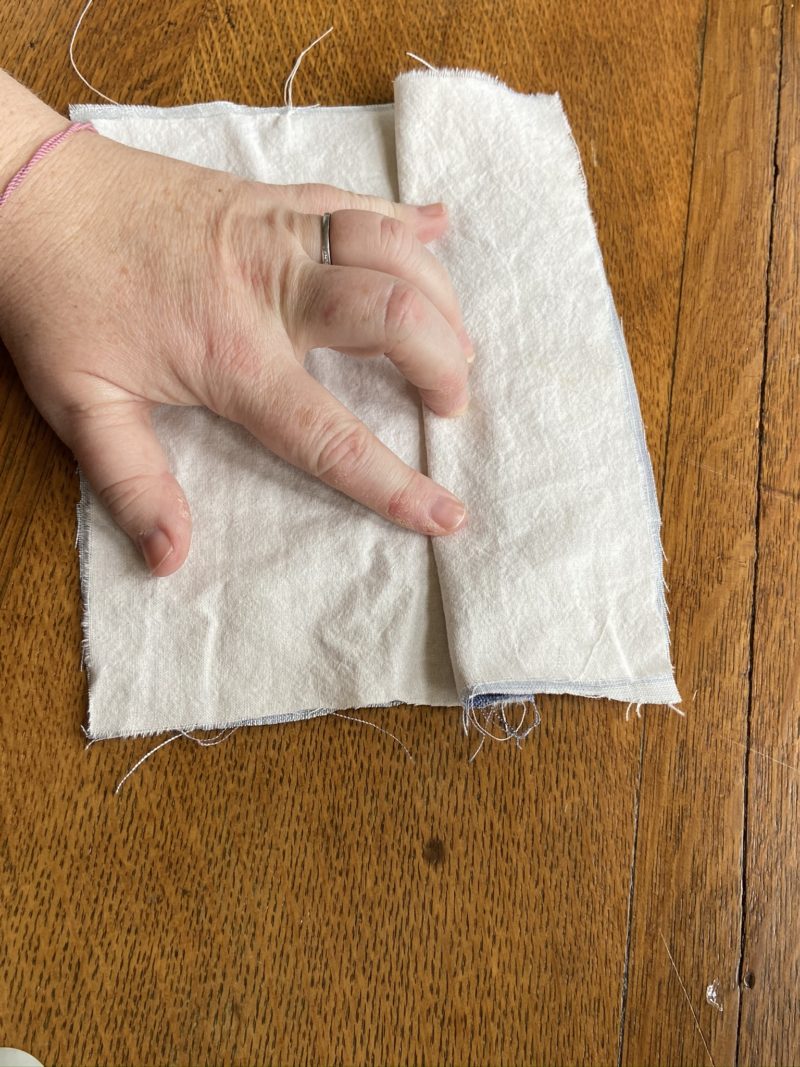
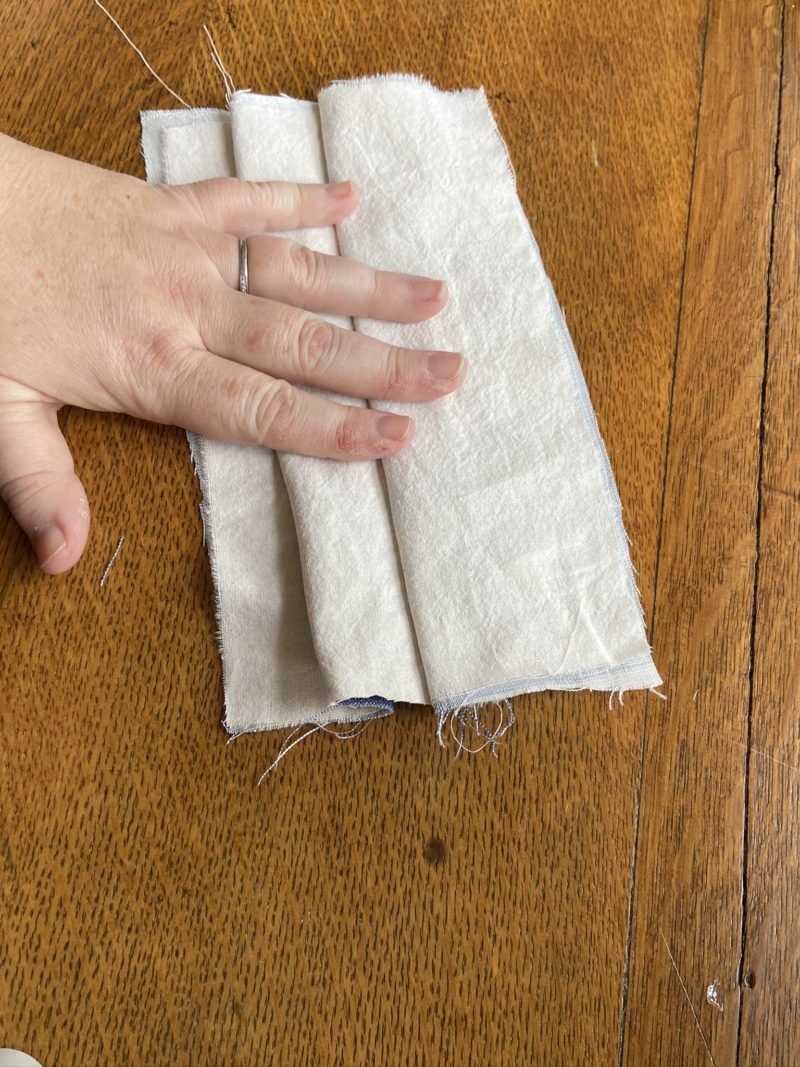
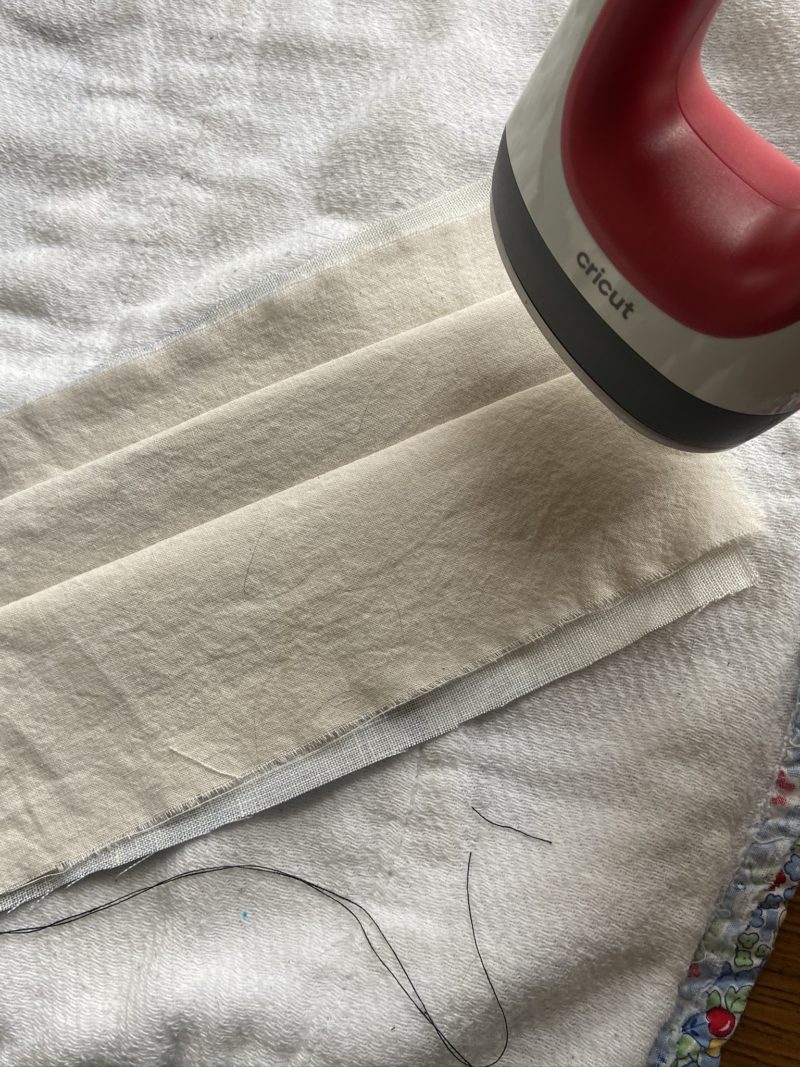
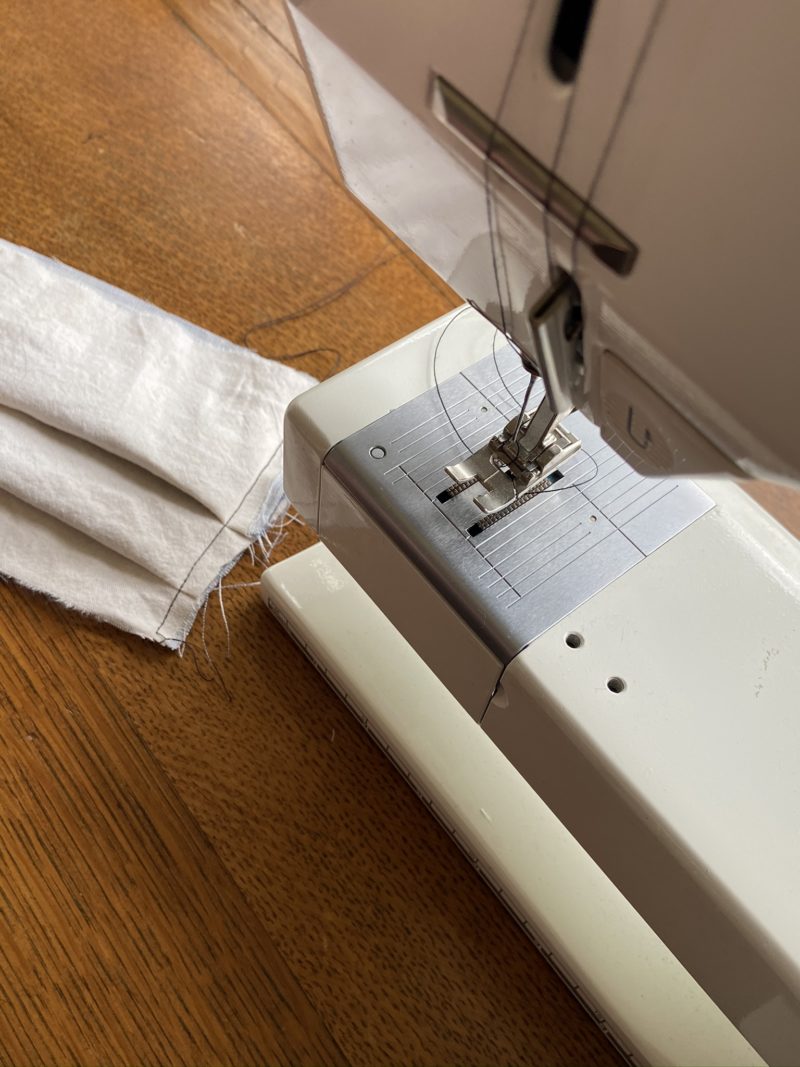
You’ll need to make 2 pleats. I didn’t measure I just eye-balled it. Pinch a section and fold it about 1/3 of the way and 2/3 of the way. You can pin it, or iron it, but I’m impatient so I just sewed quickly down both sides to tack it in place (you won’t see this seam later).
MAKE A FILTER POCKET:
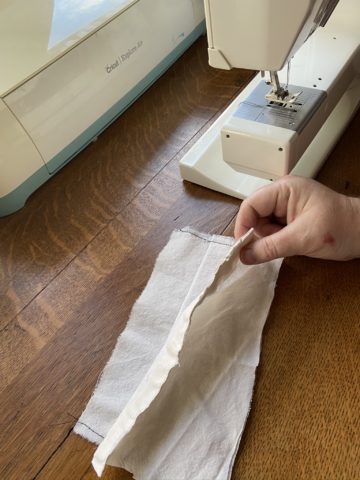
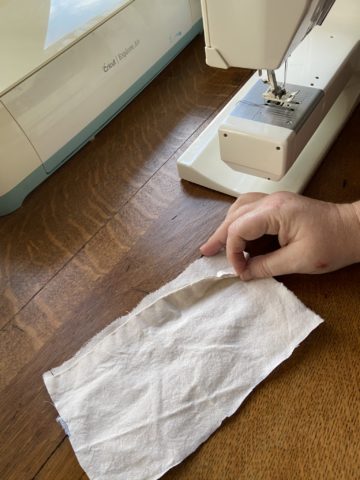
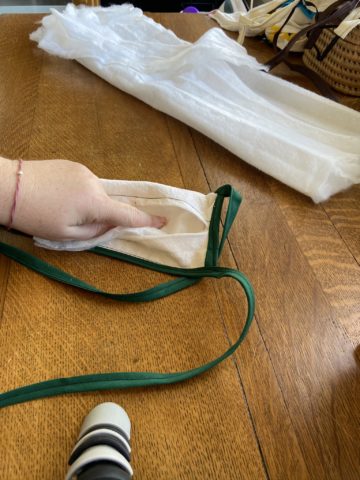
Take the 3rd piece of fabric, the softest piece, to make the filter pocket. Lay it across the backside of the now pleated and secured mask, about 1/2″ from the top – you don’t want the top edge bound, leave it open so the filter can slide in. Trim the fabric at the bottom to fit the width of the mask. You don’t need to sew it yet, the binding will hold it in place along the 3 edges.
Make a binding/bias tape sandwich!
CUT the BINDING: Cut 2 pieces of binding/bias tape to match the width of both ends. Cut 2 more pieces of binding/bias tape to match the whole length of the mask, plus a little more on each end for folding over. If you are not making ear loops, use the binding as ties. The length will depend on how big your cranium is! I added 20″ for each end to tie on my nugget.
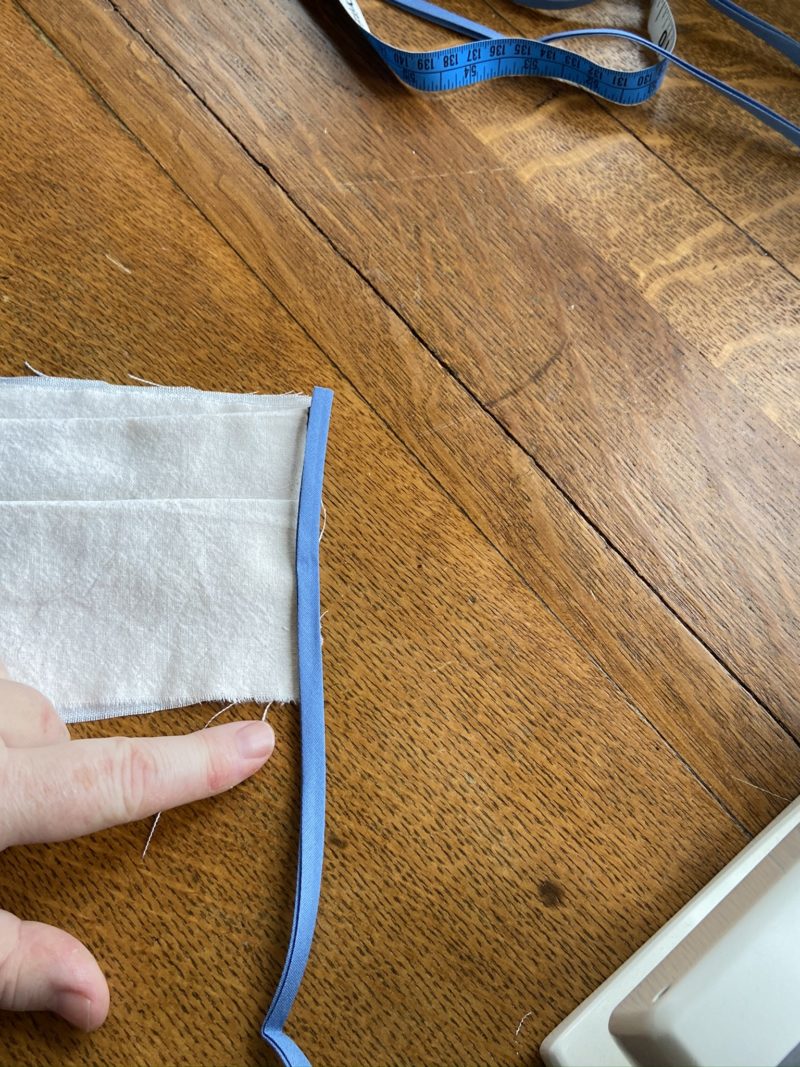
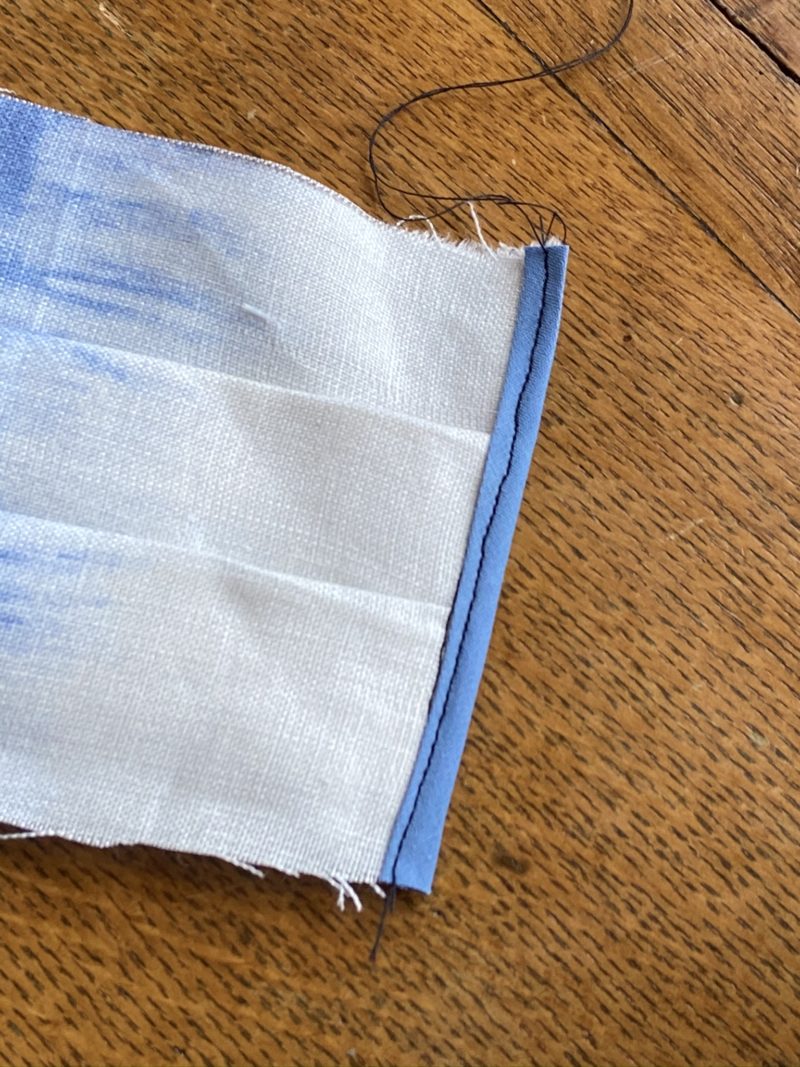
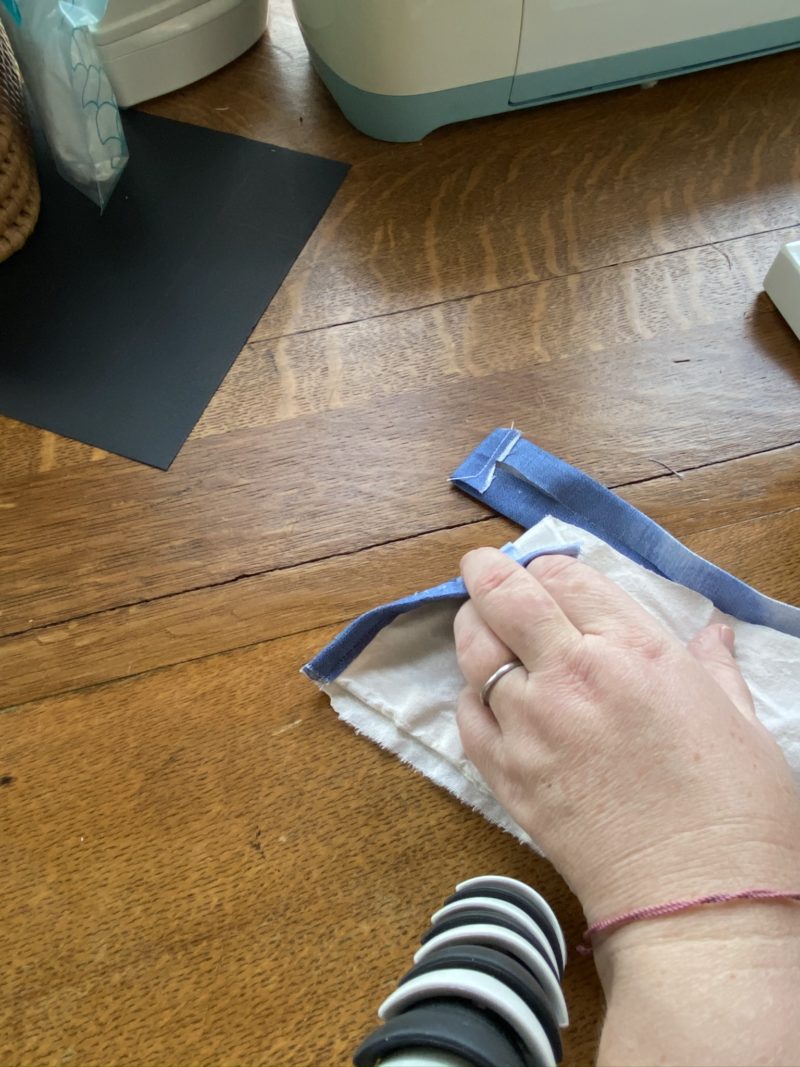
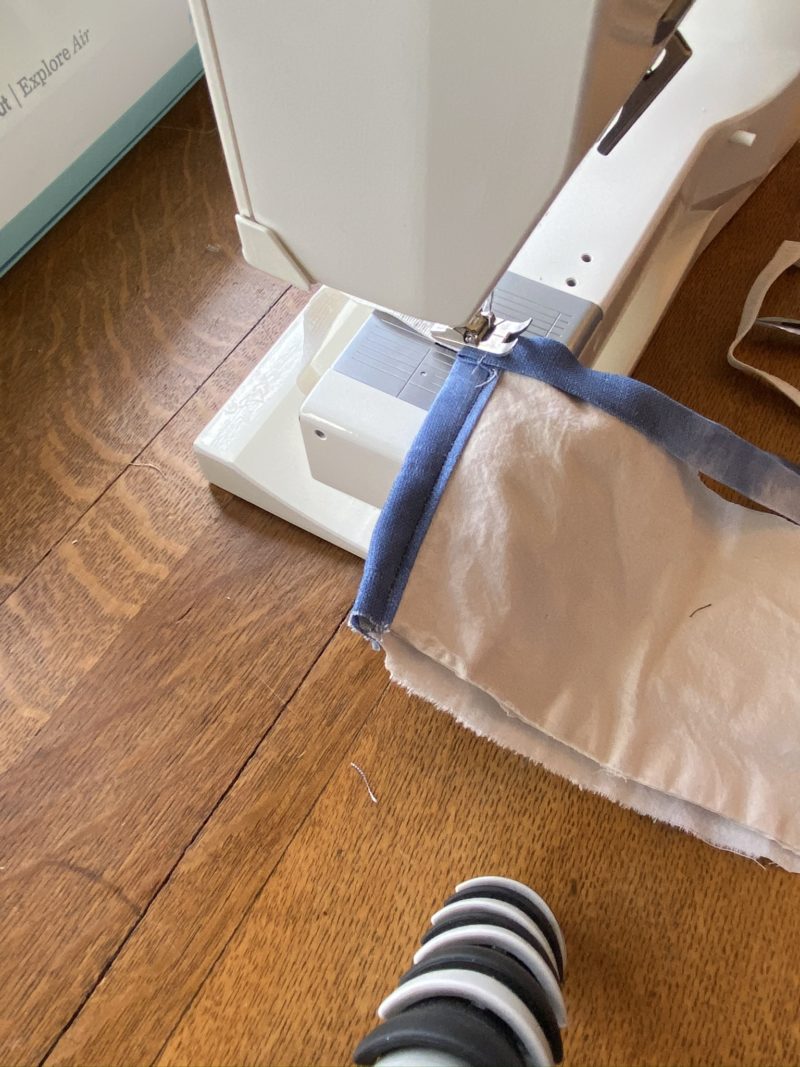
SEW THE 2 ENDS: Open the binding and sandwich the mask, all 3 layers, in between the binding. Next, sew in place on each end.
SEW BOTTOM LENGTH AND EAR LOOPS:
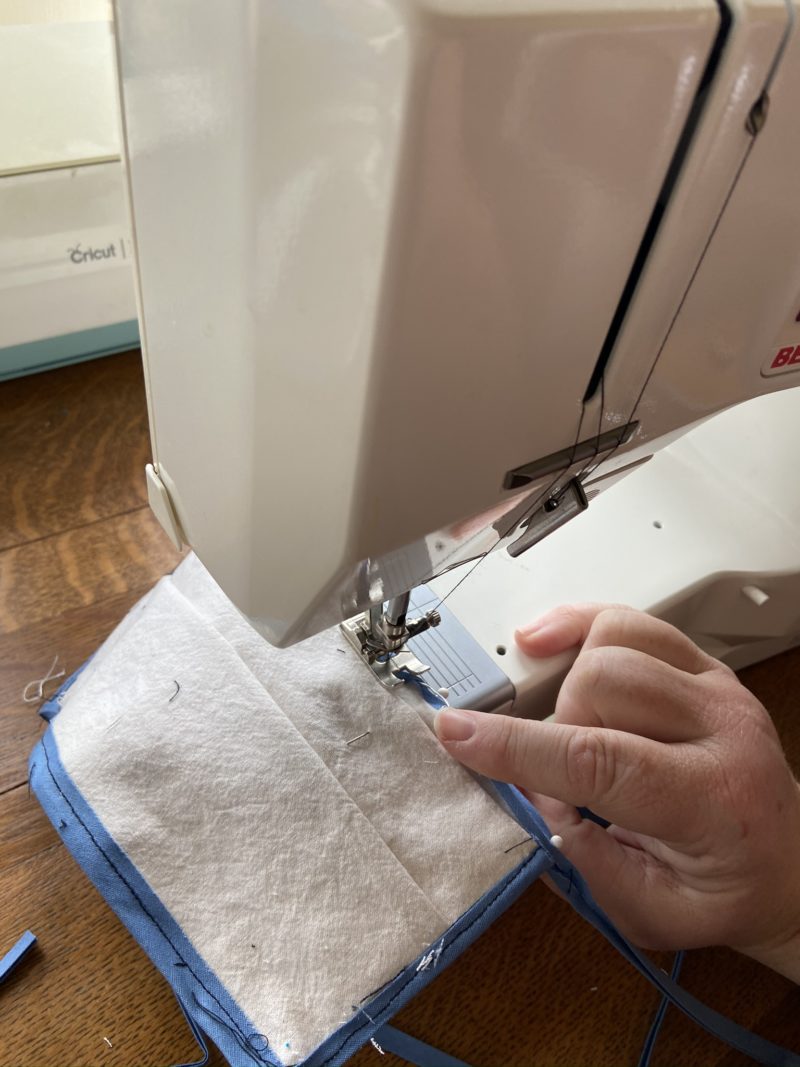
This is the trickiest part – trying to hold all the layers in place and add the elastic! When you sew this binding on you need to tack in the elastic ear loops. I start with the bottom first (pleats facing down) starting at one end lay one end of the elastic down and fold the binding over – sandwiching again. Now, sew that down, backing over it a few times. Then sew across the length and do the same thing on the other end with the 2nd piece of elastic.
Sew the Top SEW TOP LENGTH & NOSE PIECE:
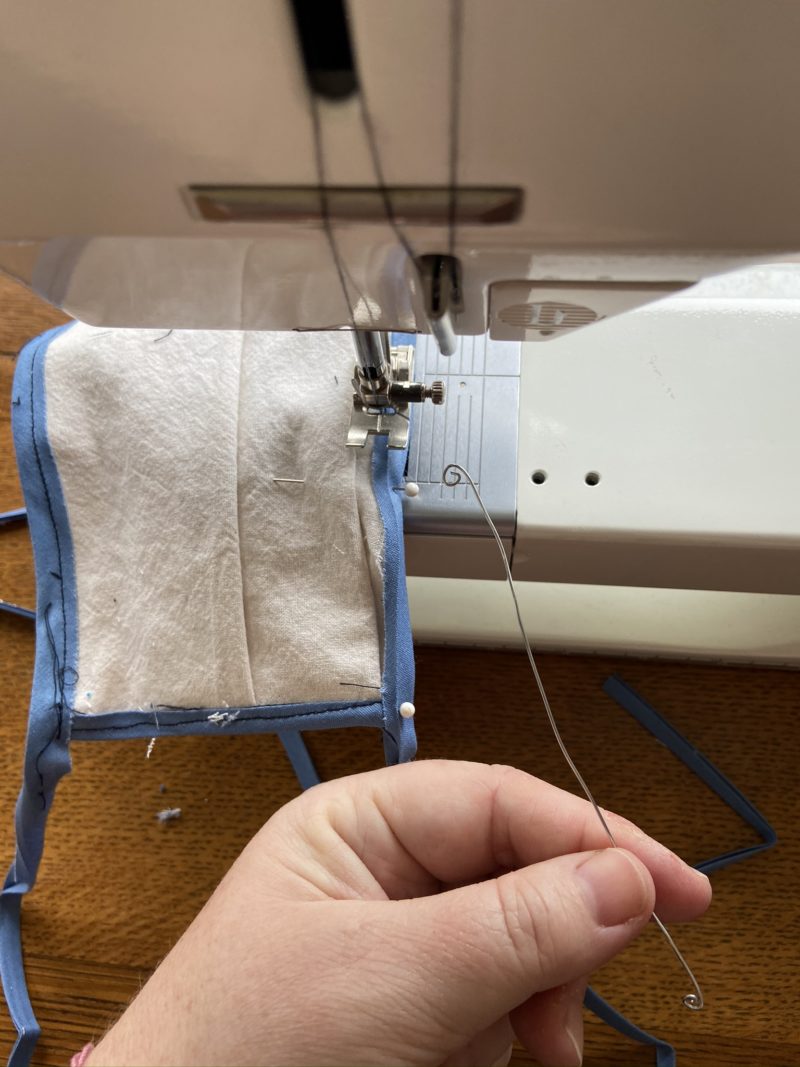
Next up. sew the top piece in place using the same method, grabbing the elastic from bottom piece on the same side and tack it on, The only difference with the top is making the nose piece, so when you get about 2/3 of the way, slide the wire into the binding and carefully sew to the other end, avoiding the metal, finish sewing to the end and tacking the last elastic end on.
REINFORCE: I went around the entire mask with a zig zag stitch to reinforce all the seams. This also catches any spots where you may have um, oopsied and missed a seam! After washing you’ll thank me for this step!
This post may contain affiliate links, see my full policy here.
FILTER: Insert the filter layer. See note above – the recommendations are ever-changing about what to use for filters. If in doubt use paper towel or leave it out! When I started this project in March I had to really hunt to figure out what filter to use, and the recommendations keep changing. You can also order something called “meltblown” cloth. Or if you have non-woven interfacing use that. If all else fails you can use paper towels – the shop ones are great, nice at tight, or just standard ones folded.
You are done! You have 2 ways to make your own Face Masks!
That’s it! I’ve made about 30 of the sewn Face Mask so far, and after the first few I really got it down so they go much quicker now. I’d say the first one sewn will probably take you an hour to do. The t-shirt one you can do in 10 minutes or less!


 Perfectly Imperfect

[…] Read my other post on how I made the Ballad Health-Style Mask. […]