LEARN HOW TO MAKE A SUPER EASY CUTE-ASS DIY LINEN APRON
Make yourself a super cute ass linen apron. I love aprons and wear one every day in the shop. I usually buy them or get them as gifts but since opening the studio I have been running through them (as in they get really painted, oiled, torn and disgusting). So I decided I’d pony up and figure out how to make super easy, super cute, cheap ones for myself! There are so many ways to make your apron cute, unique and cheap!
You are the lucky recipient of my sewing exploits. The first few were flawed, but still fun to make, but I nailed it for you, so here you go!
LINEN FABRIC
Get yourself some affordable linen fabric. Use a coupon at your local fabric store. Even better get thrifty and use a linen tablecloth, duvet cover, or curtain panel. They are often cheaper than fabric by the yard – especially if you use them second hand. Here’s a secret – you don’t even have to use linen! Use cotton or denim or any sturdier fabric that you love. I wouldn’t spend more than $10/yard. Here is a cute 55′” x 120″ (3.33 yards) tablecloth that is 55’ wide (most cheap fabrics are only 45” wide) @$25.99 which comes out to about $7.80/yard. So it’s cheap, super cute and one edge will already be hemmed with a cute little fringe and you could make a 2-3 aprons from it!

Here is another one from Magnolia Home that is cute. Just so you see, there are lots of options.

INSTRUCTIONS: Easy Linen Apron
A yard is 36” long so you need about 1.5 yards of fabric to make this apron. Adjust the width and length to your size. I added an extra 4” width because….belly.
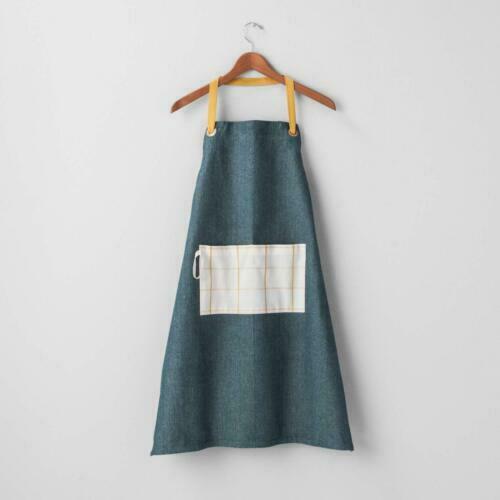
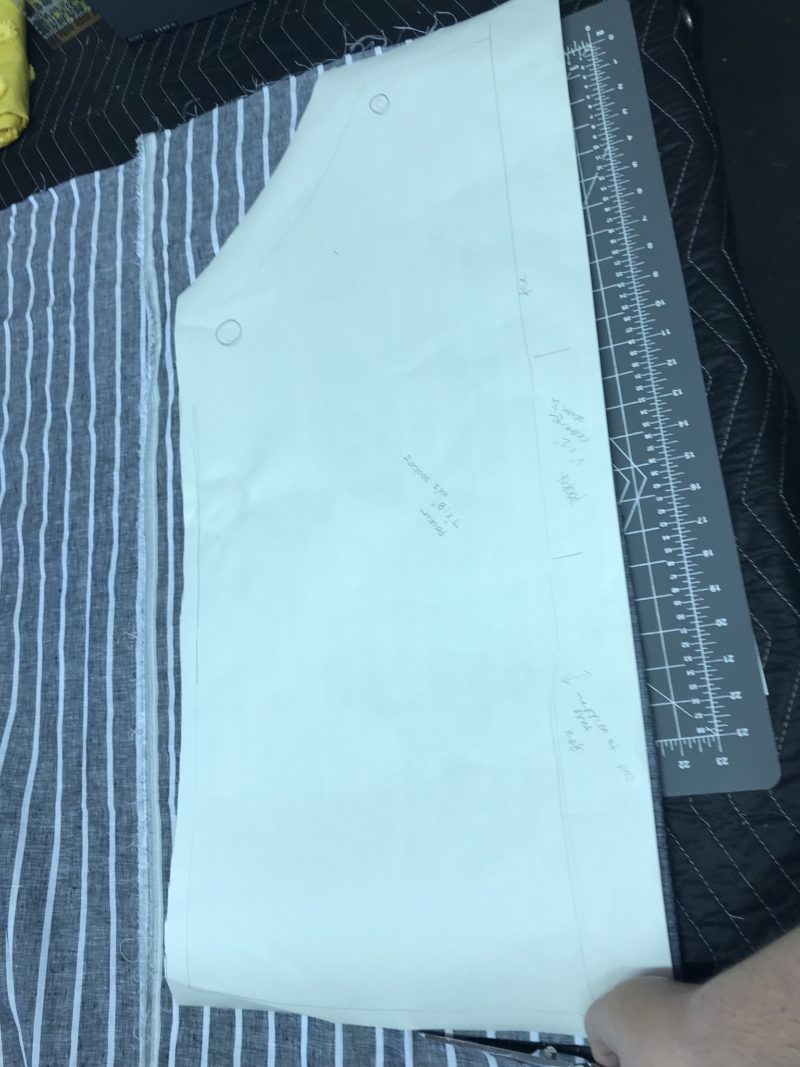
I used one of my favorite aprons as a pattern -it’s Joanna Gaine’s Hearth & Hand, and it’s awesome except it’s a little small, again…belly! I laid that out on some paper and traced around it.
CUTTING THE FABRIC
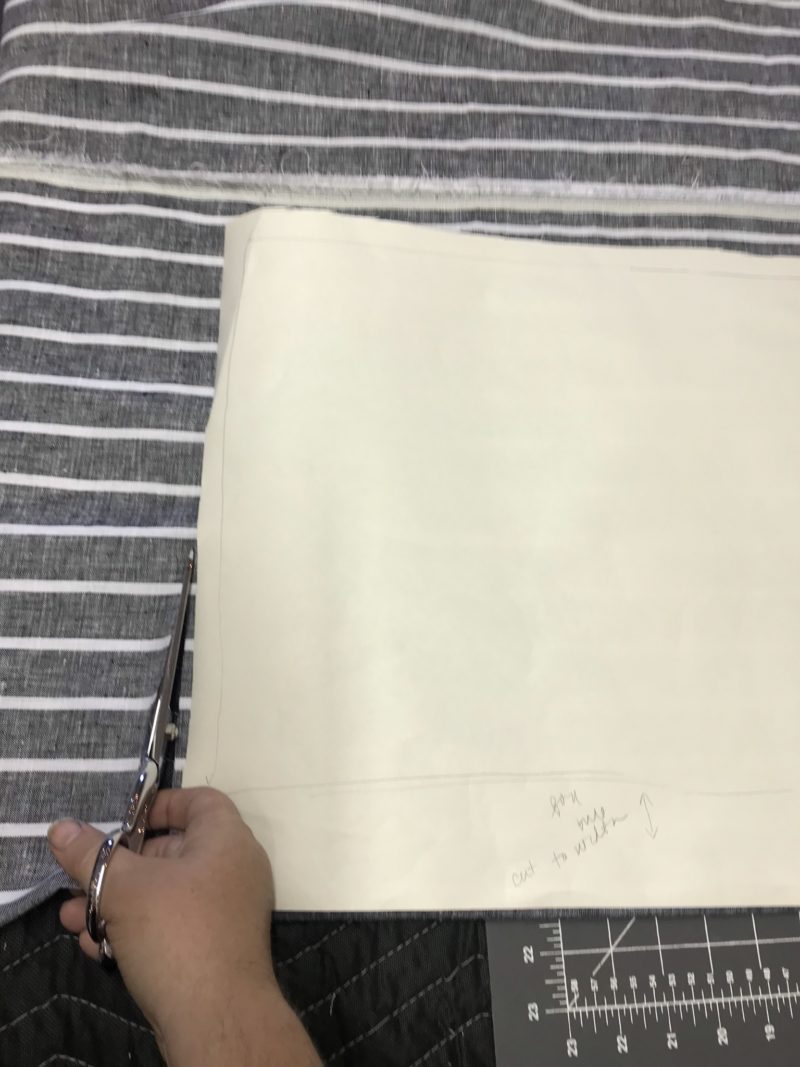
Fold your fabric in half – it’s easier to cut this way. Don’t cut the fold side.
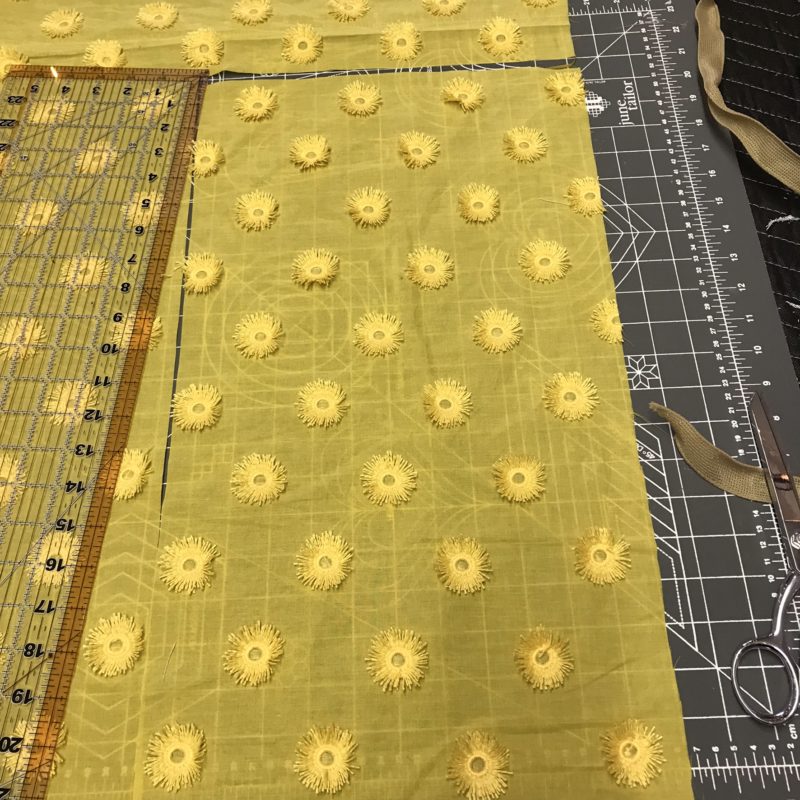
1. Cut a 36″ long by 14” long rectangle. You can see I laid out the paper template I used but you don’t need to do this unless you want to.
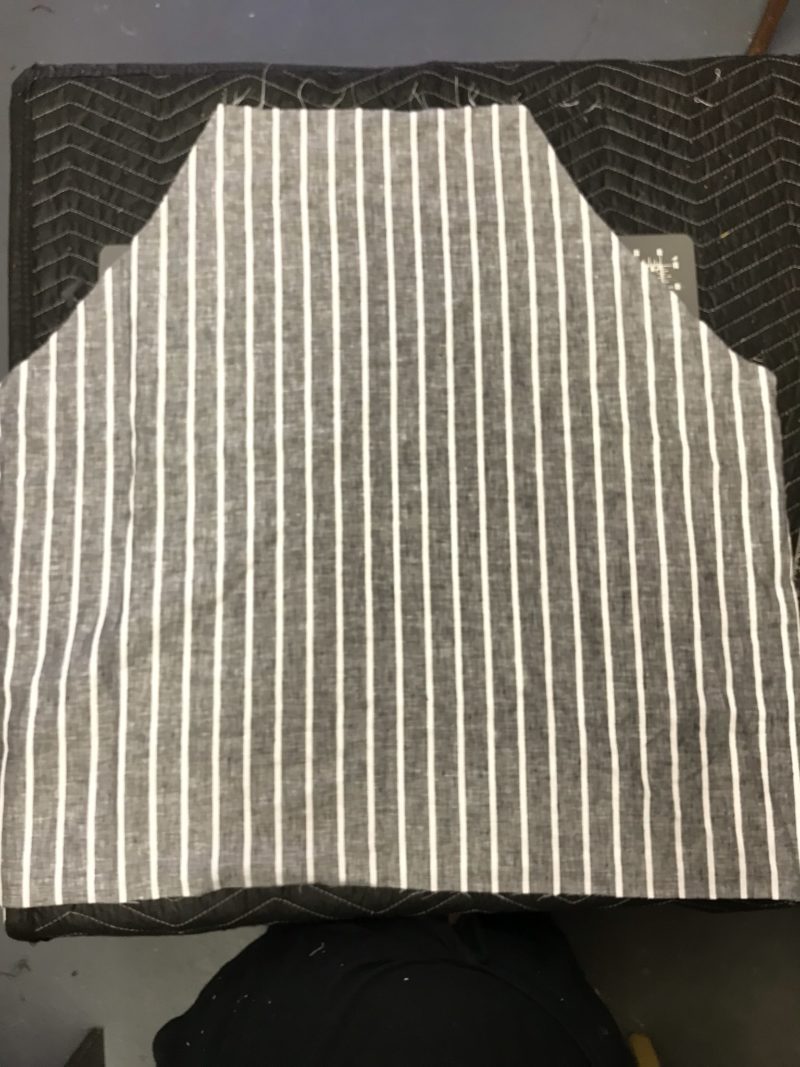
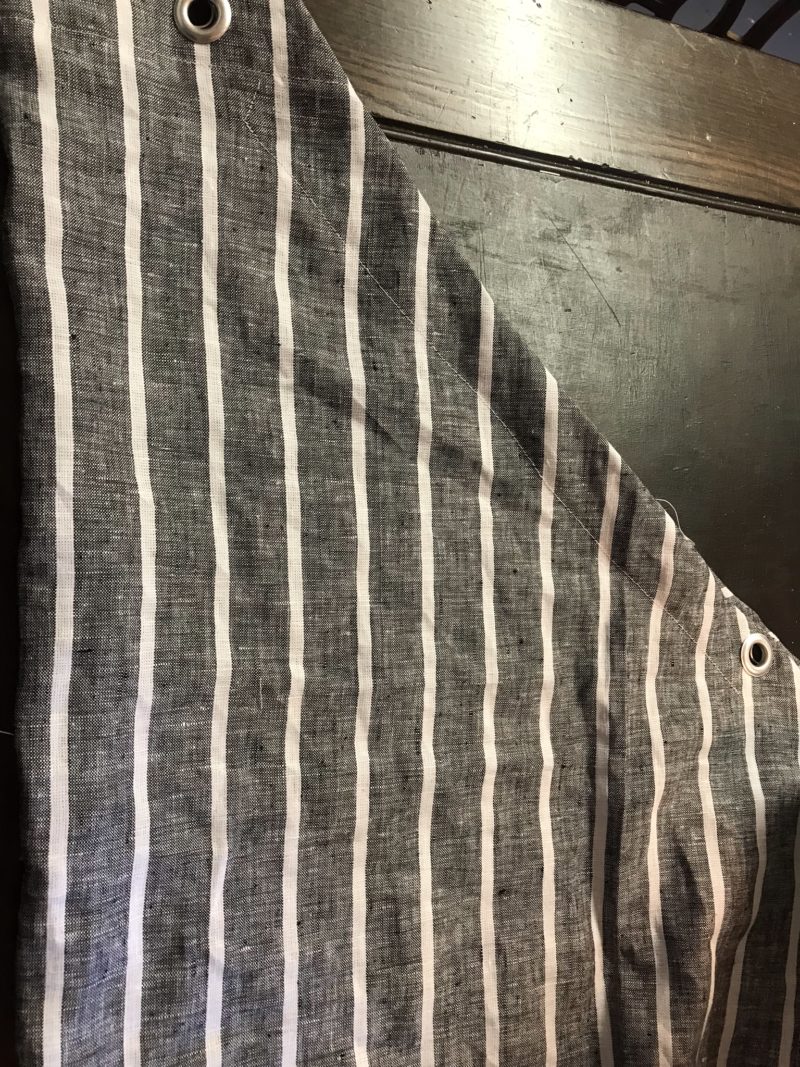
2. Then measure about 5 inches across the top of one side, then measure down the raw edge side about 9” and cut a straight (or slightly curved) line. This creates the top bodice section. Unfolded it will look like this…
3. Cut one long piece for the strap, which is one single piece – about 125” long x 4” wide.
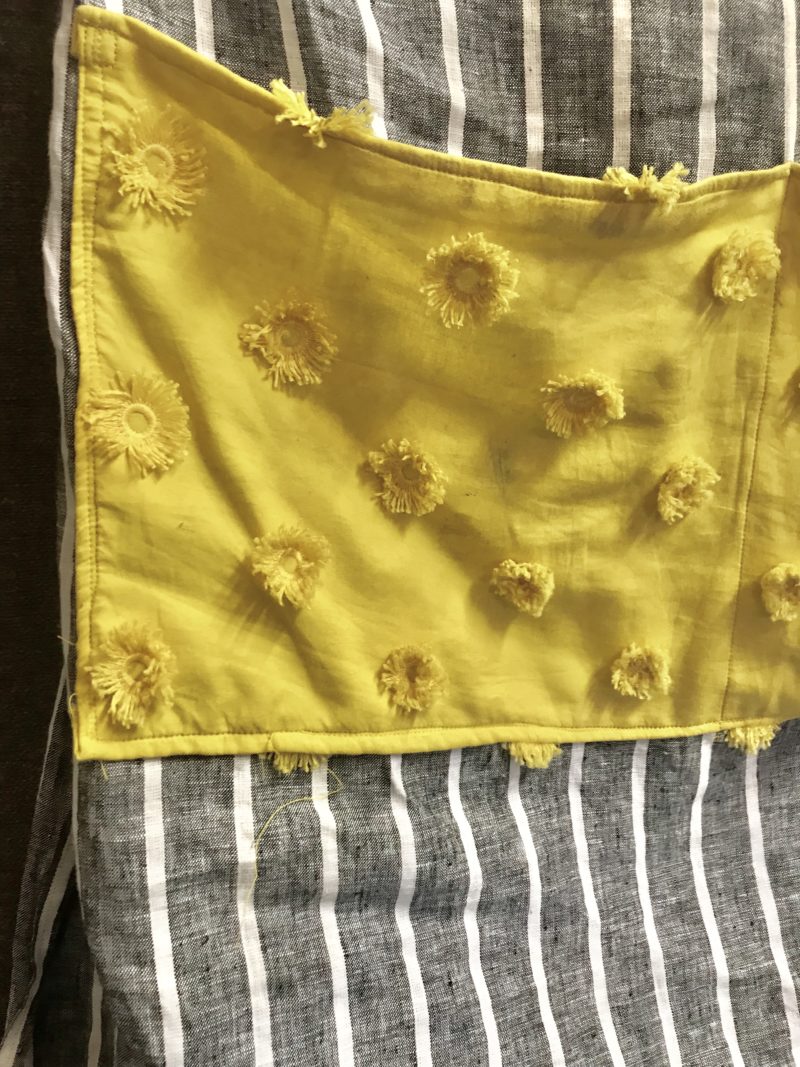
4. Cut the pocket piece- about 14”x7”
PREPARE THE APRON FRONT
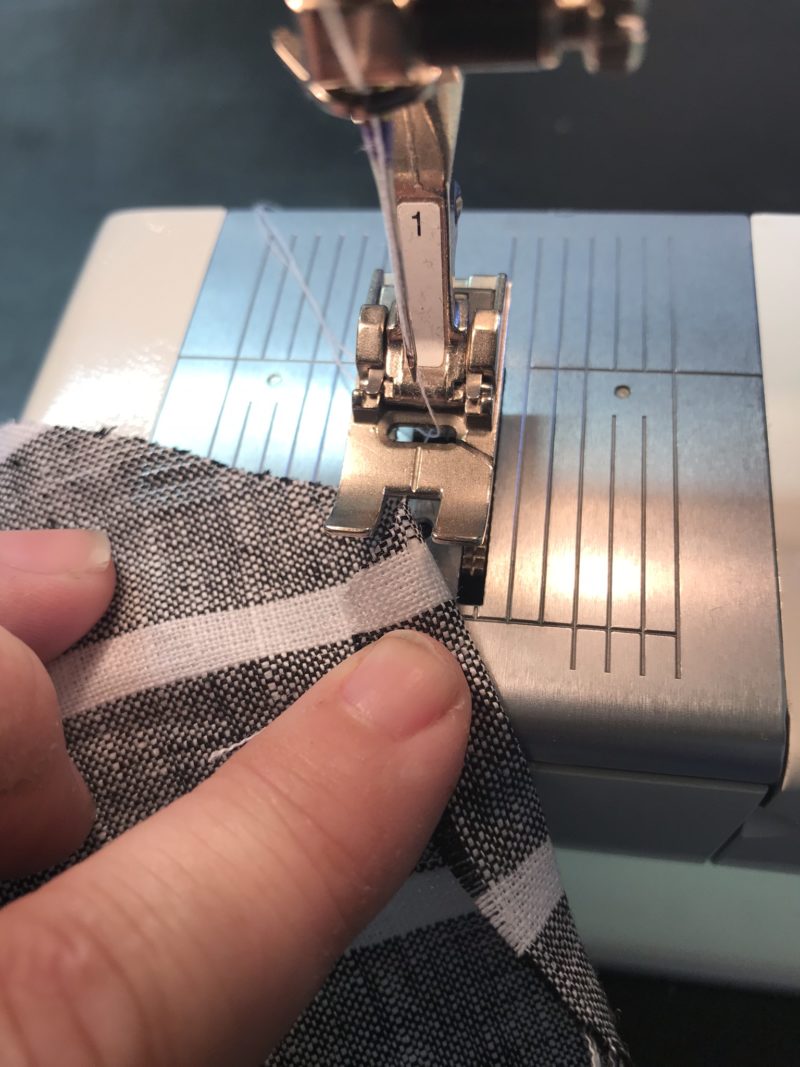
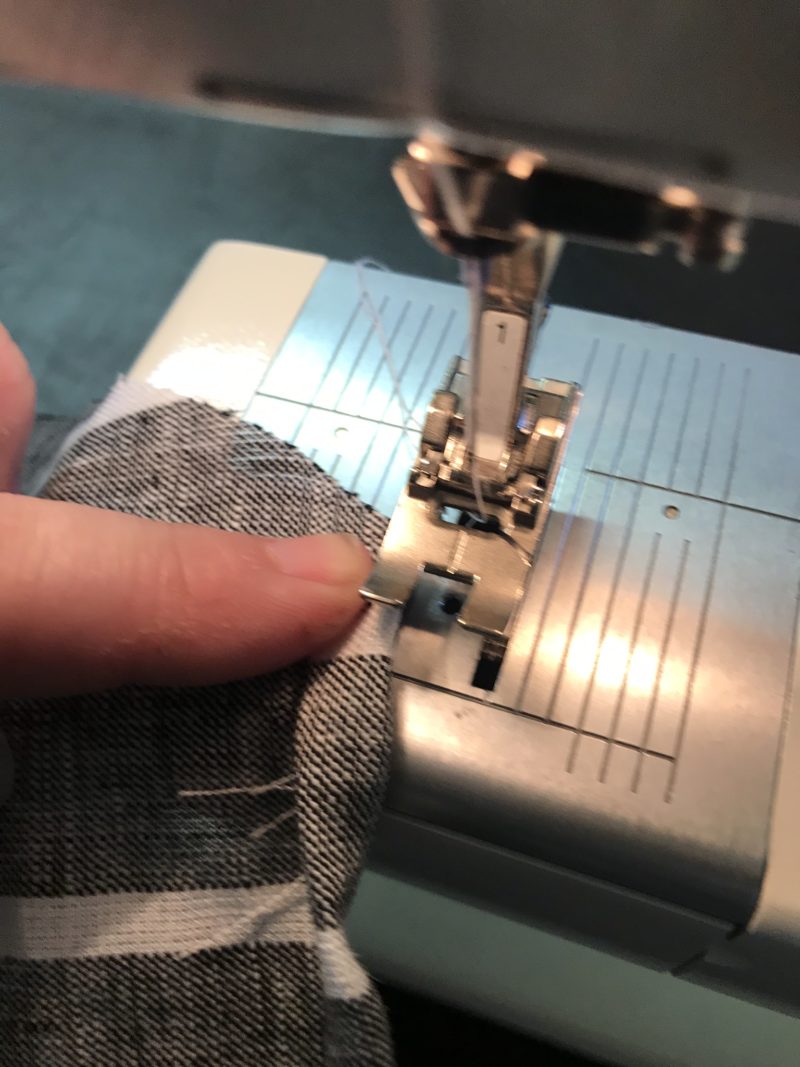
- Take your big apron piece and sew about a ½” seam all the way around on all sides. Just start at one end and go for it. I like to fold and sew at the same time – I fold it twice to tuck the raw edge under. I fold, fold, sew and just keep going. You can totally iron this and pin it and save yourself some stress but I’m super lazy and I hate to be hot so the less ironing I do the better!
If your fabric is awesome and you like a raw edge you could opt to leave the bottom unhemmed, or even all the sides – go wild! Another option, cut with pinking shears which prevent unraveling.
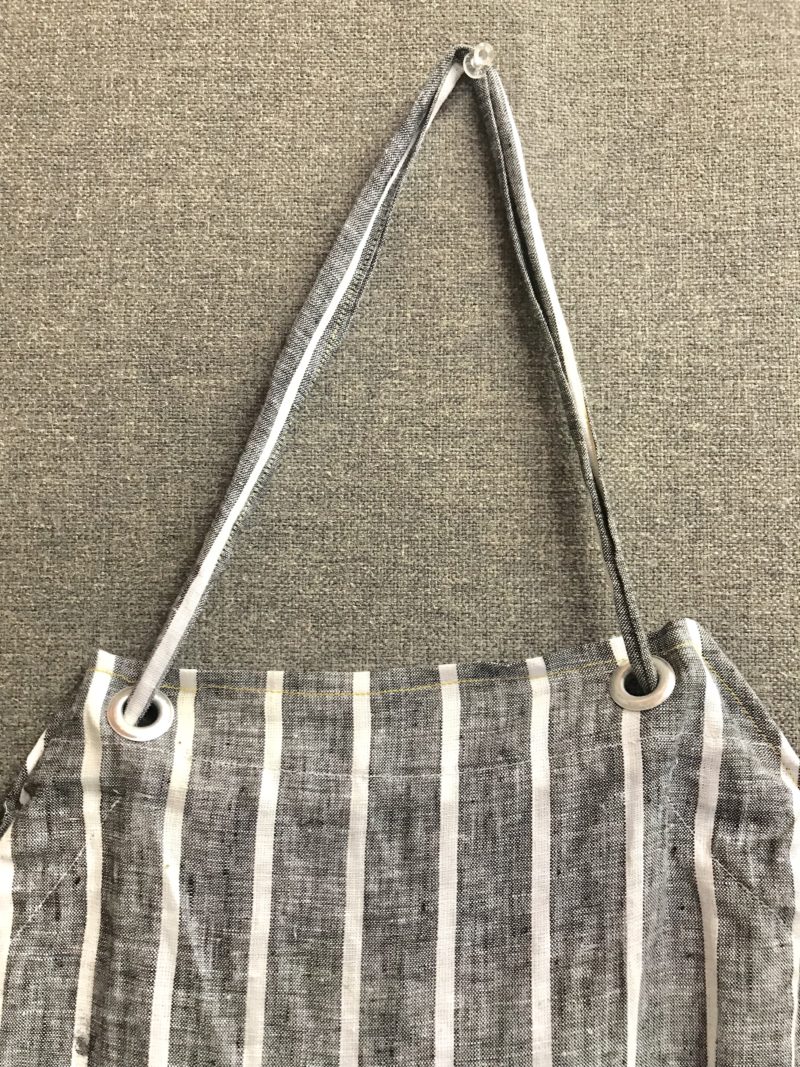
Fold the top (bodice part) of the apron down 2” and stitch along the bottom – leaving a little pocket for the apron string to weave through.
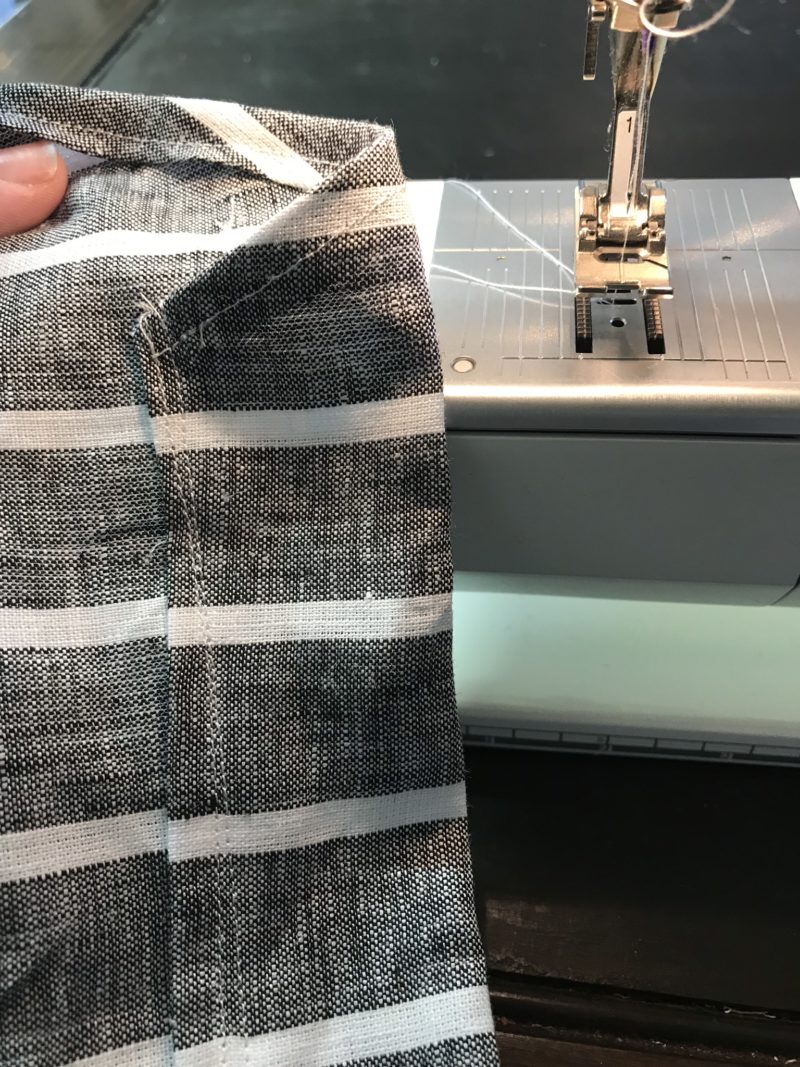
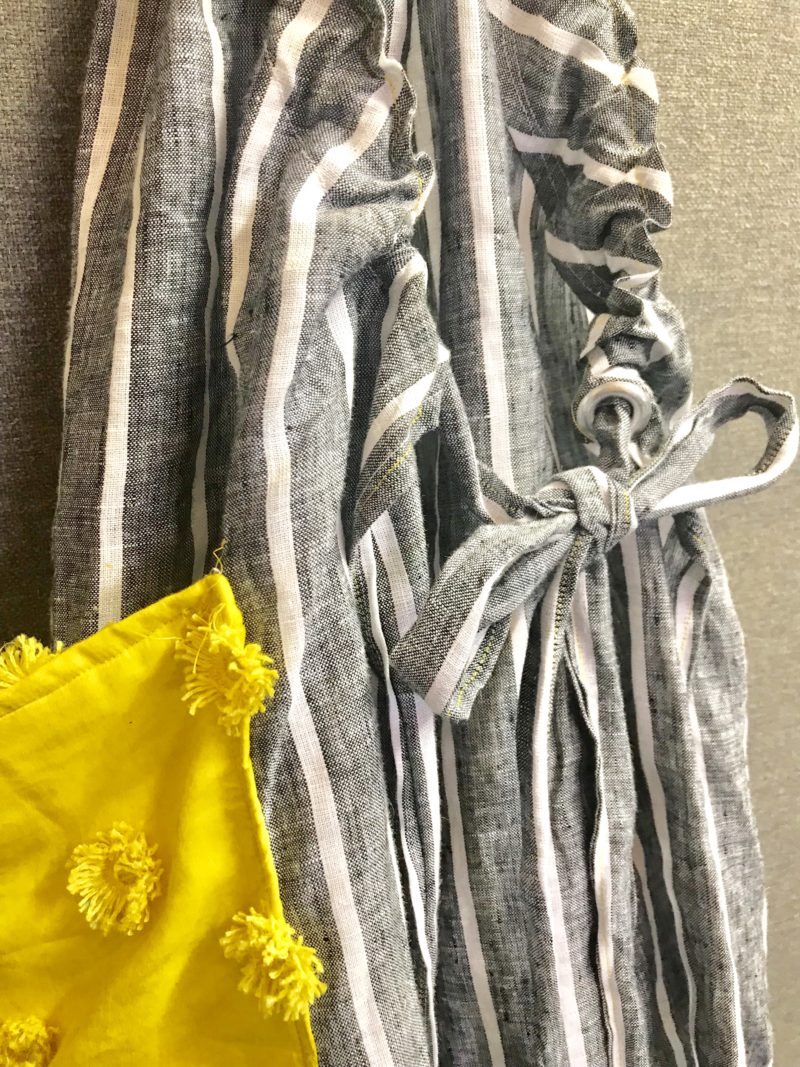
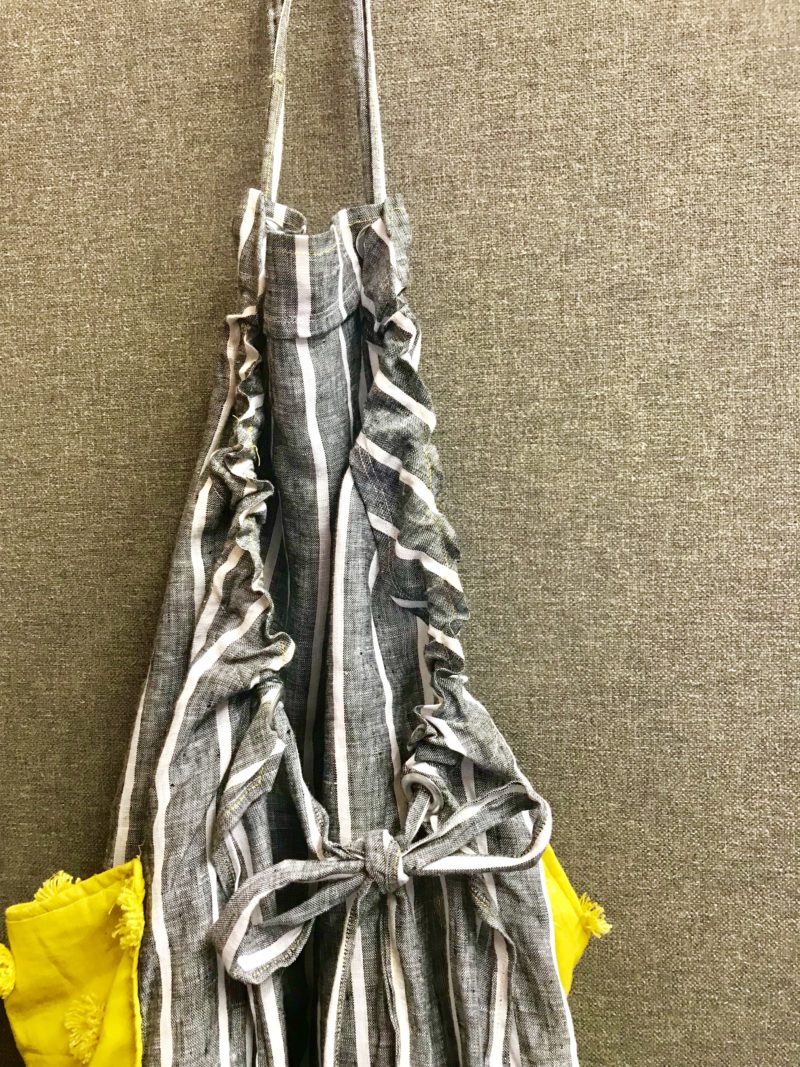
Remember that angle you cut earlier? Fold that over 2” on both sides and sew those too! Leave the holes open so you have a little pocket for the apron string. (NOTE: You could sew the apron string on instead of weaving them through and then you don’t need to leave the large 2” pocket hole).
PREPARE THE STRAPS
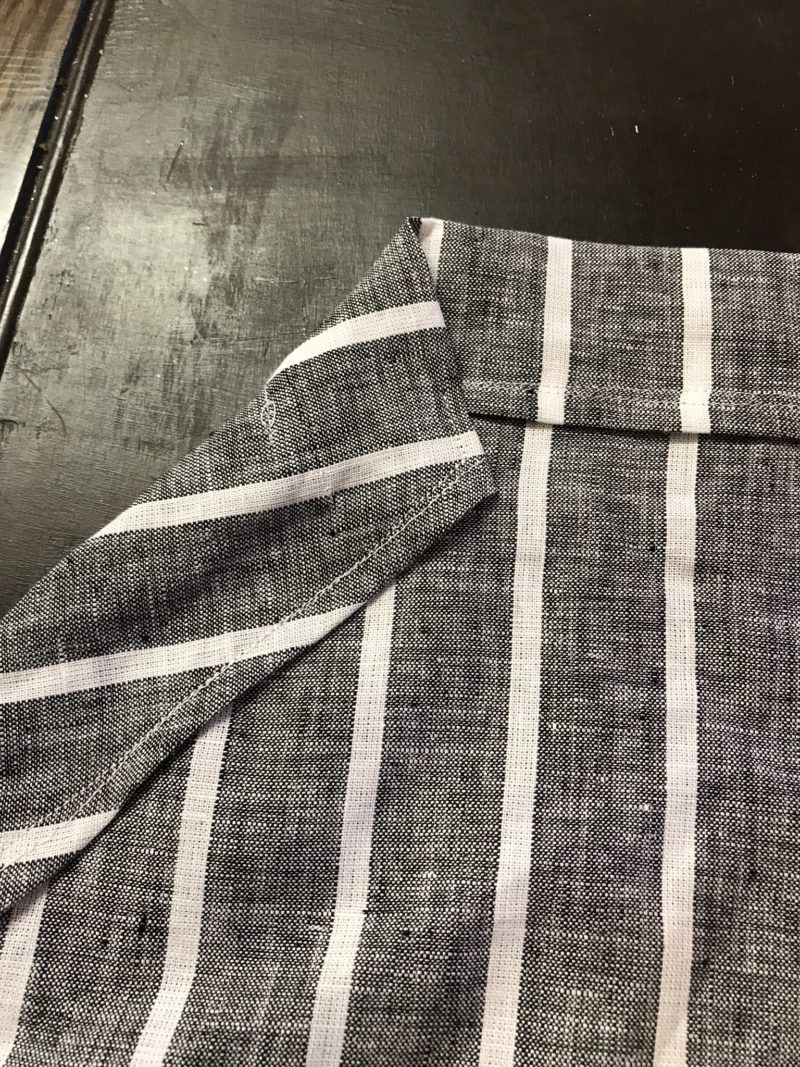
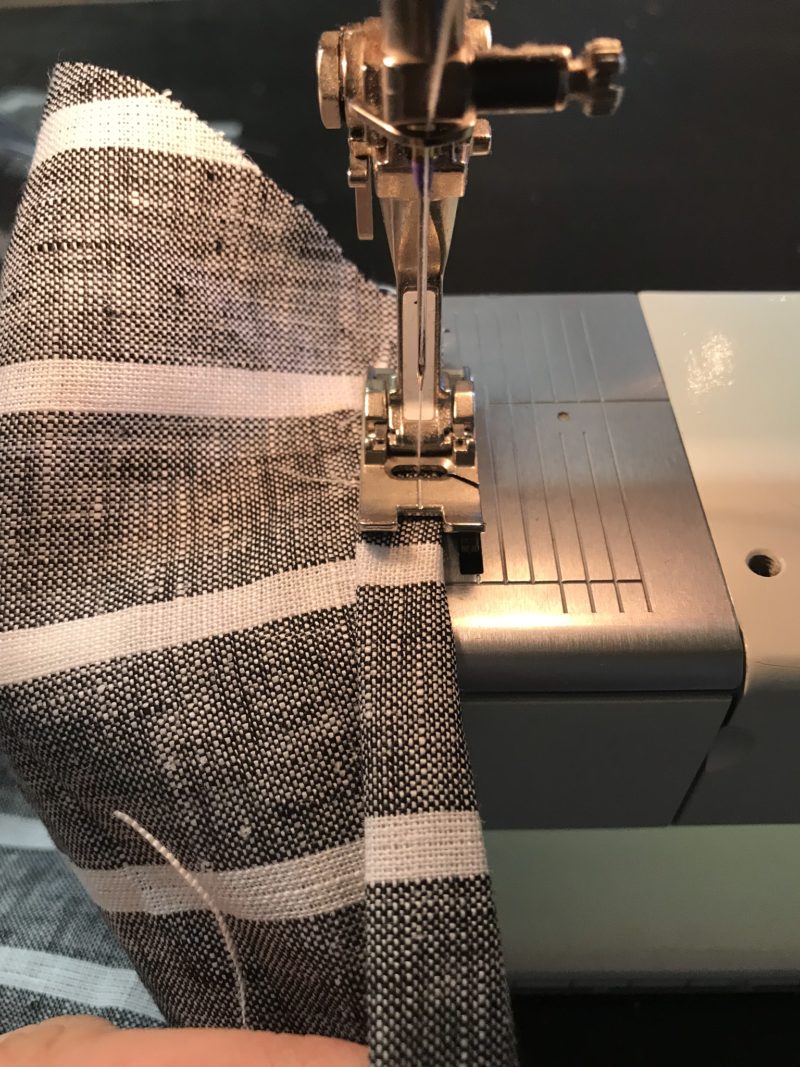
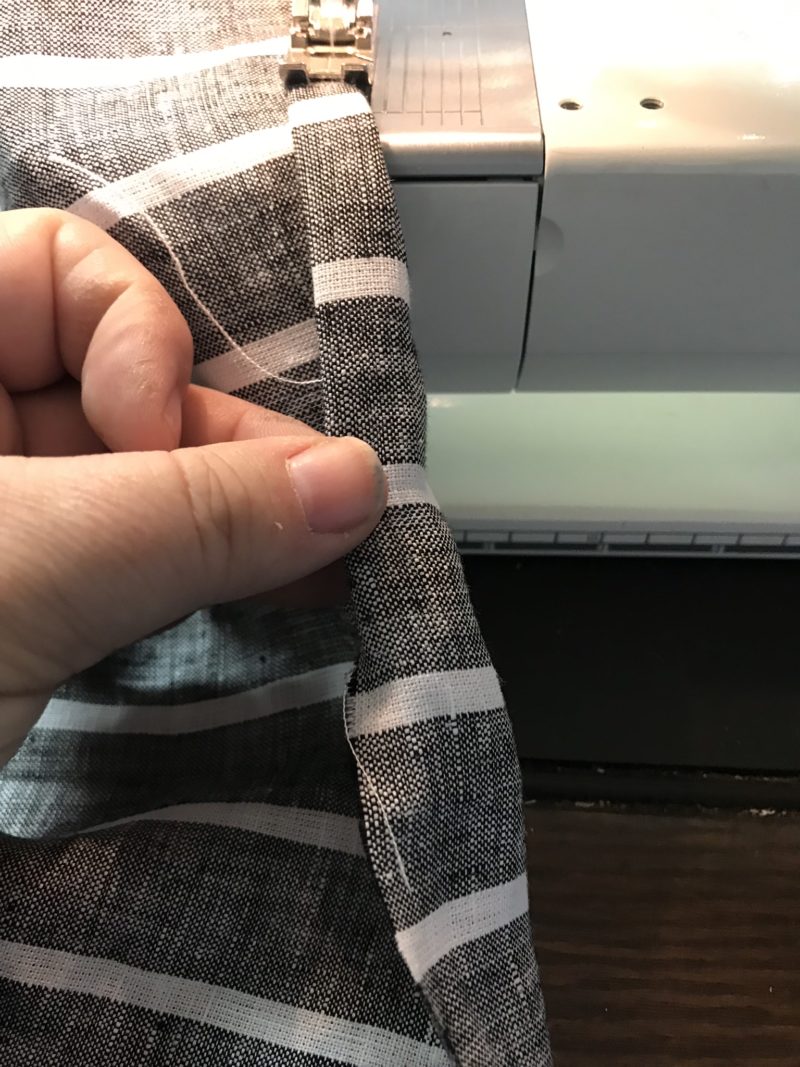
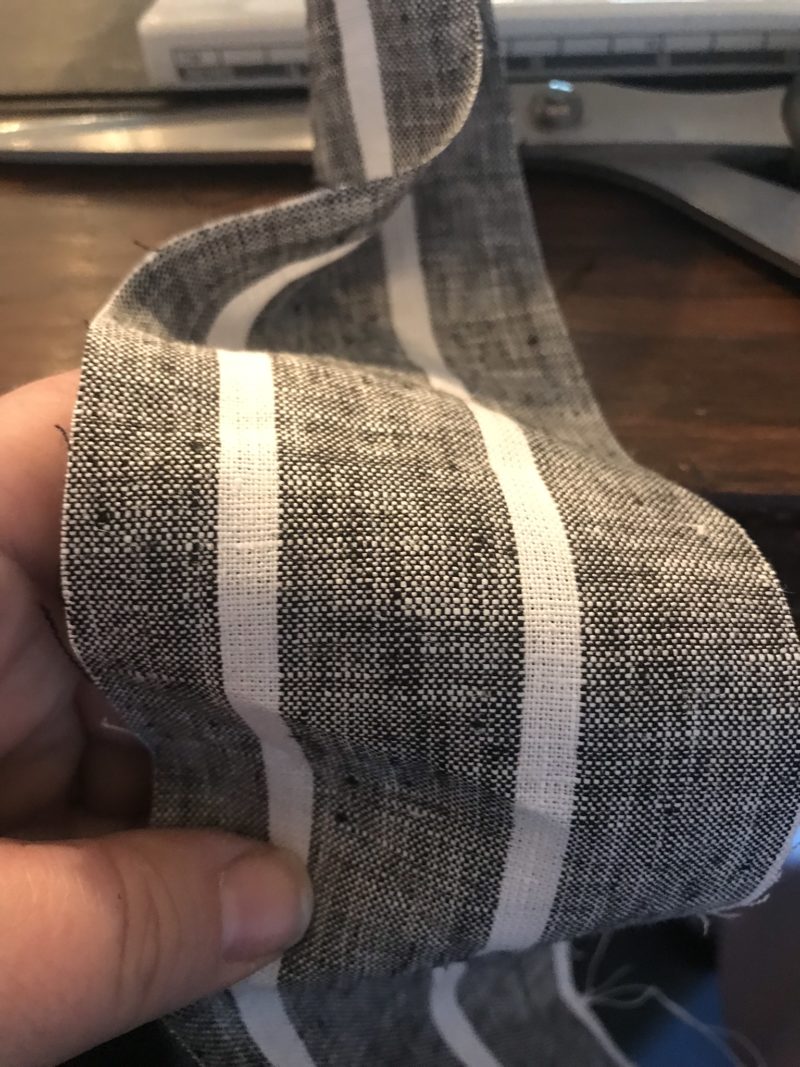
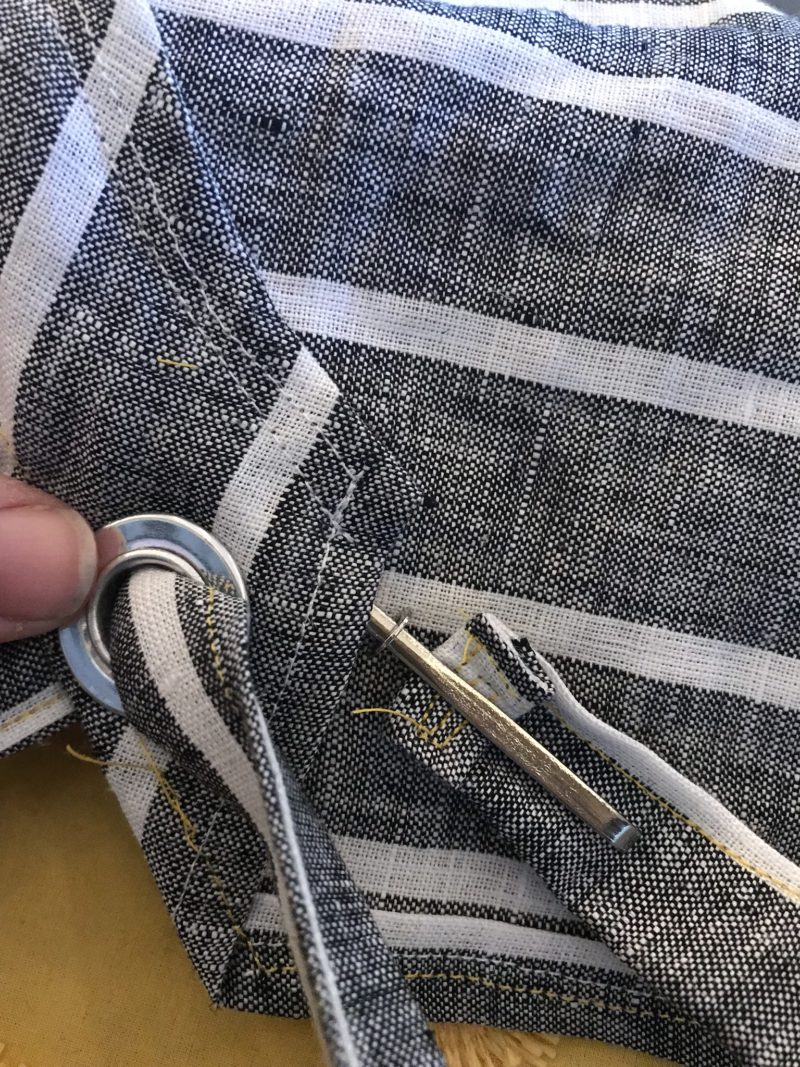
Take the strap piece (the single piece cut 125″ by 4″) and fold it in half long ways, crease it with your fingers or if you have the patience you can iron it! Open that back up and fold each of the sides in half again so the raw edge touches the fold line you just made (look at the pics). Then fold in half again so all the raw edges are hidden inside and sew the edges together (again iron/pin if you want to).
To finish the ends, just take ¼” and fold it twice, stitching across. You could also topstitch the other (folded) edge (basically just sew a straight line!) – you would do this to help it lay flat (if you care!).
Alternate method: Another way to make the strap is more traditional by folding it in half and sewing the raw edges together then turning it inside out by placing a safety pin on one end and weaving it back through itself (or use a tool called a bodkin to do it)…but this strap is long so turning it inside out is a pain – and I have no patience for that!
Once you are done with the strap you can iron it, if you want. Have I mentioned you can iron stuff if you want – lol!
PREPARE THE POCKET
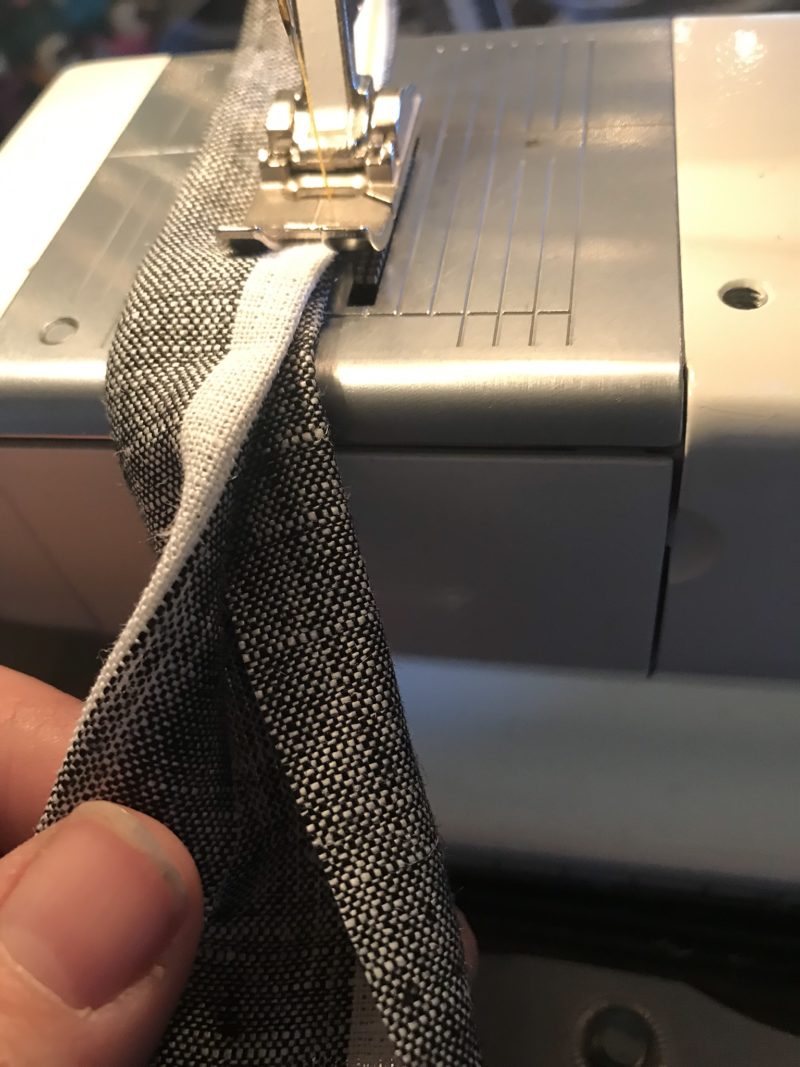
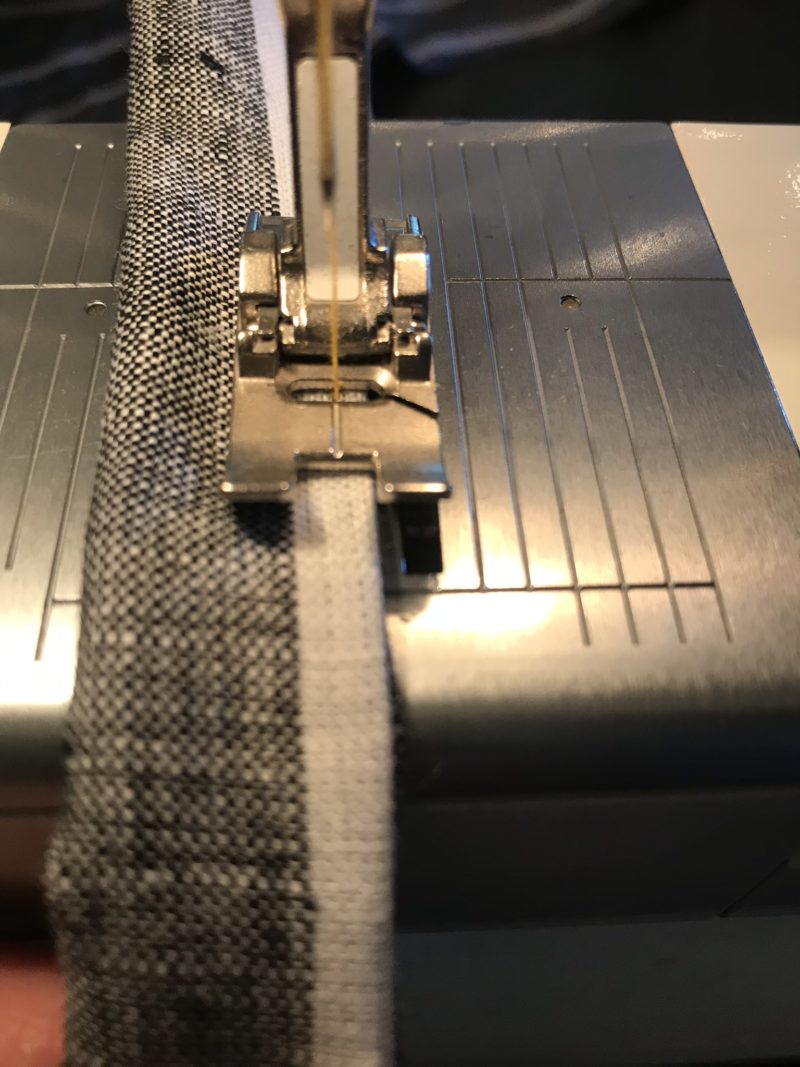
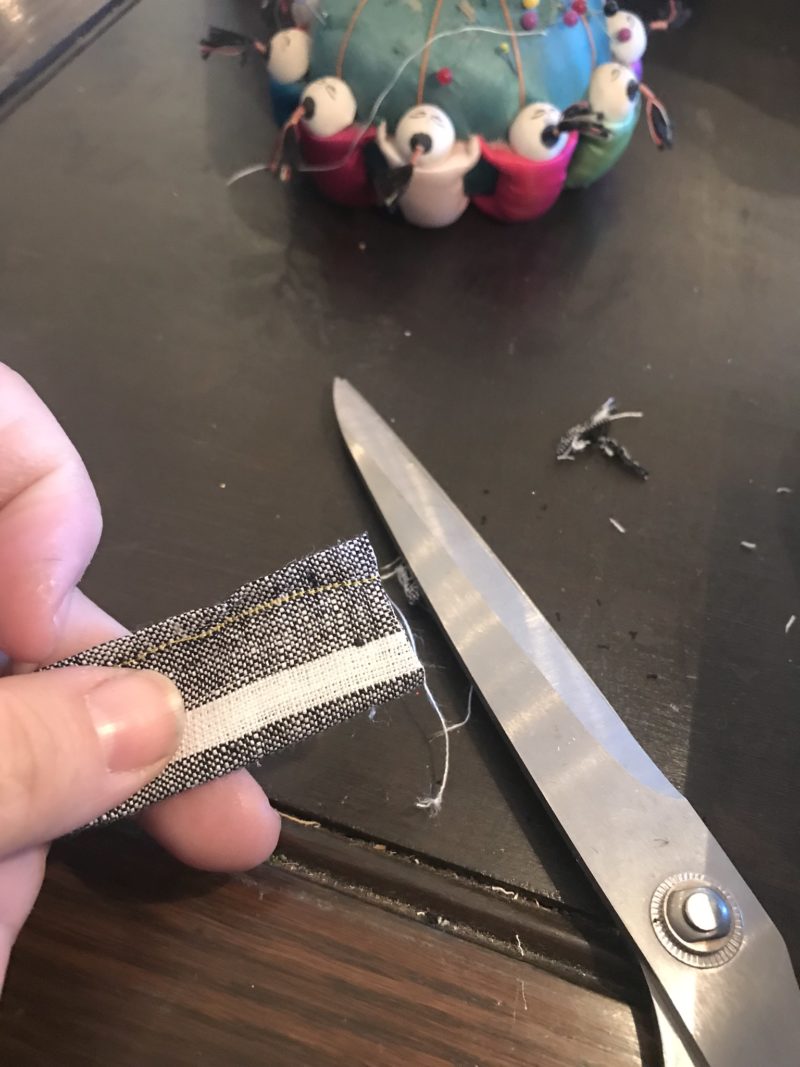
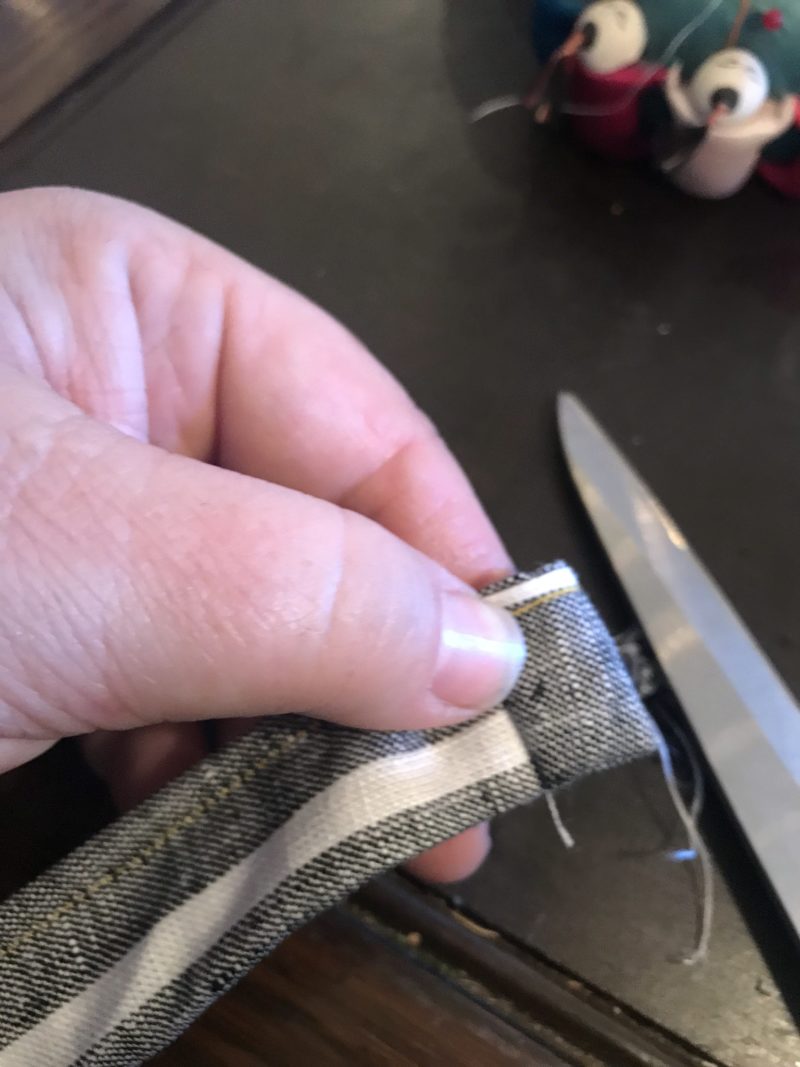
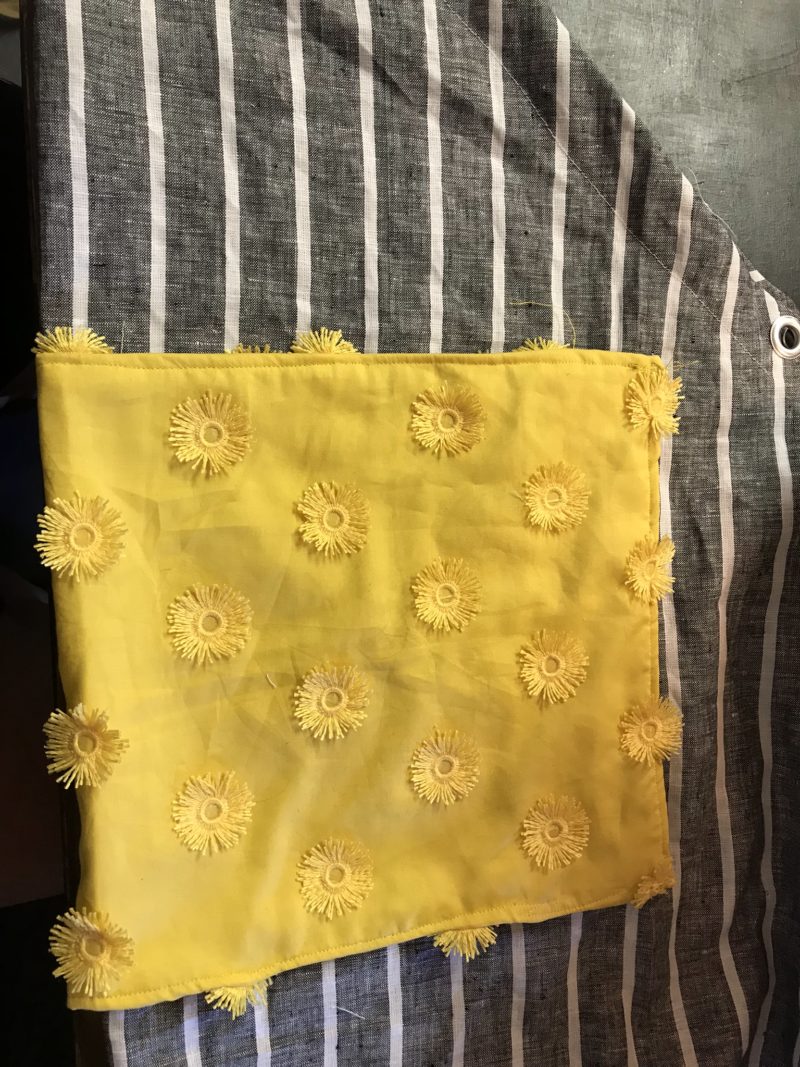
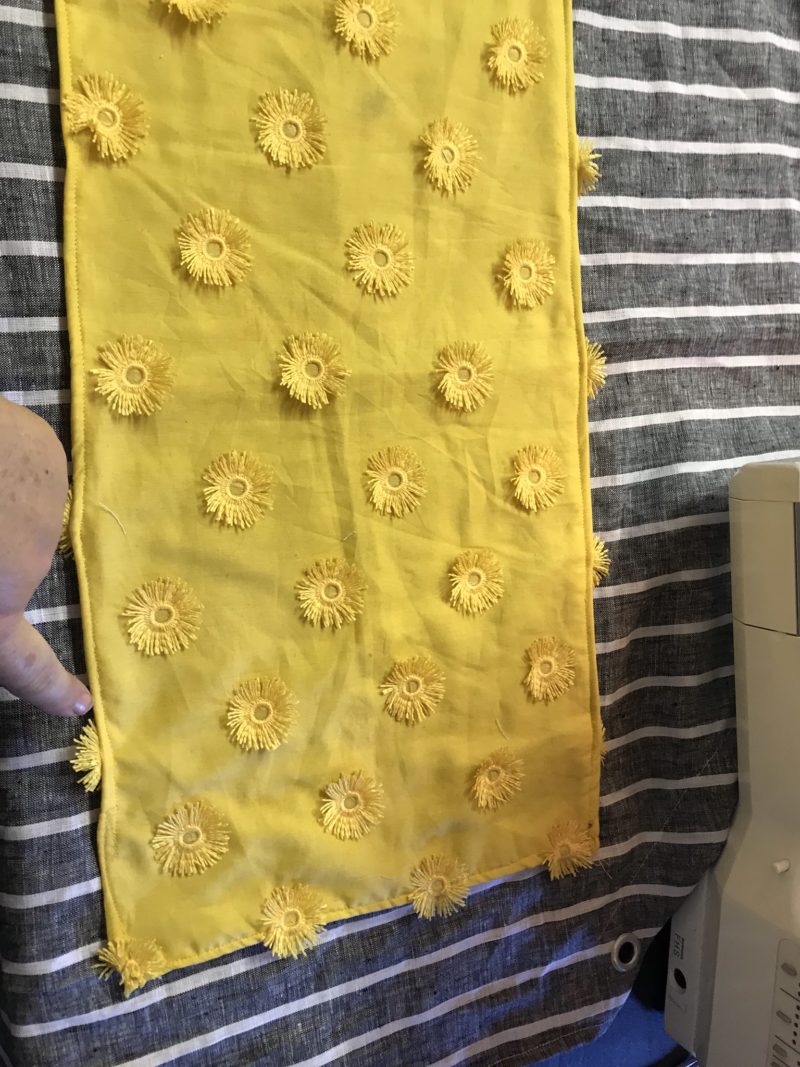
OK, for the pocket, take your 14” x 7” piece, and you are going to hem the edges (I backed mine with some white fabric because it was shear – you don’t need to do that step). To do this I flip the fabric rectangle over and sew a slim ¼” rolled hem all the way around. Basically folding and sewing at the same time – I use my fingers and eyeballs. (There is actually a special “foot” for your sewing machine that does this – it’s like magic!). This takes a little practice and sometimes goes wonky so iron if you want it perfect and don’t mind heating up the iron (just press the edges ¼” once, and then again to create a double fold hem).
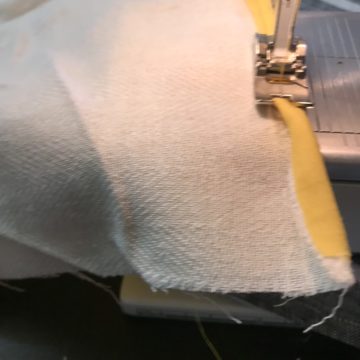
Optional easy no hem option….use my old friend rick rack, it’s cute, you don’t have to hem, it’s a win! However, if your fabric is fraying use a product called fray check, or just hem it after all so you don’t have annoying strings popping out.
SEW THE POCKET ON
Fold the apron front and the pocket in half, it makes it a lot easier to line them up in the middle this way! Once you know where the middle is (mark it with a pin or crease with your finger) open it all up again and lay it flat.
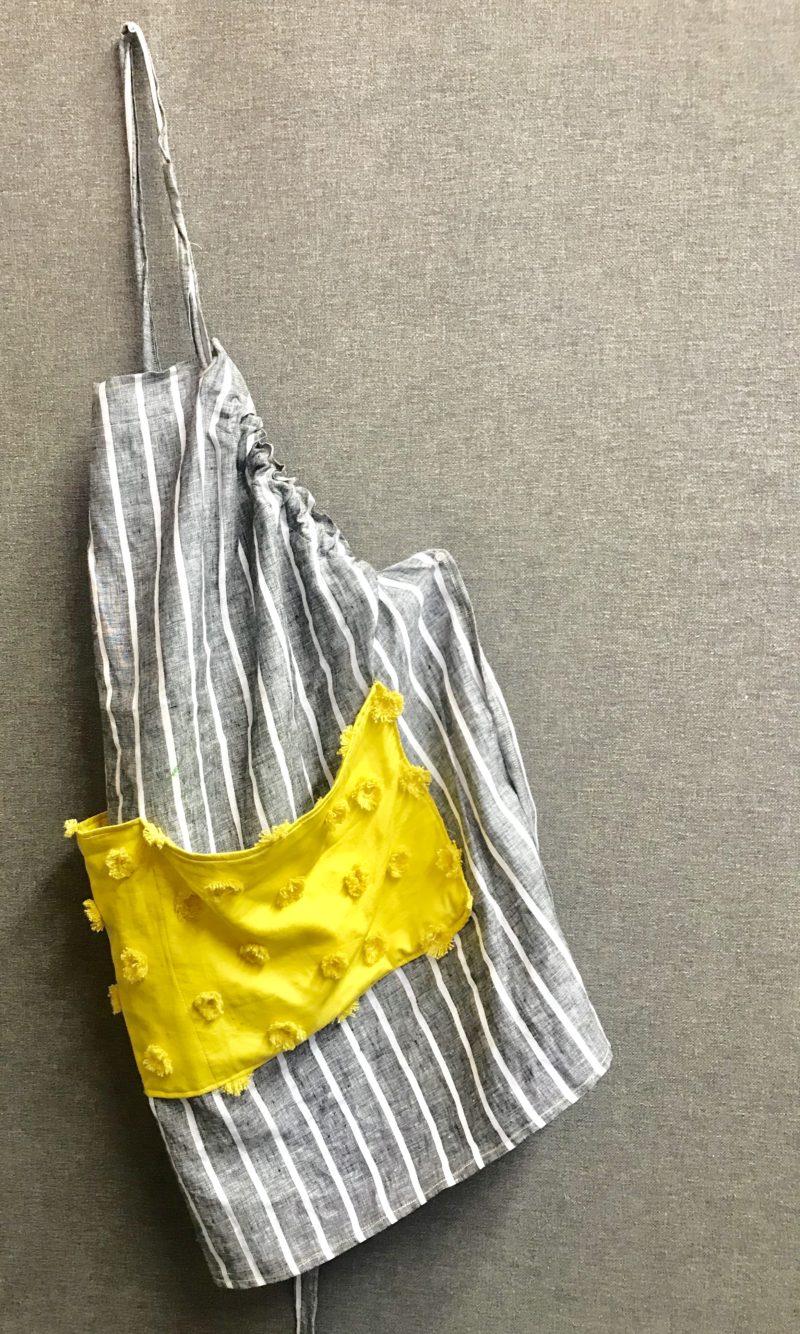
Measure down from the neck about 18” or so (I have a long torso so I held it up to me and adjusted my pocket to fit me). Align the middle of the pocket with the middle of the apron at that 18” mark and pin it on.
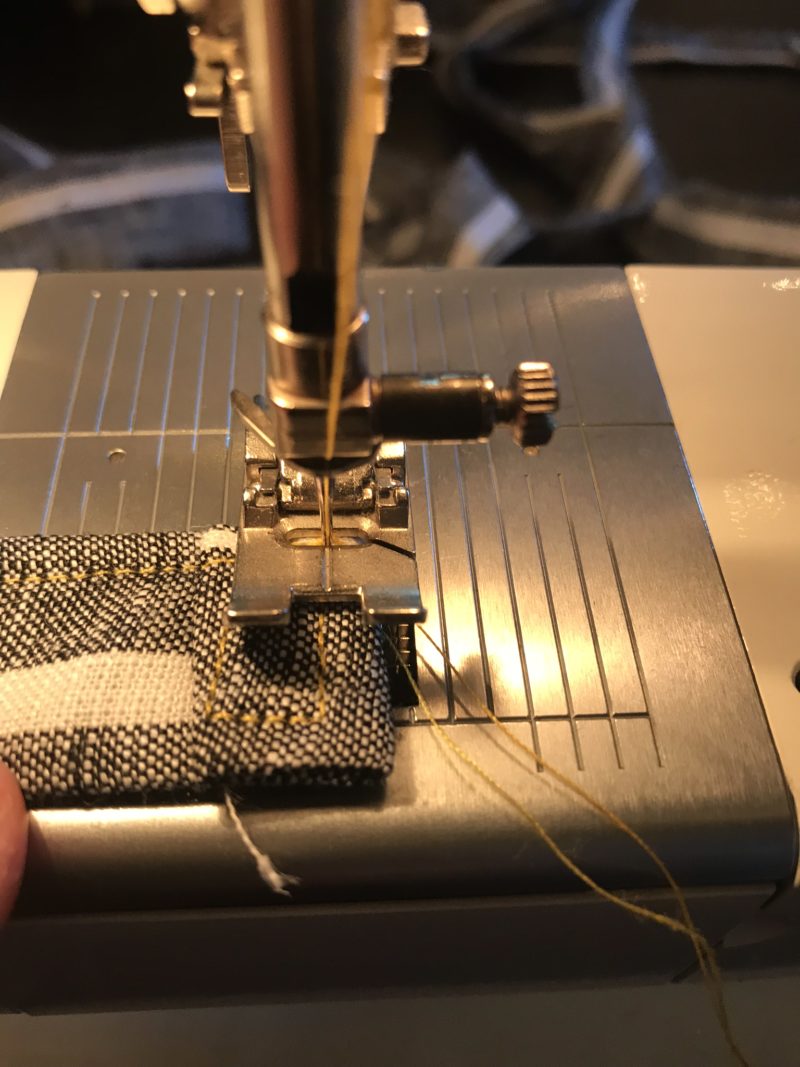
Sew that baby down on 3 sides – leaving the top unsewn (er, or you won’t have a pocket!). Back stitch all the corners to reinforce them. Sometimes I sew a little square at the corners.
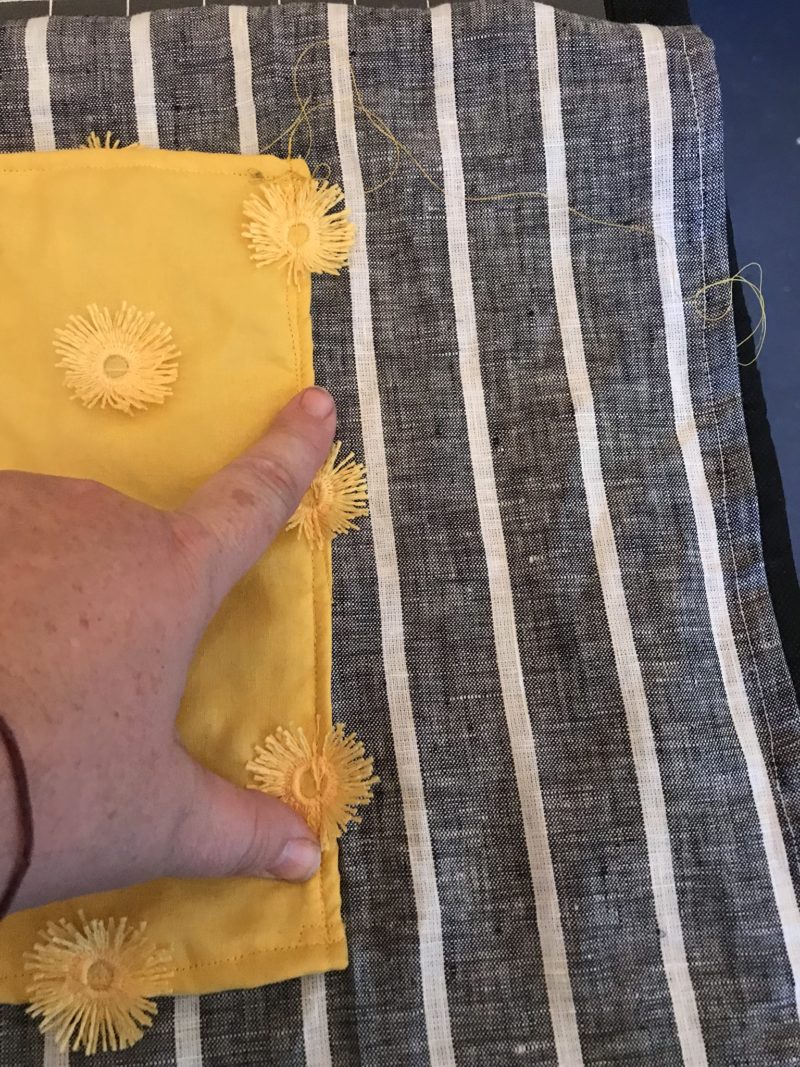
Now go back to your halfway mark and sew a straight line all the way down – this creates 2 pockets for you!
ATTACH THE APRON STRING
You have options for the string – personally, I love a grommet and the way it looks so that’s what I did. If you don’t have any grommets laying around you can create buttonholes with your sewing machine (if you wanna be fancy) and the strings will weave through those. Or you can also sew them directly on the apron.
GROMMETS:
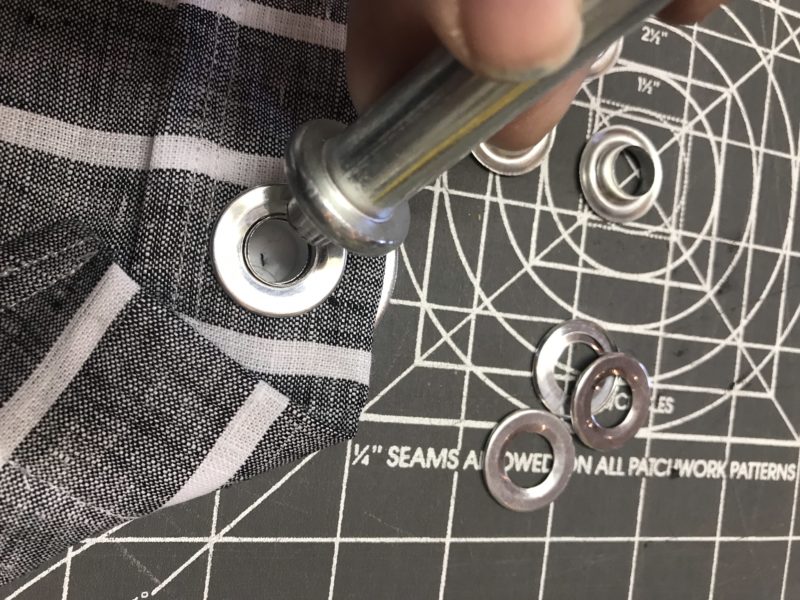
Don’t be scared of grommets. Once you see how easy it is you will grommet up a bunch of stuff! I bought my grommet set at Harbor Freight – super affordable and durable, but you can find them at craft stores, hardware stores and on Amazon too. I like the ones with a tippy-tapper (officially not called that!) instead of handheld plier styles – I’ve tried 3 of them and I have inconsistent luck with those – they squeeze unevenly. (Except my Crop-a-dile I love that thing for little eyelets -but that’s another story).
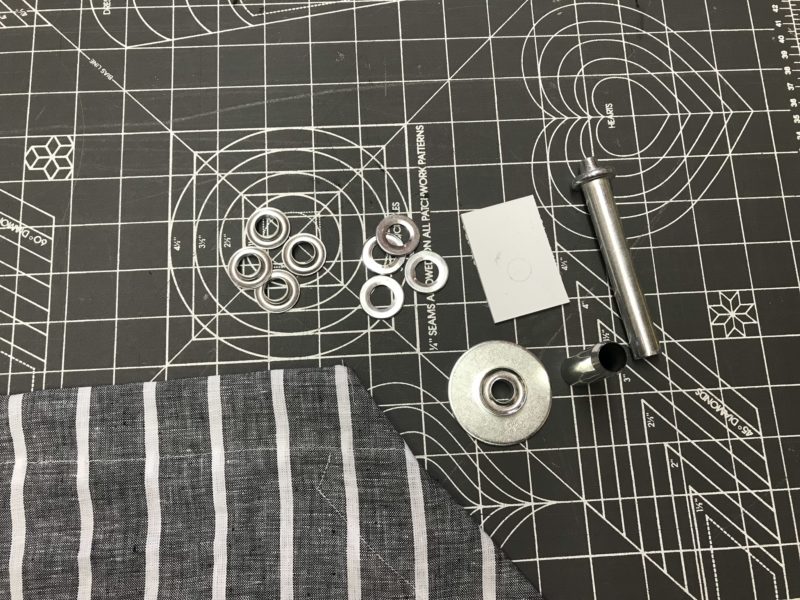
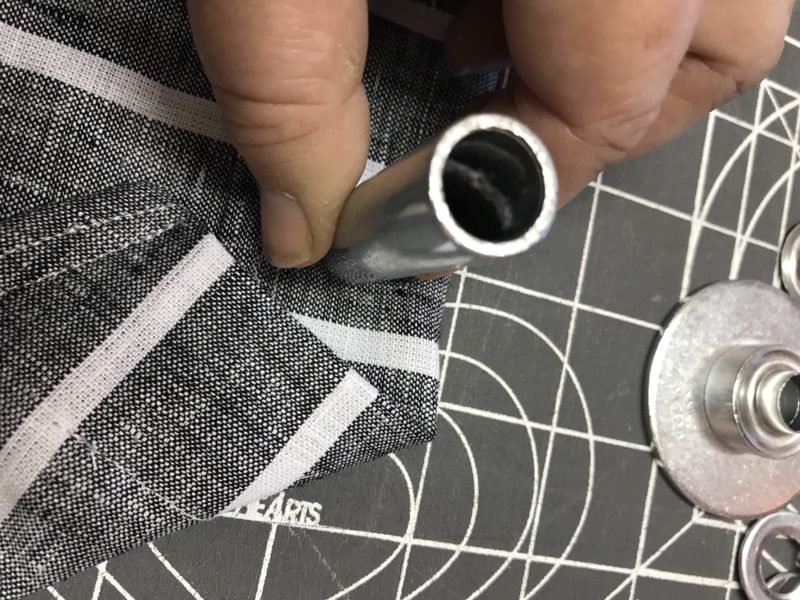
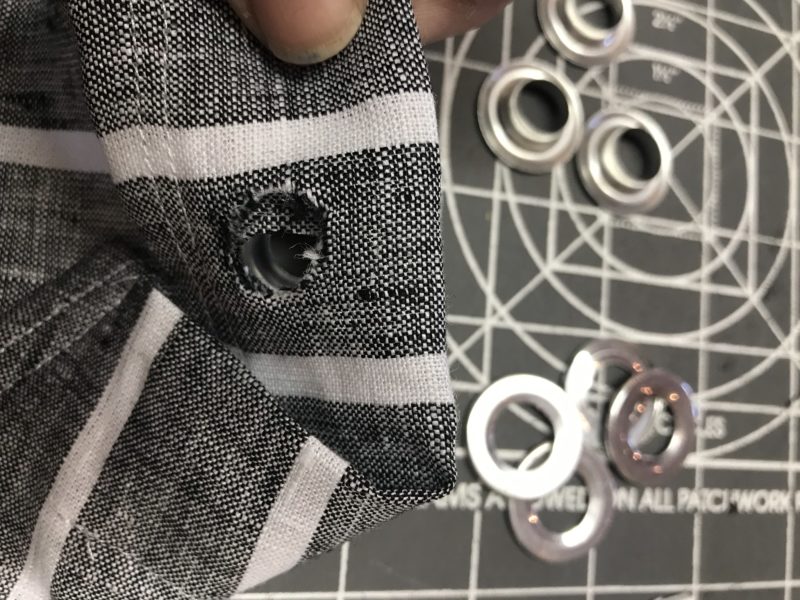
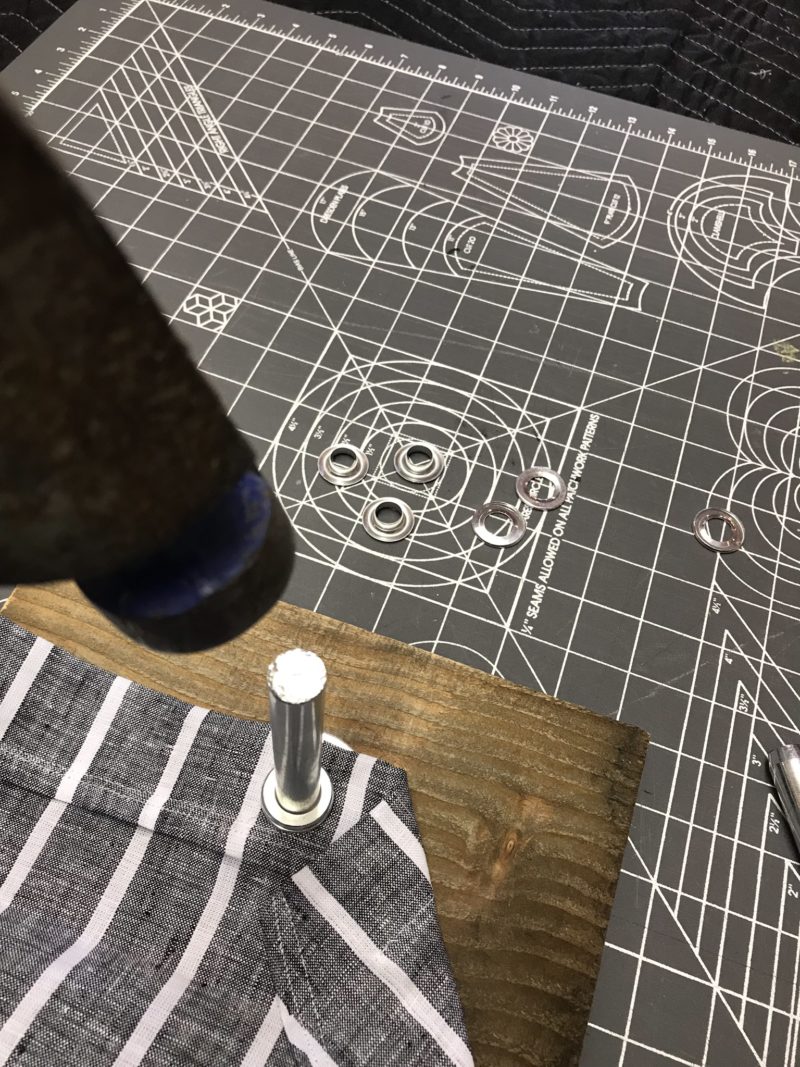
Protect your work surface with the little protective disc that comes with your kit, or use a piece of wood. Use the tool with your kit to punch out a hole in the fabric, or use scissors if needed to create a small hole for the grommet to sit.
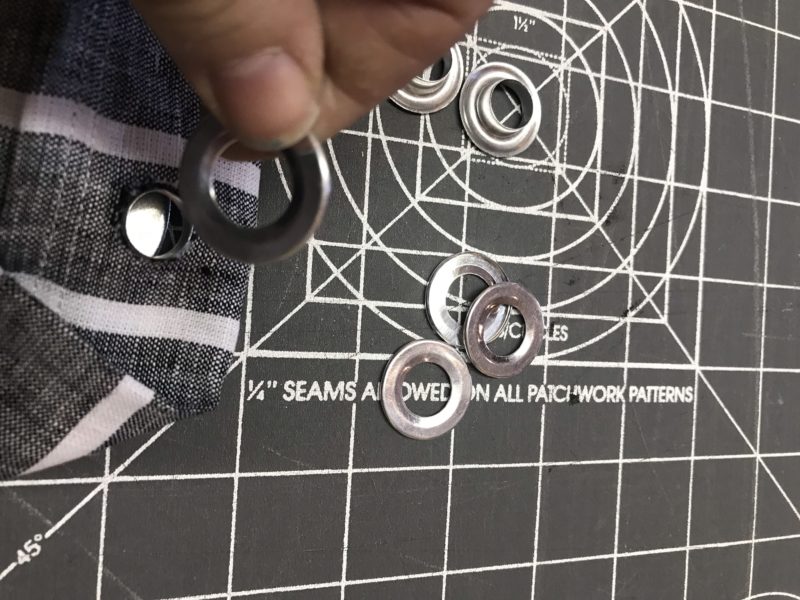
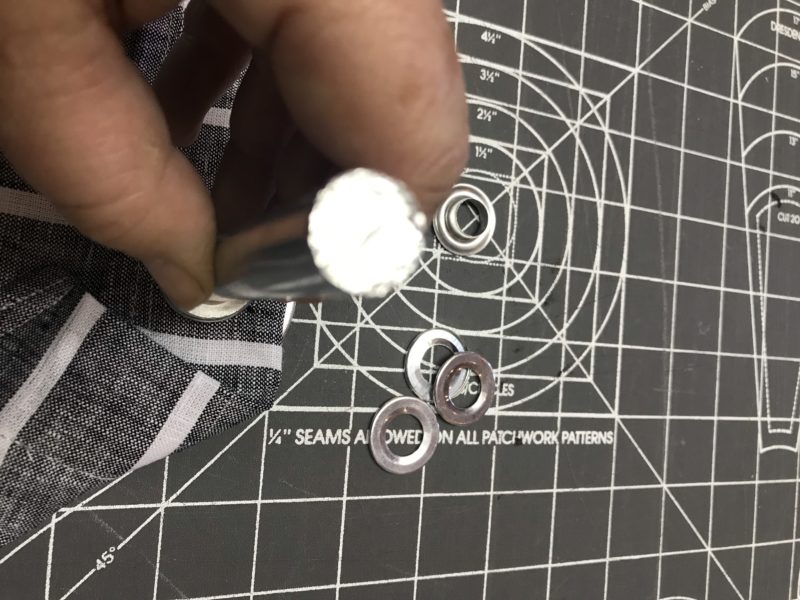
Set the grommet base on your protector with a grommet set in it. Insert the grommet into the hole through the good side of your fabric (you’ll pound on the wrong side).
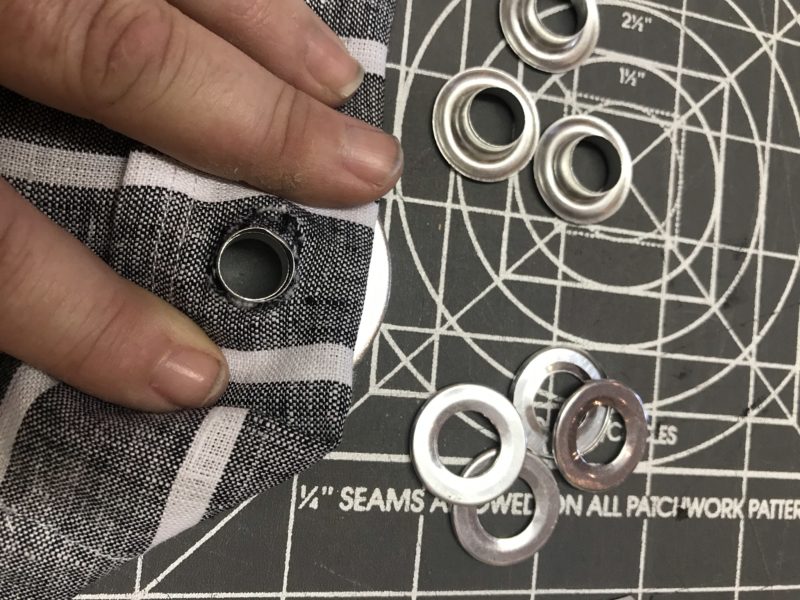
Add a grommet ring (washer) to the wrong side (of the fabric).
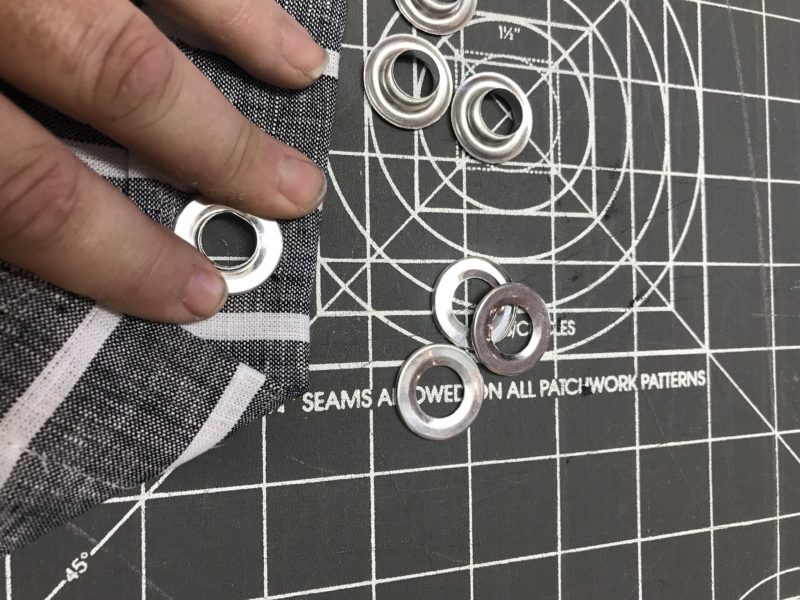
Place the tippy tapper in the hole. Use a hammer to tap the ring in place – two good quick taps should do it. Don’t go crazy or you’ll smash your grommet!
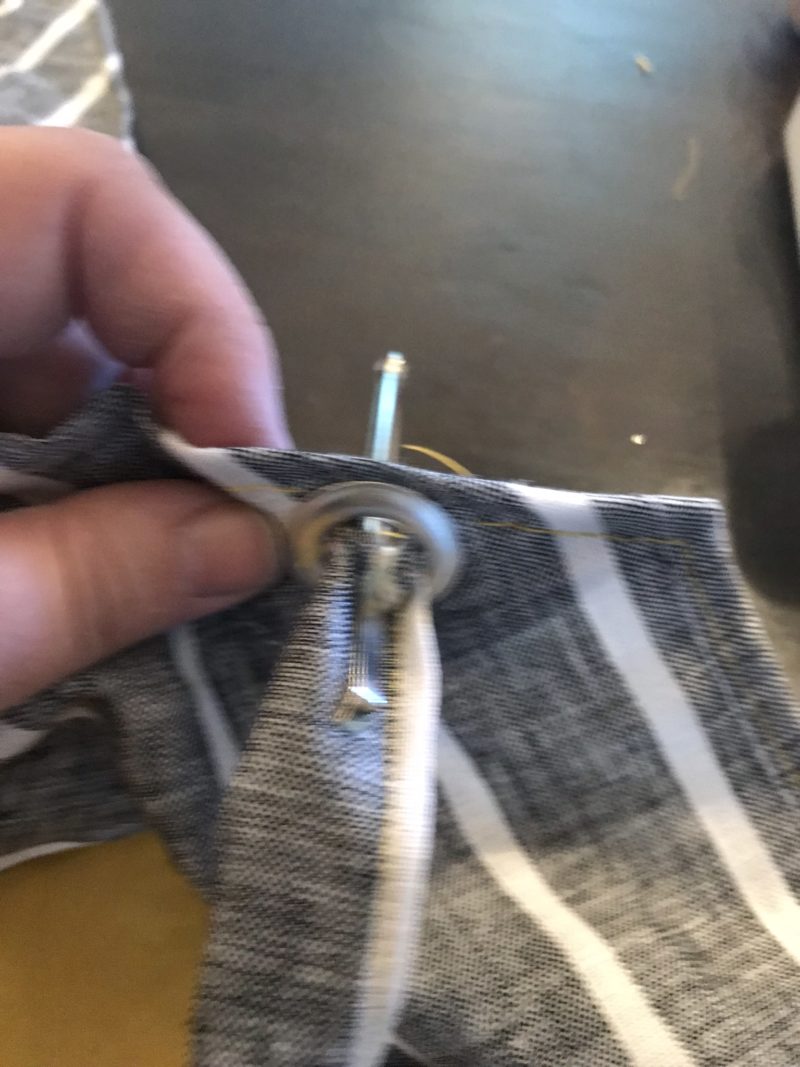
Grommets are set! For the apron, the grommets will set at the top of the bodice and on each of the angled ends (where it ties in the back).
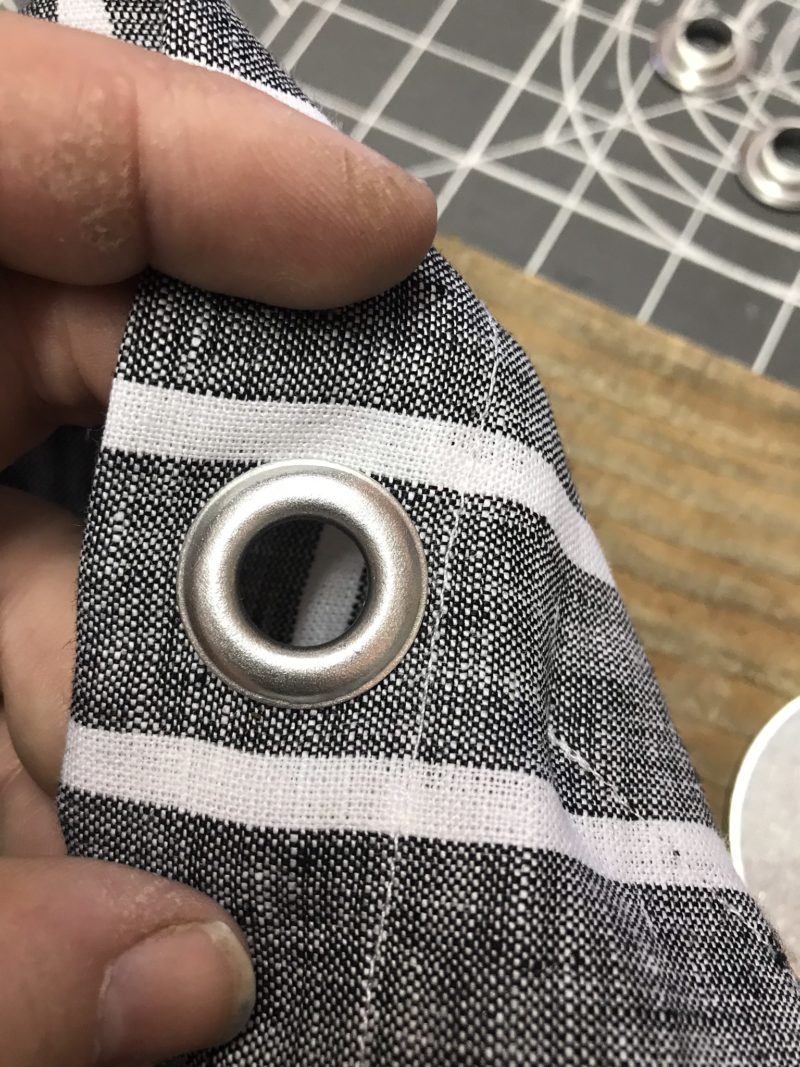
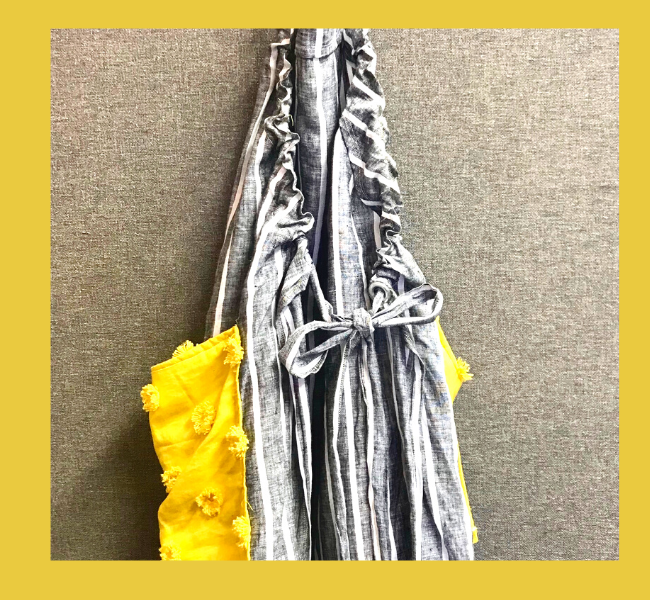
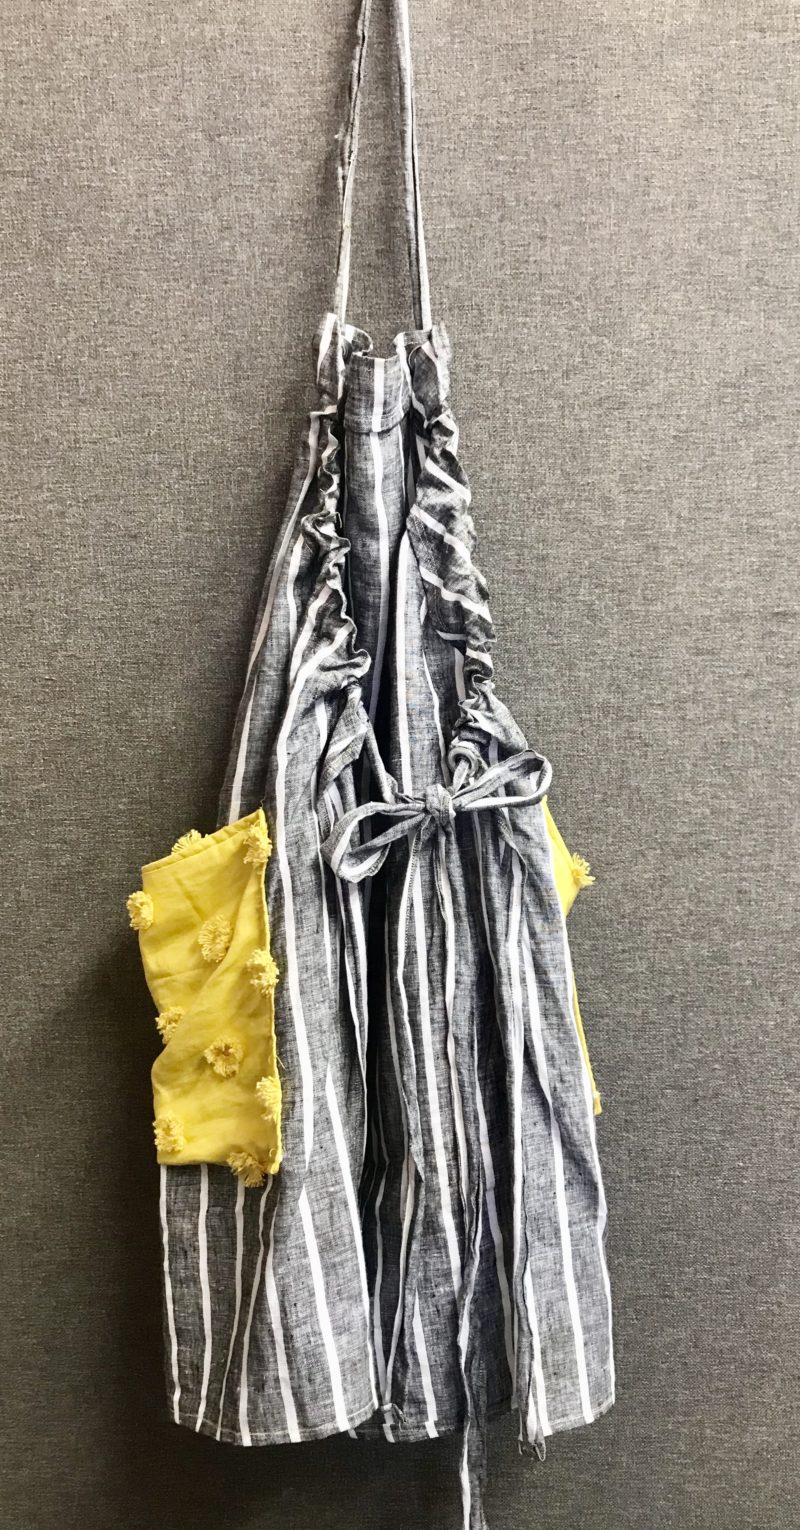
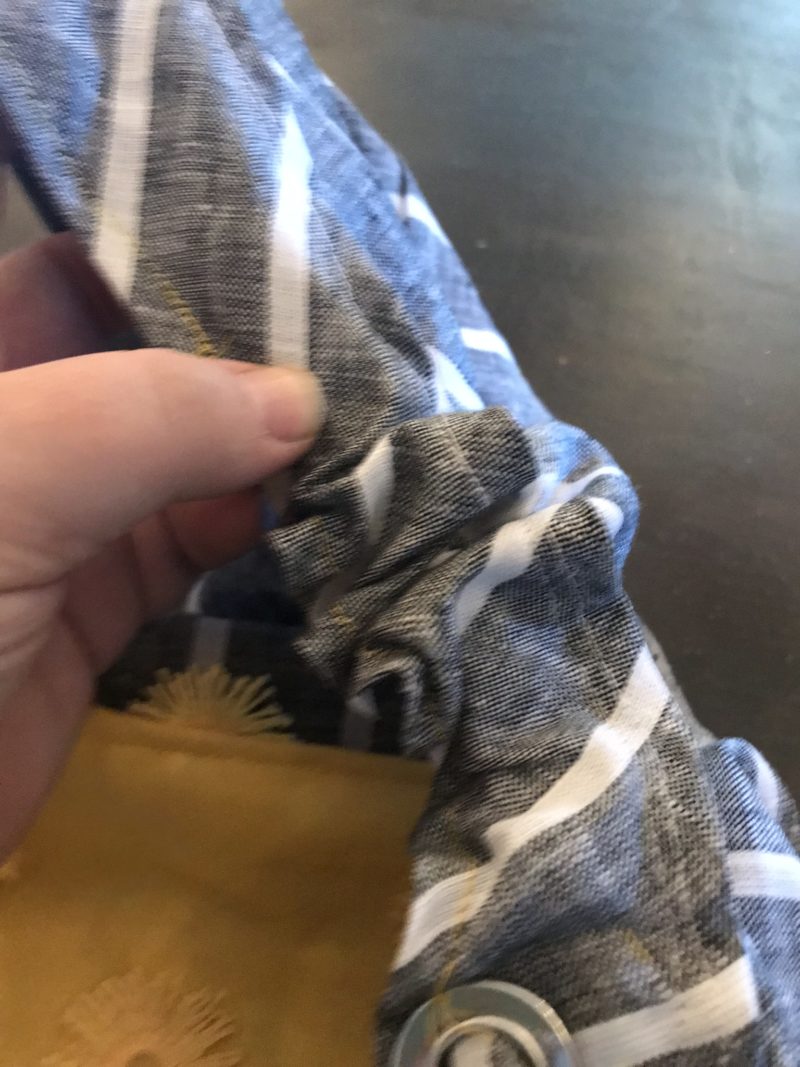
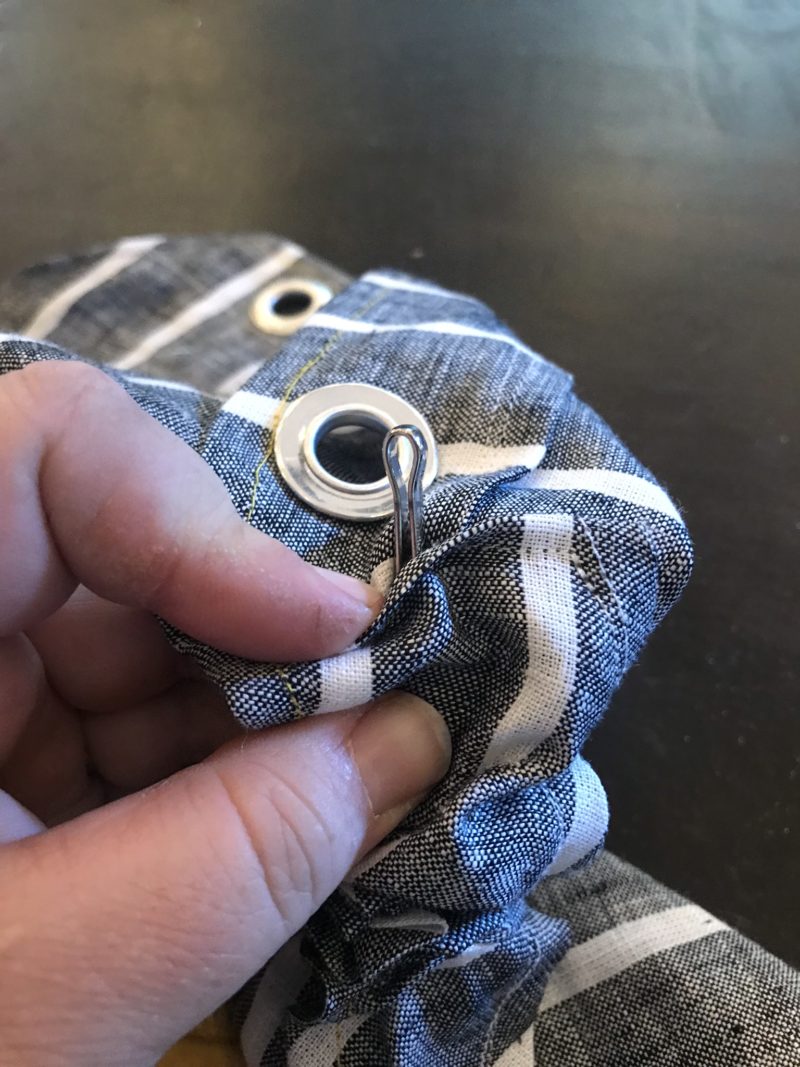
Once the grommets are on then you just need to weave the finished apron string through them. To do this use a safety pin or bodkin to push it through the hem pockets you created earlier. Start at one side and weave from back to front, then up to through the pocket hole, up through one of the grommets at the top from back to front making a loop for your neck then back through and back down the other side of the pocket hem and back out again! Now pull through and adjust to fit, tie it and you are done!
No-Grommet OPTIONS:
Sew buttonholes to weave the apron strings through: Ok so I am no buttonhole expert – my machine does this. But, you can watch You Tube for this step, or visit one of the amazing sewing blogs like Whipstitch. It’s a great skill to learn and is actually really easy once you learn.
Attach by sewing the apron strings on: You’ll make and measure two strips as mentioned above, one for the neck and one for the waist. For the neck, fold the apron string in half and put it around your neck. Hold up your apron front so you can see where it will sit – mark that spot on your apron string – a pin might be good for this step, but winging it is Ok too! Lay the apron string flat on the wrong side of the fabric and sew a straight line across – reinforce with a second sewn line. Do this on both sides. Then again at the waist. Done!
I included some links that might be helpful – they are affiliate links that help you and me too! See my full privacy policy and disclosure here. I don’t make a commission on everything though and I’ve included links to my favorites anyway because you deserve to know!


 DIY Pirate Skeletons & Halloween Party Decor