Dutch Pour Painting is my favorite paint pouring technique: Rinske Douna’s Dutch Pour Technique
The Dutch Pour Painting method by Rinske Douna inspired my initial love for paint pouring. This is the original YouTube video I watched that captured my heart and imagination.
Rinske Douna is the artist who I believe invented the Dutch Pour technique. I love it, it is glorious. First of all, let me say that I don’t know her at all, but I wish I did. She’s so fun to watch and is just lovely. I recommend you go watch her, follow her and be inspired. Here she is on YouTube, become a fan, she’s a genius.
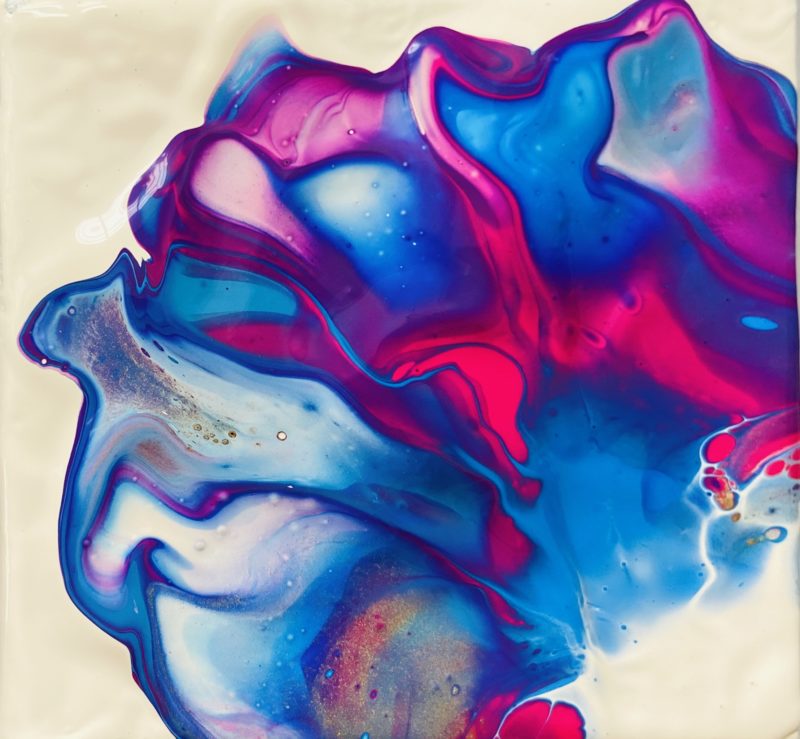
The “Dutch Pour” technique involves layering and then blowing the paint across the canvas, creating beautiful images. Instead of having full coverage on the canvas, these leave a good amount of negative space.
I wanted to try this “Dutch Pour” but I couldn’t find the “recipe” anywhere!
I was captivated watching all the videos. But when I wanted to try the technique I couldn’t find the “recipe” for “DUTCH POUR” anywhere so I watched a lot of her and other videos, jotting down notes and observations, read a ton. And then I experimented. A lot. Because it is kind of addicting!
After all my research and trial and error, I also created a really long tutorial about beginner paint pouring you can read here.
This post contains affiliate links. These are all things I really do use and recommend! See my full privacy policy here.
But this post is JUST the
Basic Dutch Pour Technique
So here ya go, let’s make this!
The Dutch Pour – the Paint Matters
If you want the same results as Rinske and her Dutch Pour, you should practice using the same type of paints she uses. It will make a difference, trust me. Once you get the hang of mixing different brands you’ll be able to mix it up and use different paint and techniques.
Use high quality highly pigmented paints.
High Pigment Acrylic Paint Pour Brands Used: Amsterdam & Winsor Newton
Acrylic paints have different densities which cause them to sink or rise in the work, the heavier pigmented paints will sink. So let’s say you use Titanium White over a lighter weight blue, the heavier white will sink below the blue. But moving and mixing and blowing paint reveals the white in interesting ways. You’ll be experimenting with these effects and can look up the density information on the interwebs if you want to be more exact.
If you are using other brands or cheaper paint you won’t get the same results right off the bat. But that’s OK! You’ll have to experiment, which is fine, just be aware of it and play around!
Mixing the Paint for a Dutch Pour
Because she uses high pigmented paints she can get away with adding up to 50% water without destroying the integrity of the paint. This is one of the things that makes Rinske Douna’s Dutch Paint Pour technique unique.
Rinske generally doesn’t use mediums, she just uses water!
I was really surprised by this since most of the other paint pourers I follow use a “medium” or additives like Liquitex Professional Pouring Effects Medium or Floetrol Additive.
I have seen her experiment with Floetrol and other things, but she prefers just water because she says the pigments stay brighter. Remember, she uses highly pigmented paints – which is why this works!
Dutch Pour Paint Mixing Steps (Recipe Follows)
- Pour each paint color in a cup (I use glass ones, but any cup will do). I like to mix up more than I need for all the colors and store them in squeeze bottles, glass jars, or even little condiment containers.
- Mix your acrylic paint with water only for the classic Dutch Pour. And try not to use more than 50% water because it can break down the paint too much. Add a little bit of water at a time and stir. Rinske never measures, she just uses her senses to see how it flows off her stir stick.
- When mixing for a Dutch Pour aim for a paint texture like warm honey or heavy cream. You need the paint to be able to move freely. When it’s mixed the paint should stick to the stirring stick and should not transparent – or you will have used to much water.
- For the Dutch Pour, you will need a lot of your base color, like white. The paint recipe for the base will need to be considerably “looser” than the traditional texture described in my Beginner Paint Pouring post. That’s because the paint layers acts like a slip and slide kind of, allowing the colored paints to move and flow around.
The Dutch Pour Paint Mixing Recipe
Be patient with your paint recipe mixes. Paints have different viscosity, and brands and pigments vary, so there is no sure-fire recipe with so many factors! So you will have to rely on your senses – as well as measuring.
Dutch Pour Paint Recipe for the BASE LAYER:
Titanium White Paint from Amsterdam mixed with about 45% water.
For 2 ounces of paint (4 Tbs) use about 1 T + 2 tsp water, no more than 2 T.
Dutch Pour Paint Recipe for the COLOR LAYERS:
Highly pigmented paints mixed with between 10-45% water. Always start with less water.
For 2 ounces of paint (4 Tbs) start with adding 1 Tbs of water (25%), add 1 tsp at a time, no more than 2 T.
Ok, so you might wonder why I only put a 2 ounce recipe here…it’s because there’s no sense in wasting paint while you practice! Once you have mastered the ratio’s and feel of the paint you can make larger quantities, but paint is expensive so start small!
BREATHE and BE OK WITH the MIXING experiments!
Some examples of mixing Dutch Pour paint
Here you’ll see me mixing my Amsterdam base layer. I added small amounts of water, starting with 1 T, and adding 1 tsp at a time after that. If the stir stick still stands up in my cup I know it’s too thick, I want it to stand up and then slowly drop to the side. When I pull my stick up out of the paint it should slide off the stick in a thick stream.
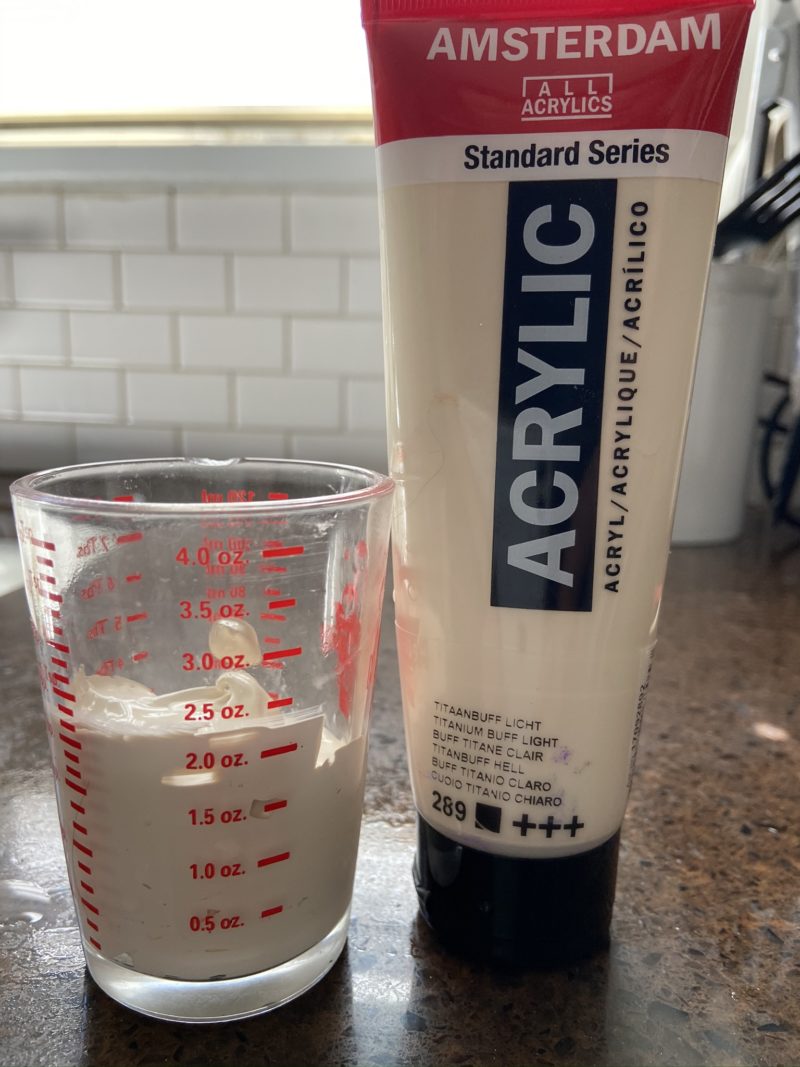
Amsterdam paint straight out of the bottle is very thick. 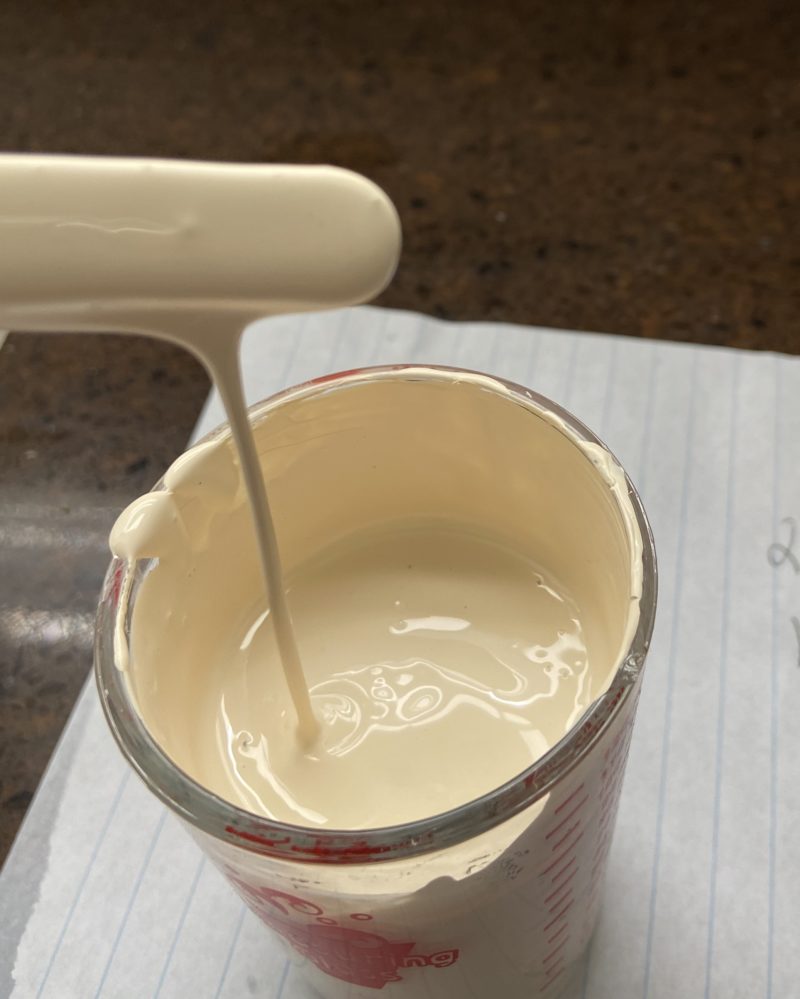
Amsterdam pain thinned to perfection with just water.
And here is my blue, a Winsor Newton paint, it is VERY thick (um it’s been around the block, just look at that tube!). I had to break my rule and add more than 50% water to get it to move properly. It is old, I’ve had that tube a hot minute so that could be a factor. I point that out because I want you to know that rules can be broken – don’t be scared!
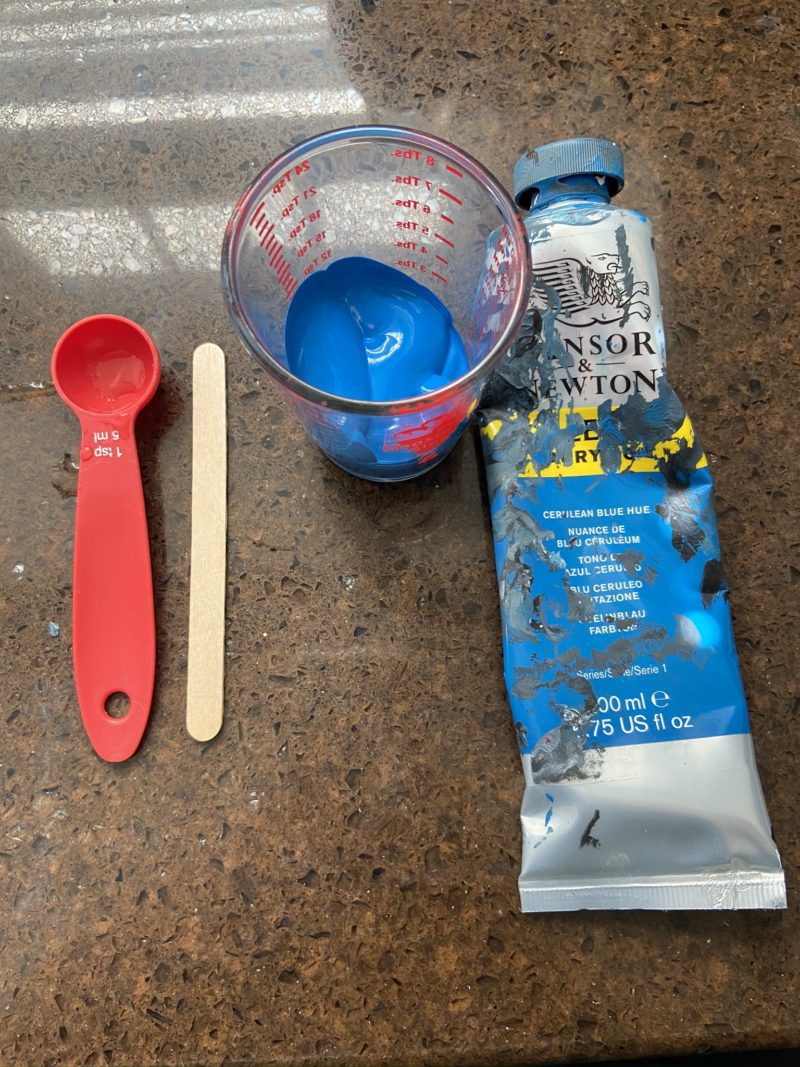
Old crusty Winsor Newton 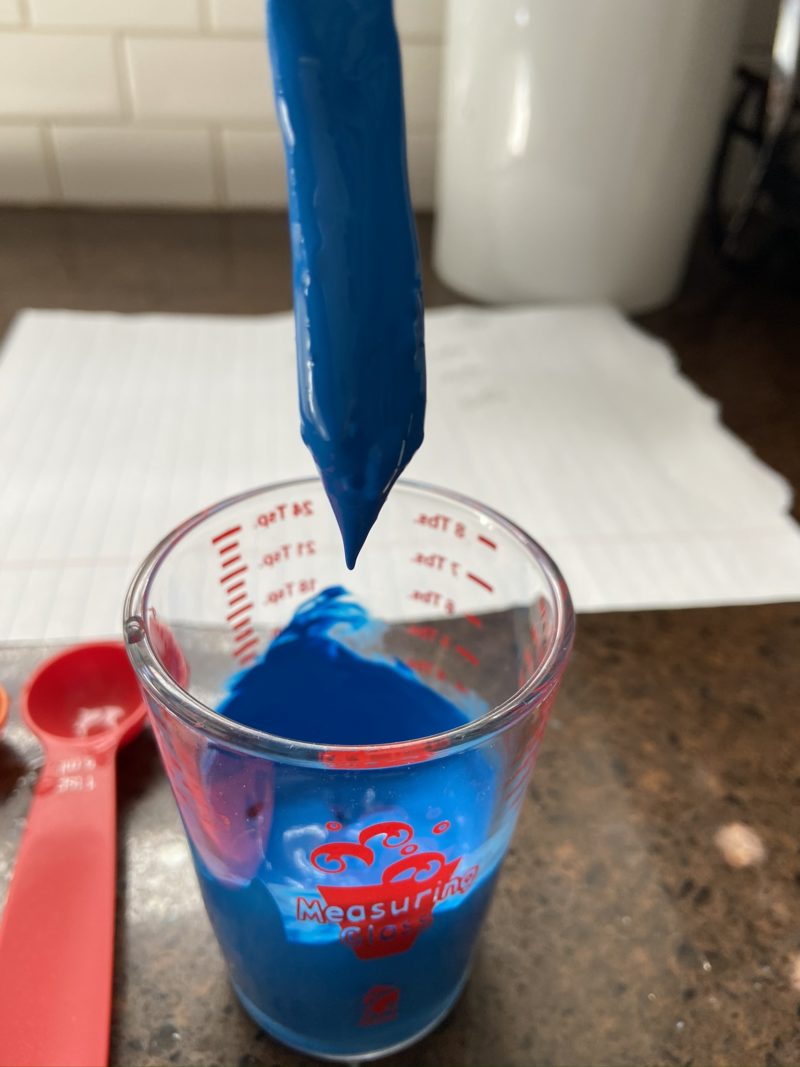
So thick I had to break my rules!
And if you are like me and have some cheaper less pigmented paint, use way less water!
Most of the cheaper acrylic paints have lower pigments and higher amounts of water already. Some of them are paint-pour-worthy right out of the bottle (and some give great cells too). So always check it, test it, stir it up and watch it drip off before adding water. Then you can start with a very small amount. As you can see here with this cheap pink color I only added 1/2 tsp of water to that 1 ounce of paint and is was plenty loose.
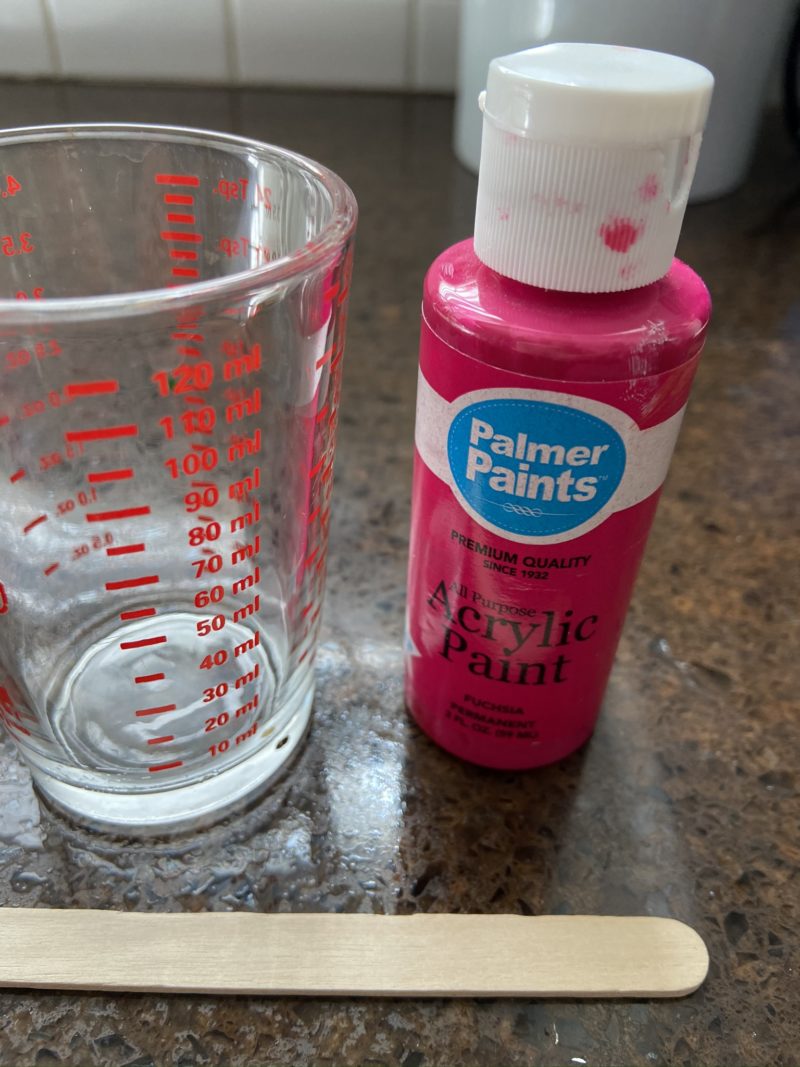
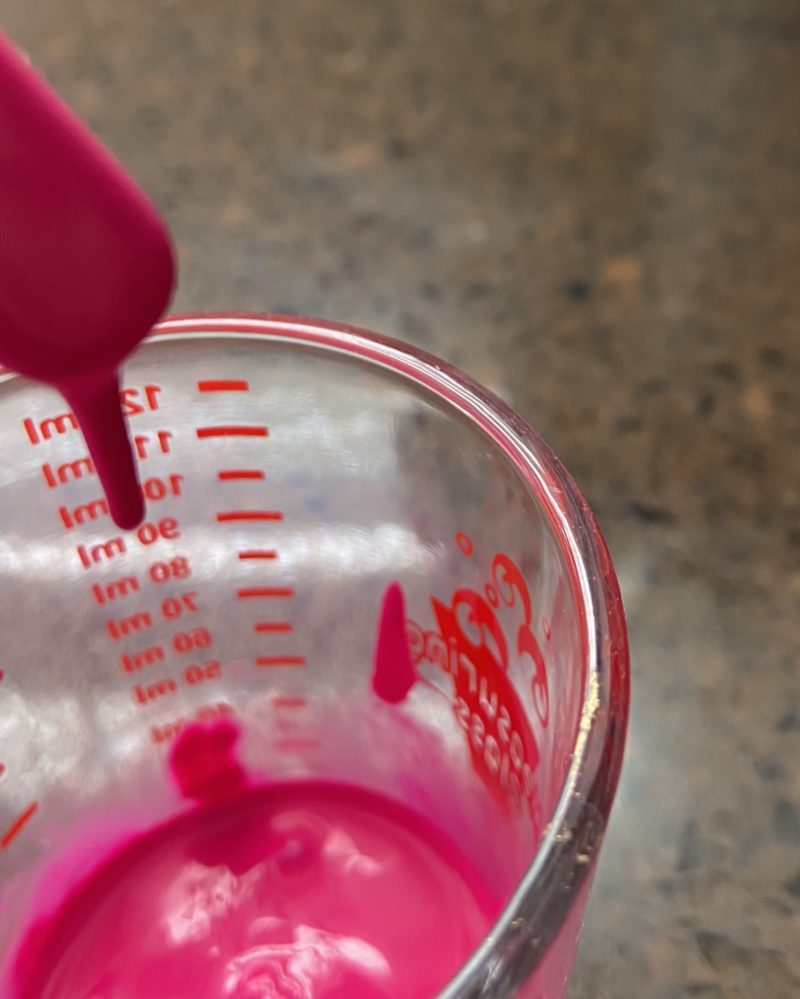
Poured off the stick right out of the jar.
The Dutch Pour Color Composition
One of the fun parts is selecting your colors. Rinske is a genius at colorPalmer Paints 42ct 2oz Acrylic Paint Value Tray Acrylic Paint combinations. A true artist has this skill but for the rest of us, we may need to copy or experiment.
She generally selects 1 vibrant color, 1 complementary color, 1 contrasting color, and 1 metallic color.
For example, she has used Primary Blue, Yellow, Amsterdam Red Violet, Gold. Or Phyllo Blue, Vandyke Brown, Phthalo Blue, and Gold.
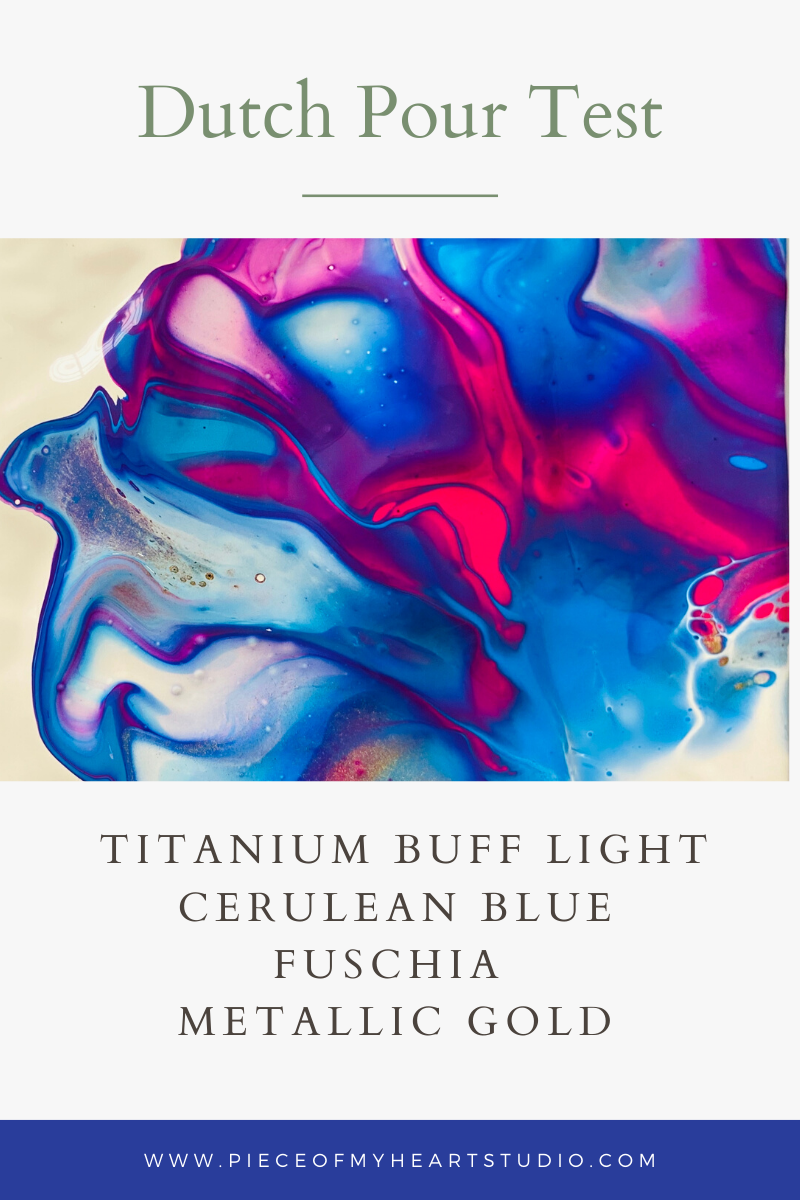
For my example, I used Amsterdam Titanium Buff Light, Winsor Newton Cerulean Blue, Palmer Paints Fuschia, and Sargent Metallic Gold
Prepare The Dutch Pour Canvas
Tape the back of the canvas with masking or painters tape to keep it clean (you’ll pull it off once it dries). Put push pins in each corner on the backside so the canvas will sit flat, not stick to the surface, and the paint will be able to pour easily off the sides.
Cover the Dutch Pour Canvas In The Base Color
Next, you will cover the entire canvas in the base color. It is usually white (sometimes black or even metallic) but it is a solid base color. Pour a good amount of base paint, enough to cover your canvas and have it drop off the sides. You can blow, spread it, or tip the canvas around and off the edges, covering the sides.
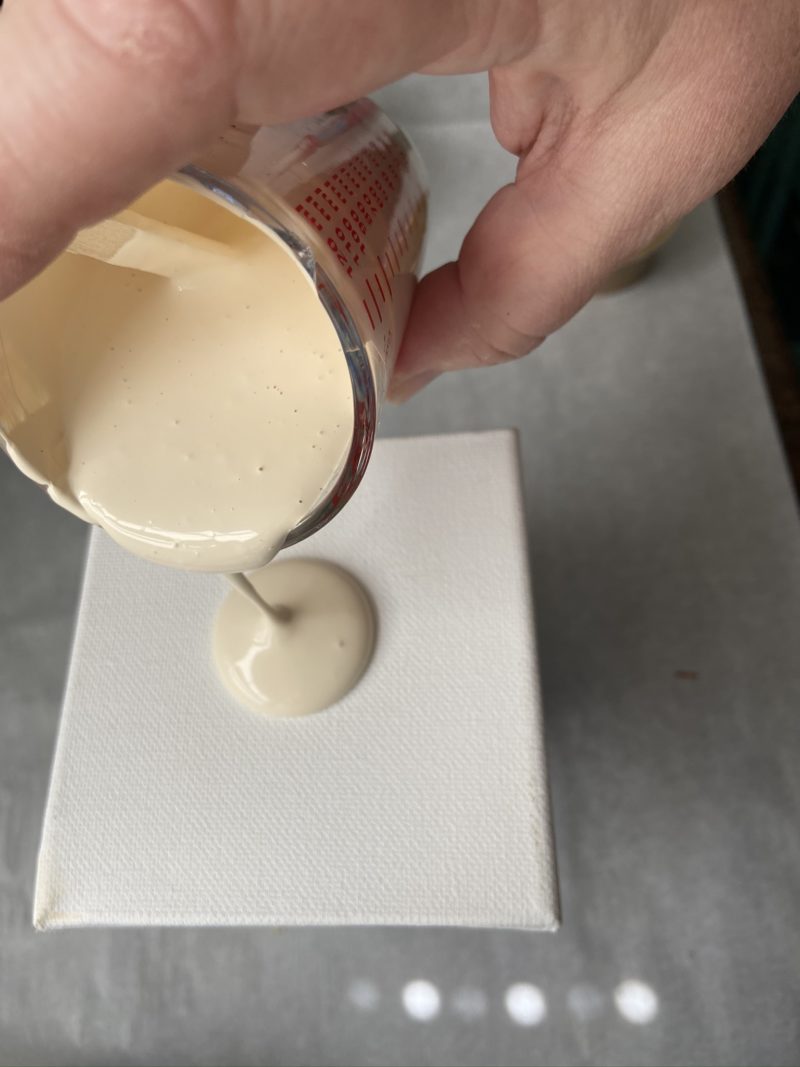
Pour a nice puddle. 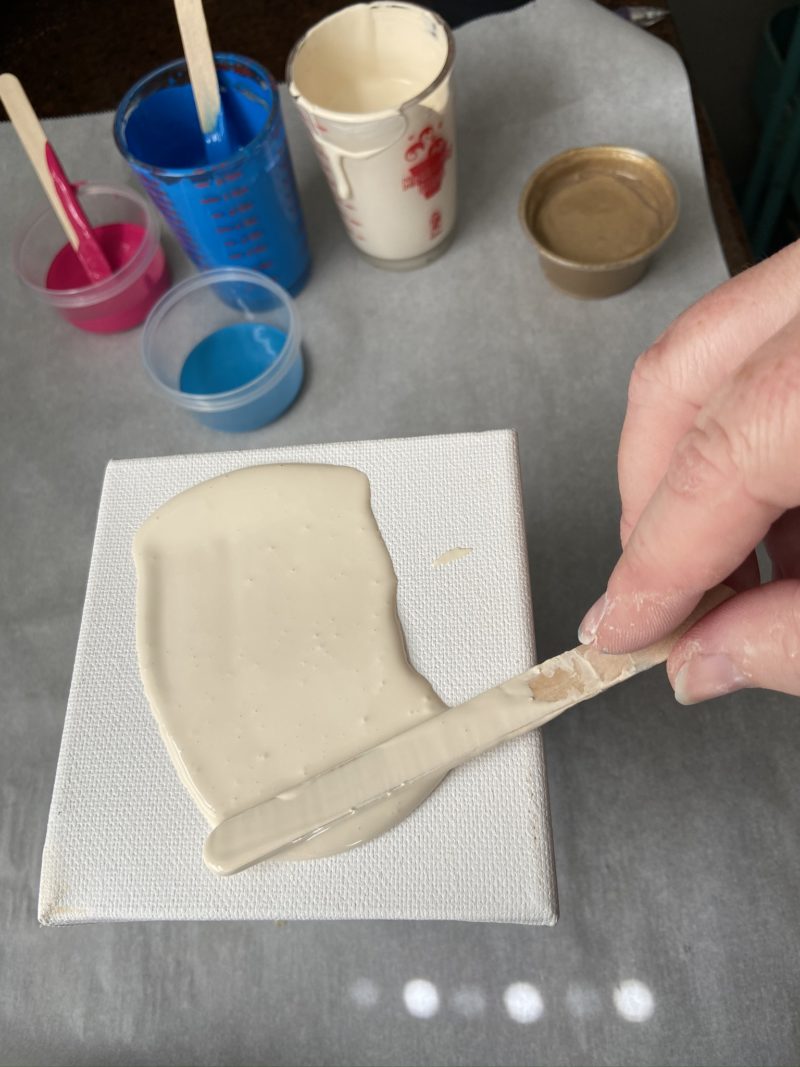
You can spread it. 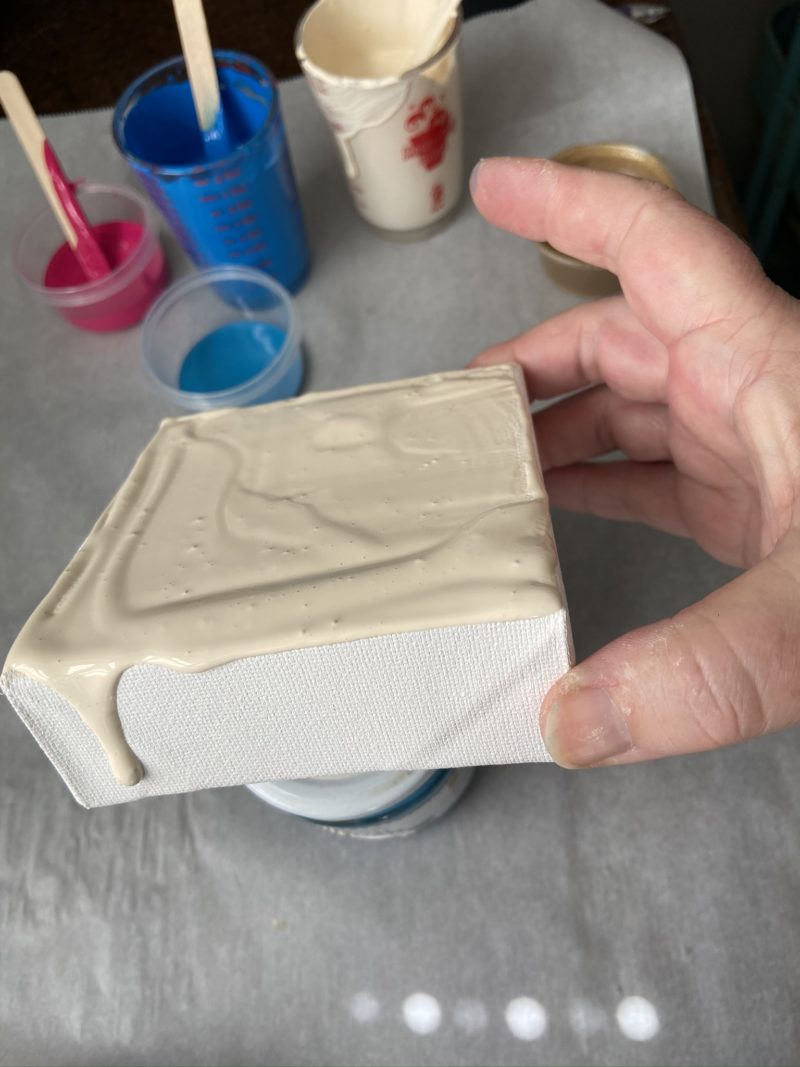
You can tip it. 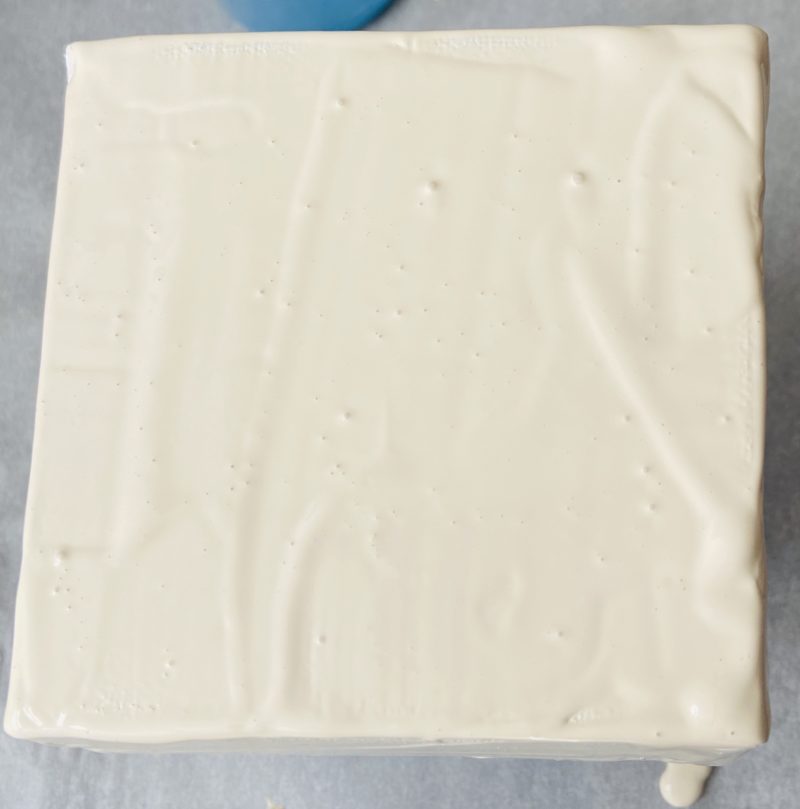
Covered!
Pour the Paint Colors
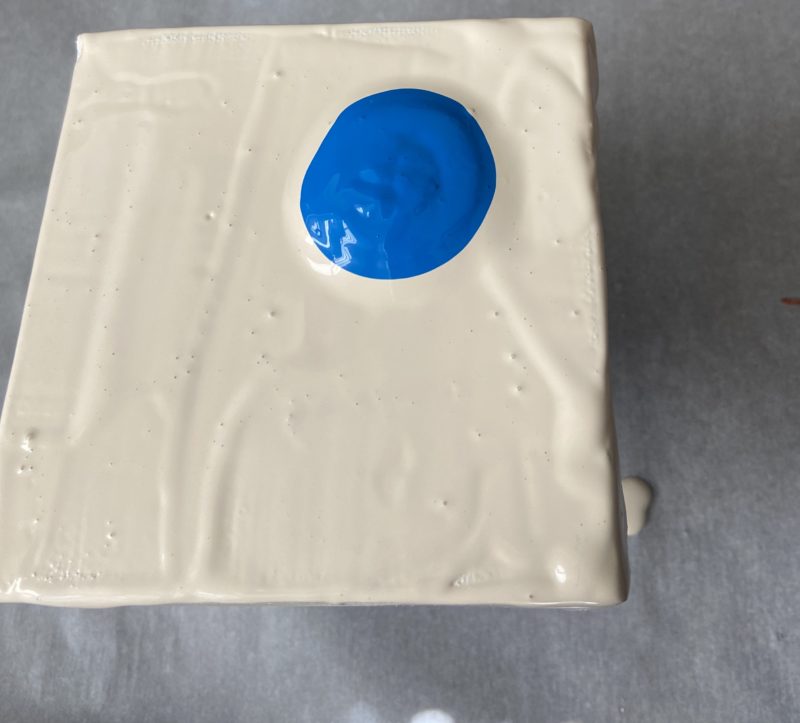
Now for the fun part! You will layer your paint design colors right onto your canvas. Remember those color combo’s you picked? That’s what you will be laying, starting with the first vibrant color. Pour the main circle of that color right onto your canvas, start with taking up about 1/4 of your canvas with this circle.
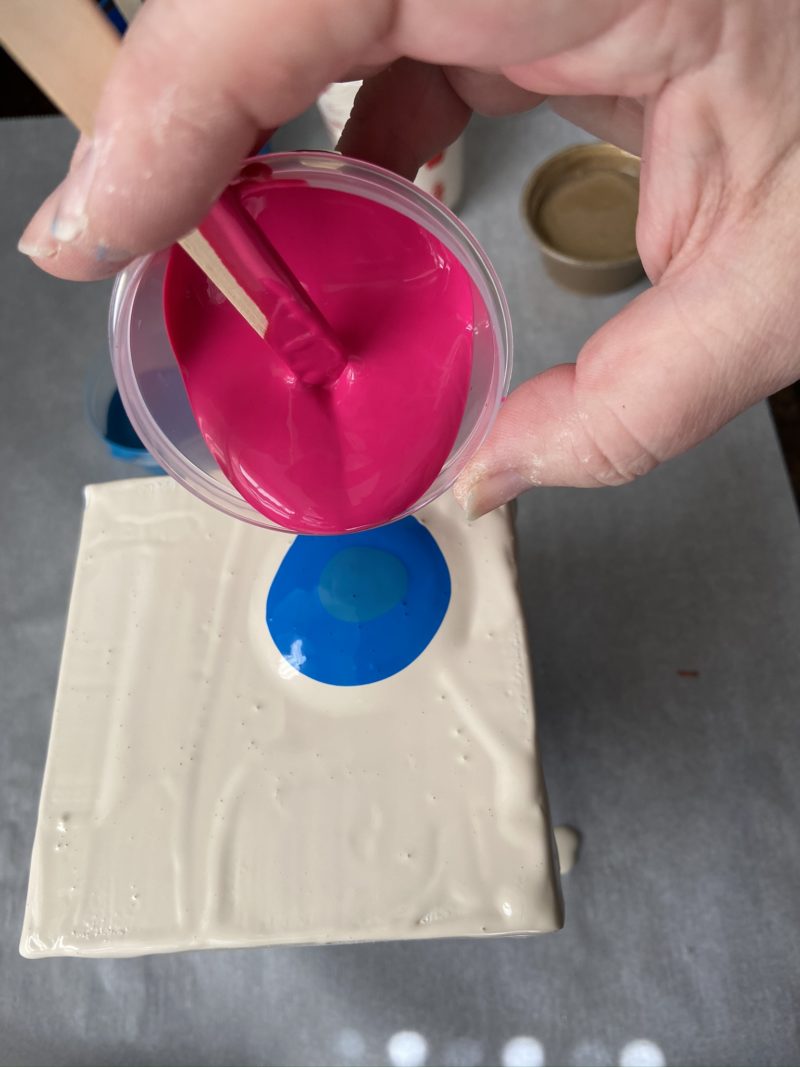
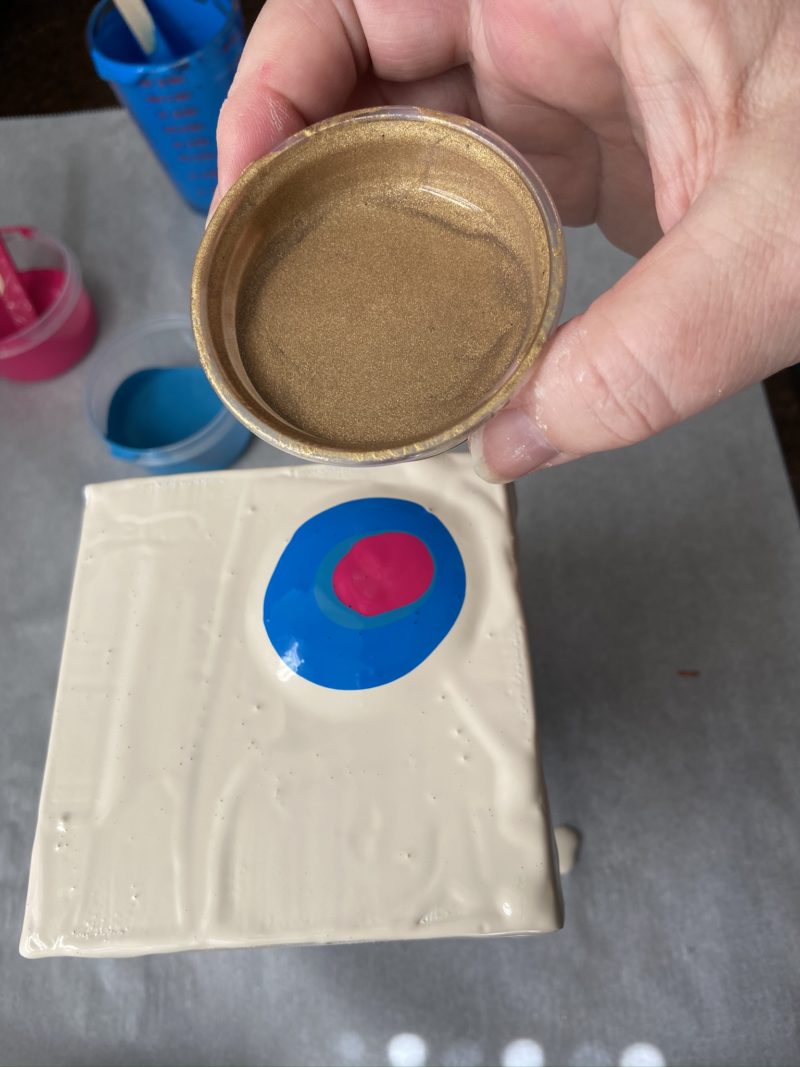
Take your next color and pour a smaller amount directly into that first circle. Continue doing this for all your colors. You’ll end with a very small circle, maybe some dribbles, it’s all going to be beautiful so breathe now!
Pour the Base Color again, around your colors
Next, you will grab your base color again. The Dutch Pour technique involves pouring your base color all around your freshly laid paint circles This helps the paint move (remember that slip and slide action) and interact, even mixes a bit, and sometimes creates cells.
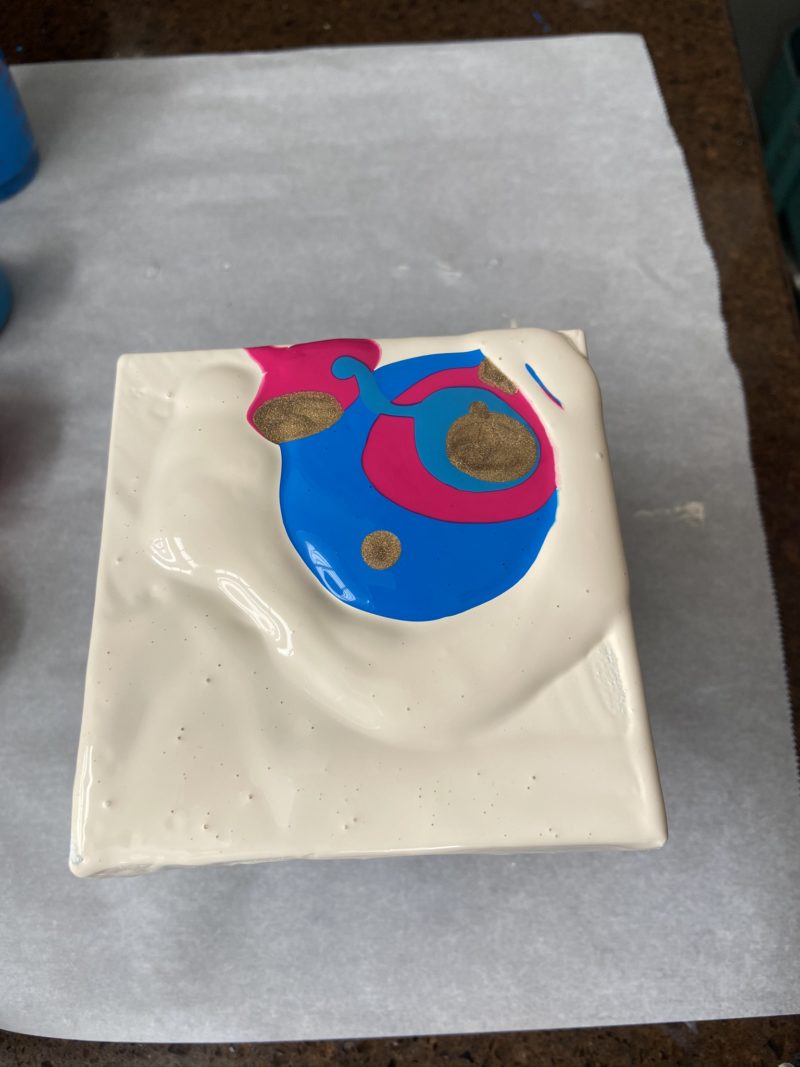
Blow it out for the Dutch Pour
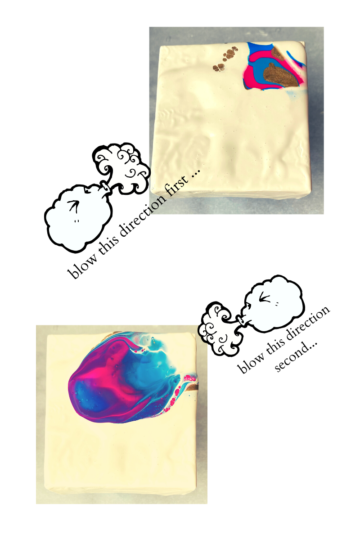
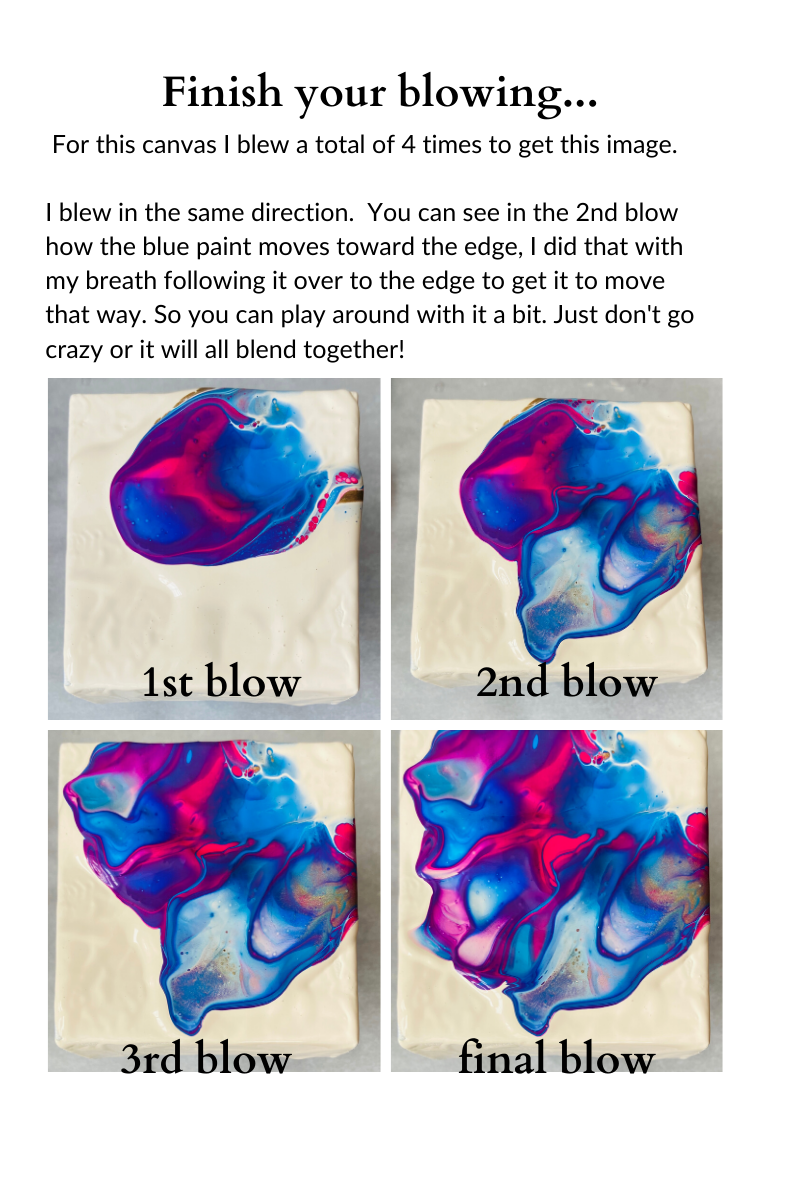
Now comes the really wild part, ok, get ready. You BLOW the paint around to create your beautiful art.
I used my mouth to blow on the small size canvas. But for larger pieces – and when you become an expert – you will take your hair dryer, on low, gently and quickly blow the base color over the top of your color circles in one direction – usually easiest to blow toward you.
Then you will reverse it and once again gently blow back the other way and off the edge of the canvas. You should use quick and smooth short swipes. If you blow too much or too long your paint will just blend all together or blow right off the canvas. It is hard to explain with words alone so I urge you to watch her videos.
And you will probably need to PRACTICE!
The first time I tried this I blew paint all over my studio!
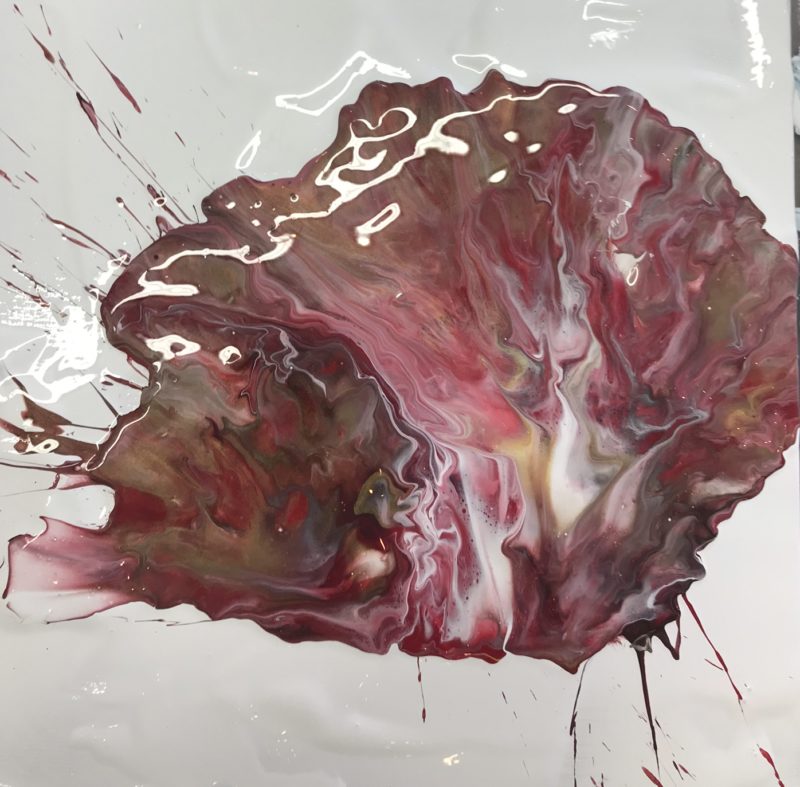
It made me laugh but dang it was a mess. You have to start with a LOW blow and angle it just right. I would practice this with just the base paint at first so you don’t waste canvases and paint!
I mean, just look at this disaster! First, my paint is way too thick. And it got worse, paint splattered everywhere. wish I’d taken the pictures of the floor and myself when I got done with this!
Torching the Dutch Pour
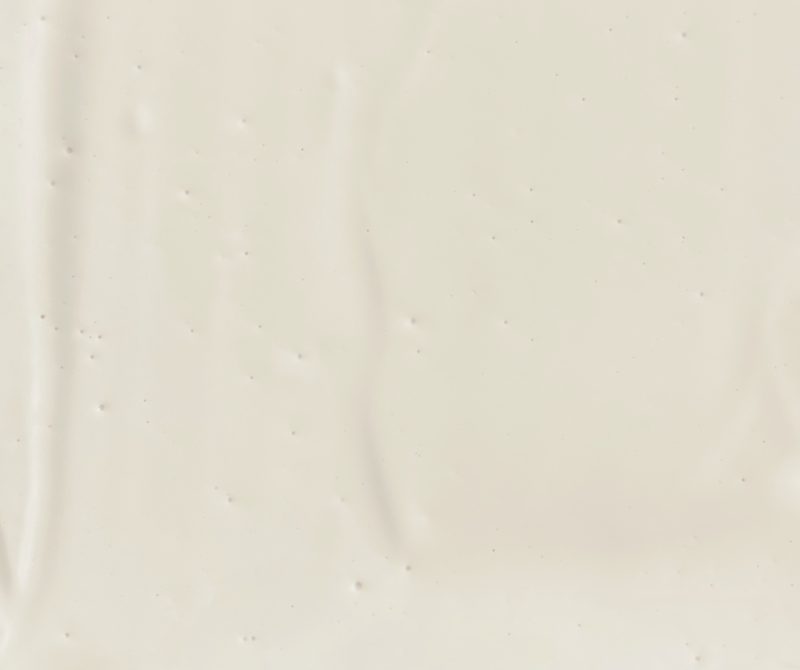
When you pour paint onto the canvas you will have air bubbles surface (the more recently you mixed your paint the more air bubbles you’ll see). You should let these come to the surface and pop – this can be helped along by torching them. I use a kitchen torch like you’d have for creme brulee. You can do this before you blow, or after, or both. Experiment.
Take a close up look at this freshly mixed and poured paint and you’ll see the air bubbles…
Cells, Lacing, Crazing and more on a Dutch Pour
Cells are created by different weights of paints, different mediums and additives used and other mysterious things that you often have no explanation for. Rinske doesn’t use additives or silicone. Her cells are created by the paint and water only.
For example, when the titanium white is blown over the color circles it starts to sink and break through the colored paint, and that can sometimes create cells. The amount of water added will also generate different outcomes.
It is all science baby! With all the different factors you will find it almost impossible to get 2 paintings to ever turn out exactly the same.
Just take a look at the crazing craze cells popping on the edge of this test piece!
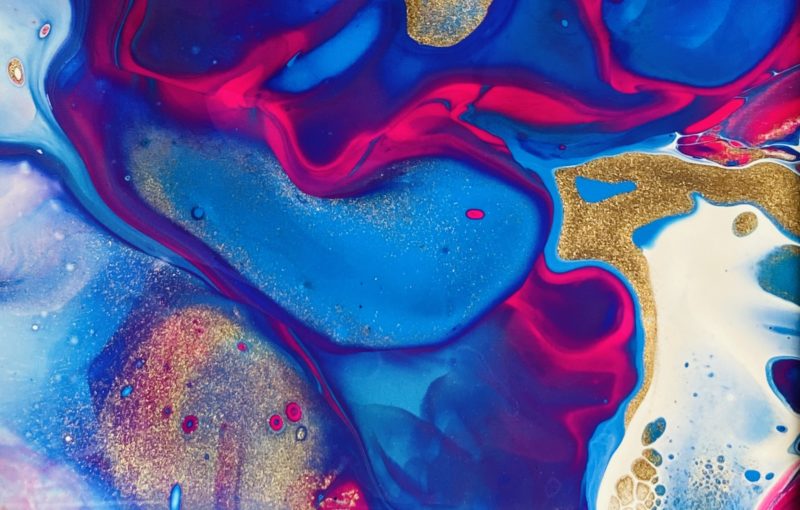
Paints I used for this test:
Winsor & Newton Cerulean Blue Acrylic Paint
Amsterdam Standard Series Acrylic Titanium Buff
Palmer Paints Fuschia Acrylic Paint
Sargent Art Gold Metallic Acrylic Paint
The Basic Dutch Pour Steps Summed UP
TIP: Watch her videos and practice doing what she does. There is no way to do it but to just go for it!
- Use highly pigmented paints. for good results.
- Mix the base color with up to 45% water.
- Mix your color layers with between 10-45% water depending on the density of the color. Aim for heavy cream to honey texture. It should coat the stir stick and drizzle off.
- Cover your entire canvas with your base color. This helps move the paint around.
- Layer your image colors in circles right on the canvas. Leave a lot of negative space (only cover a portion with colored paint).
- Pour a circle of base color around the image colors. This will mix with the colors and help move the paint around.
- Use a LOW hair dryer, or your mouth, to quickly blow that base color over your image colors.
- Then reverse it and blow it back the other direction using only a few brief and LOW blows.
- Use your mouth or a straw to continue moving the paint for details.
GO FOR IT! Do that Dutch Pour!
Be fearless in your trials. My first attempts at this technique were horrible. I scraped the paint off and started over many many times. But then I “got it” and continue to get better at it. But don’t despair over your disasters. They are learning experiences!


 The Best Gluten-Free Keto Chocolate Cake

How do you keep the paint from continuing to flow over the edges as it dries? My pieces are gorgeous and then I come back the next day and it’s all stretched out as it continued to flow over the edges.
Hi Julie!
I hear you, I feel you, I hate it when that happens! There are a few things going on that make the flow out of control. First up, you may have too much fluid in the paint pour mix (whether it’s water or floetrol or glue) it may be too thin that it just keeps moving and moving around and off the edge. Another factor is the weight of the paints – they have different weights depending on the pigments (different brands vary a lot as well), and the heavier paints will sink to the bottom and can “pull” at your other paint colors which affects the overall look and flow of a painting. And lastly, it’s part of the fun (frustration) of paint pouring – you never know what you are going to get. But have hope, the more you do it the more you get to see and understand how your brands of paint flow and what ratios to use for paint and water that give you the best outcome. It took me lots of patience (which I seriously lack) and pours to start mastering it. I practiced with paint colors that blend together nicely so when I had to scrape the canvas and start over I didn’t waste the paint (for example, white and red practice makes a pretty pink paint that I scrape and repour). I hope this is helpful and if you have more questions let me know! I can also help with a recipe if you let me know what brand and color of paints you are working with!
Take care,
Alison
hi Julie, one more thing as well is to make sure you take a popsicle stick or something similar and run it along the bottom edge of your canvas to get rid of the drips as they will pull down and distort your cells as they drag the paint down.
Excellent tip Leslie! Thanks for sharing!
Good morning – would you kindly advise what tool can be used to spread the dutch pout base onto a surface that is stationary (non-moveable). Would a roller perhaps work? Look forward to hearing from you – thank you
Hi Lisa!
Thanks so much for the great question! I’ve done a table top before and used a plastic spreader made for spackle, they are wide and flat. I have also used a bread dough scraper. In a pinch you could use the side of a plastic notebook cover. I’d like to use something wide, smooth, flat, that won’t let too much of the paint stick to it (a paint roller would soak up a bit of your paint). I’d love to see how your project turns out! Let me know if you have any more questions!
Alison
I never believed I could make something beautiful with paint. I have watched a lot of techniques, but I am so inspired by the Dutch Pour painting technique. It will be a challenge, but I will give it a try. Thank you so much for sharing your knowledge.
Hi Dee!
I have no doubt you will make many beautiful things with paint! I’m so glad you are going to give the Dutch Pour a try!
Have fun,
Alison
I can’t thank you enough for this detailed step by step process. Exactly what I needed. You’re awesome!