Pirate Skeleton Halloween Decorations and Costumes
This post has been updated, it was originally published 10/17/2019.
This post contains affiliate links, helps you and me too! See my full privacy policy and disclosure here.
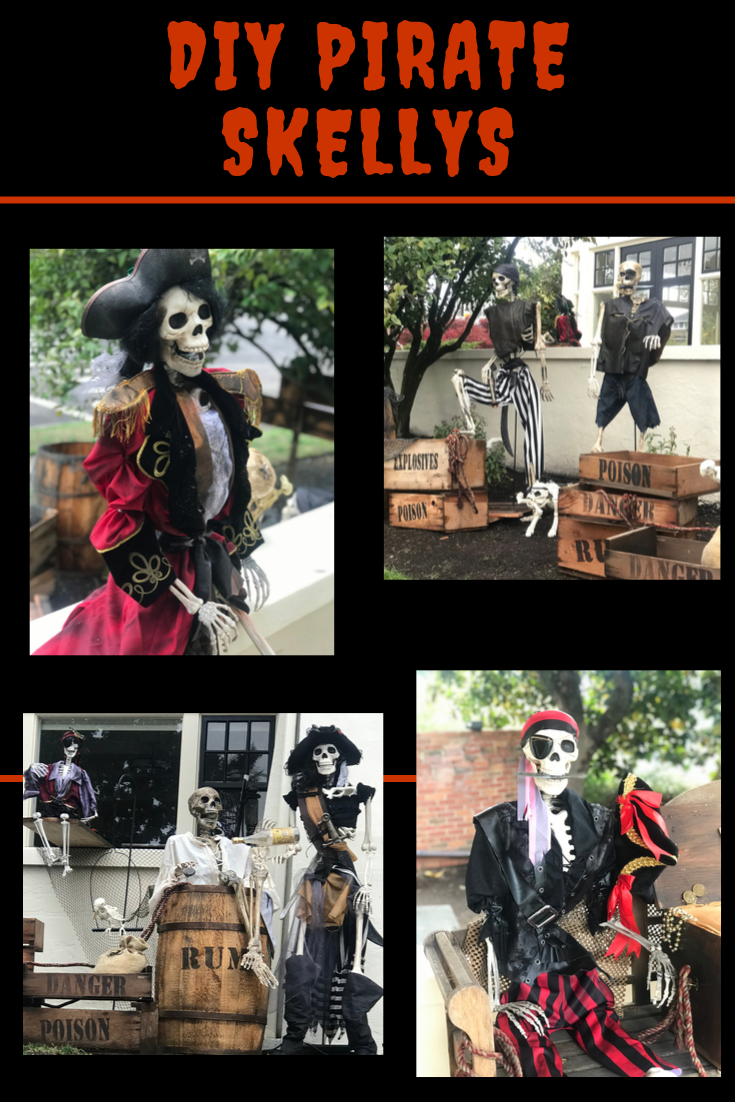
I’m going to share how to easily DIY Pirate Skeleton Halloween Decorations and Costumes
If you have ANY questions pop them in the comments and I’ll respond with some problem solving for you. And I would love to see any creations YOU make!
I love props. I love Halloween. It’s a match made in heaven. Every year I pull out my skeletons and dress them up to prop up in the yard. This started before the skeleton craze took over and they started selling them at Costco- so it was a novelty for the neighbors back in the day! My first ones were dressed in Hawaiian shirts and drinking cocktails! Then one of my clients hired me to do Halloween decorations for their new house and the theme is…Pirates. So all the skeletons are going to be dressed like pirates doing piratey things. What could be better than pirate skeletons for Halloween?
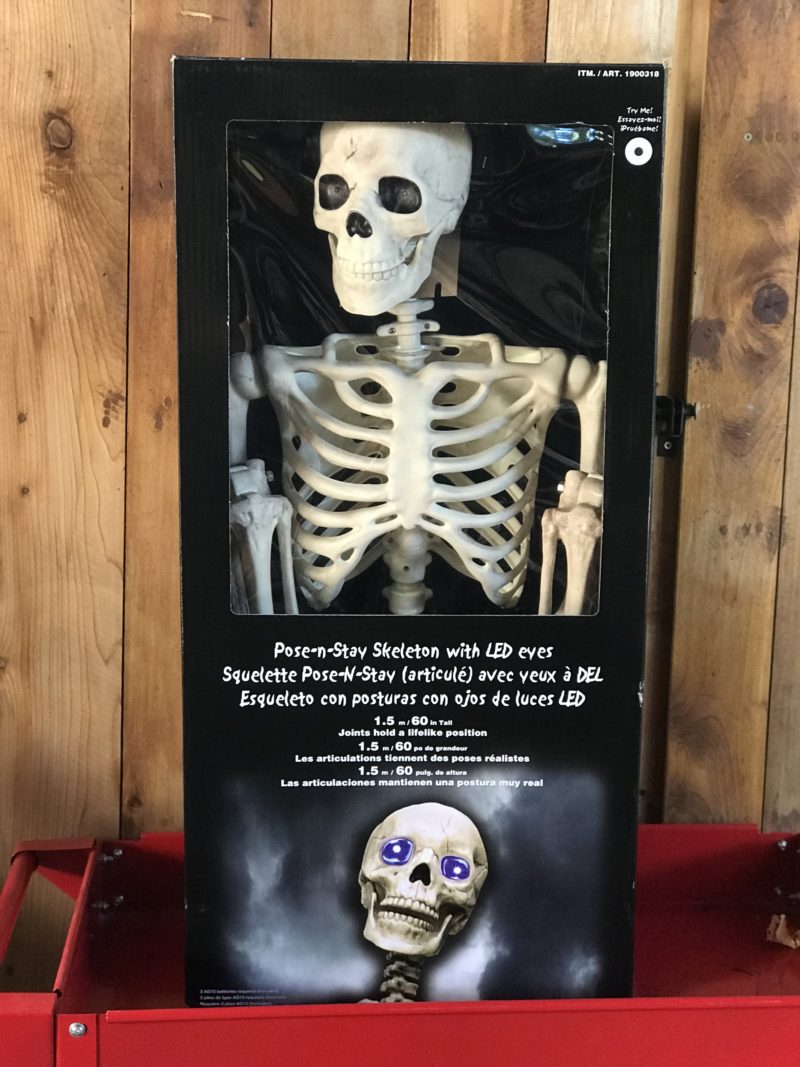
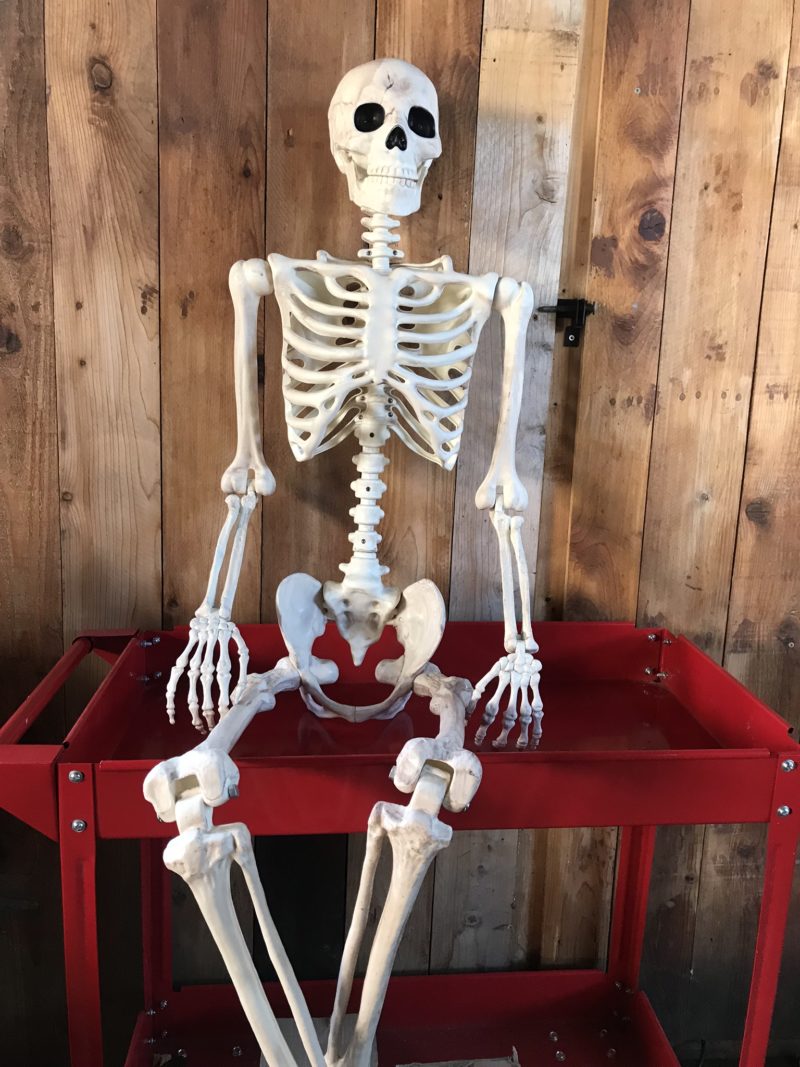
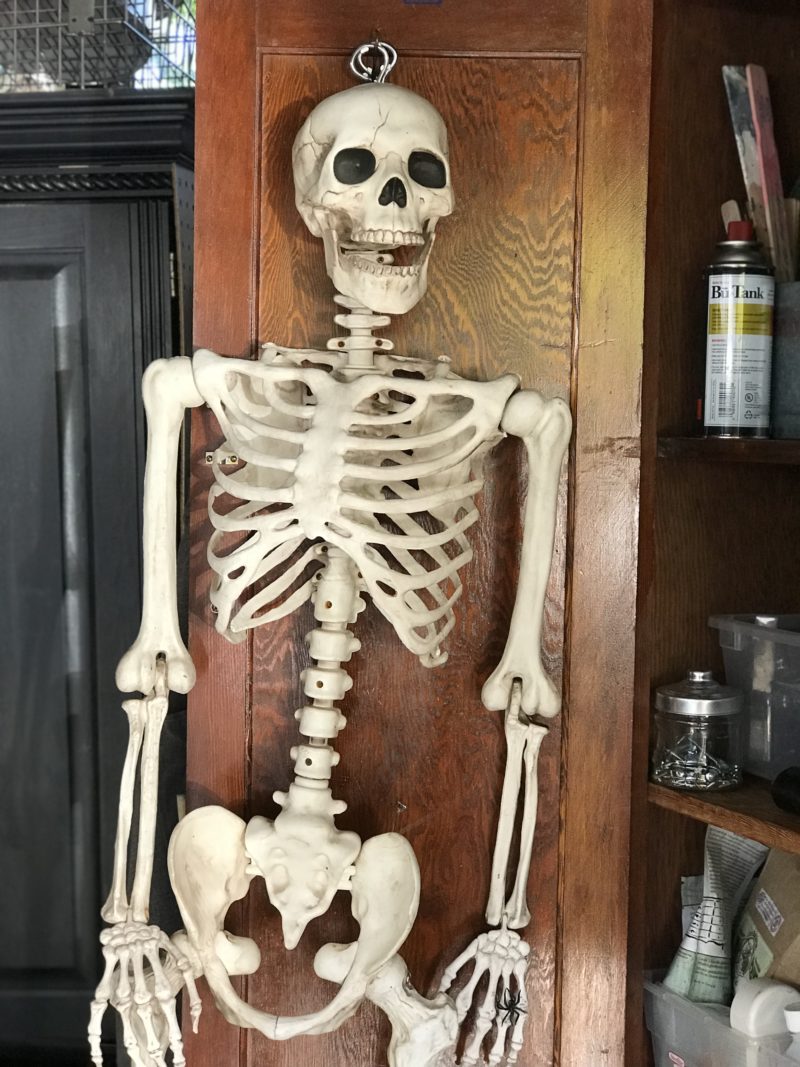
Let’s get started! First up, procure yourself some skeletons – Costco often has them, Halloween Spirit usually has them, you can get them at the hardware store even! But if you can’t find them locally you can also get them online of course!
Once you remove them from the box – save the box because the skeleton’s fold in half and you shove them back in there for tidy storage!
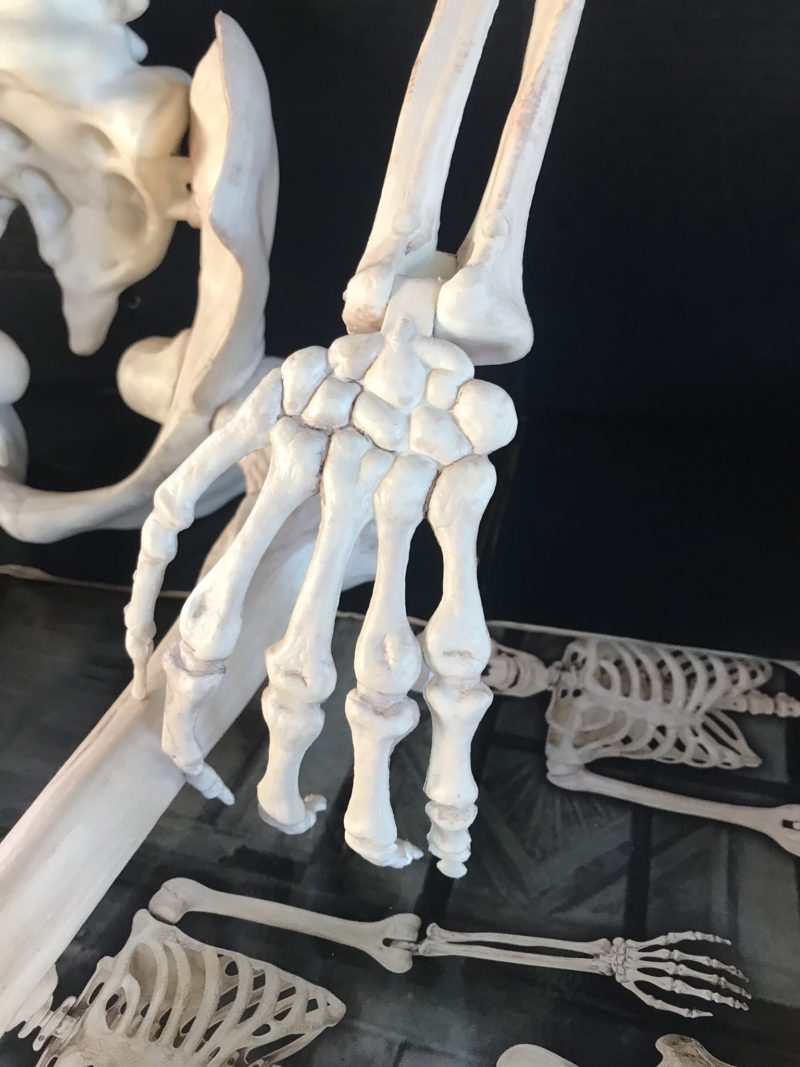
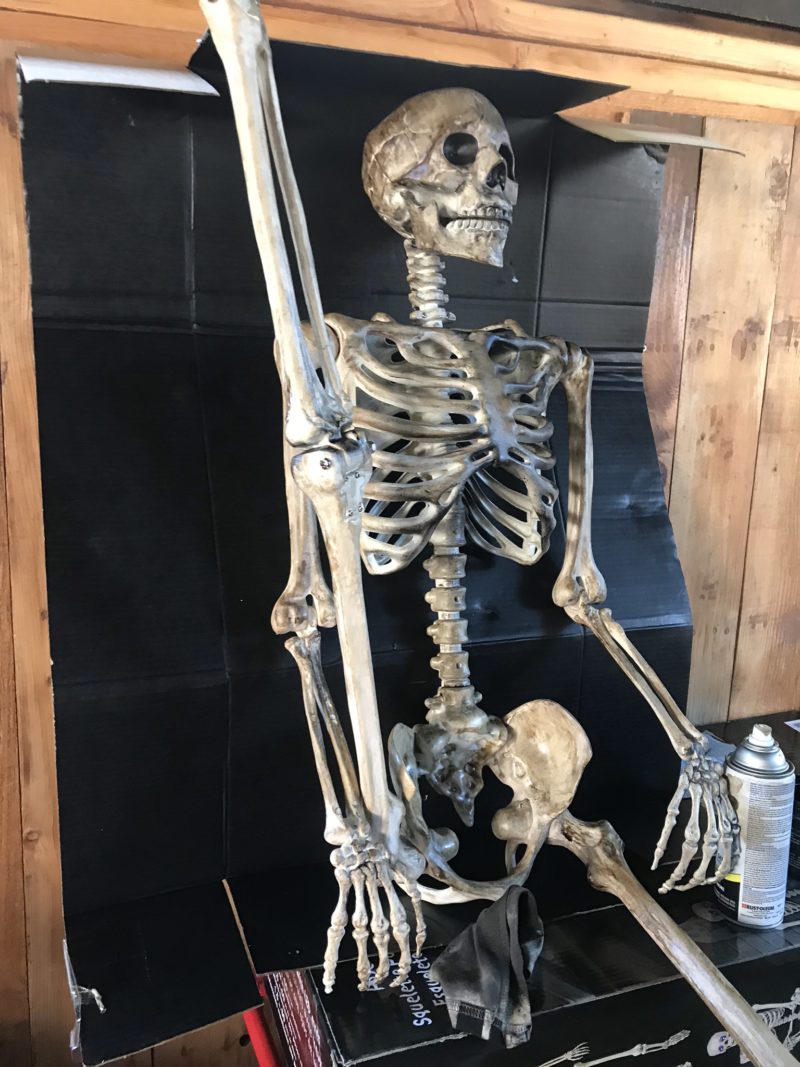
The skeletons come looking like bleached bones, so if you want a clean look then leave them alone. But…if you want them to look decrepit and old then you need to doctor them up a little bit. This is super easy to do and I’ll show you how.
Dirty-up up the Skeletons to make them look like old Pirates
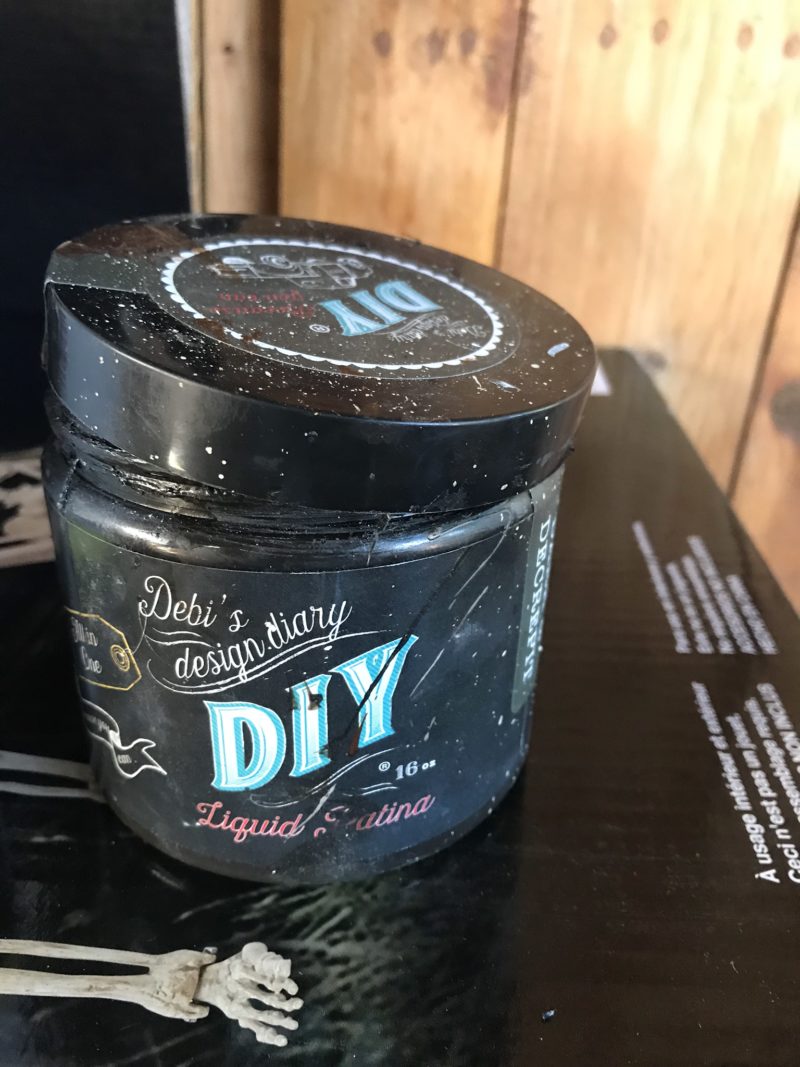
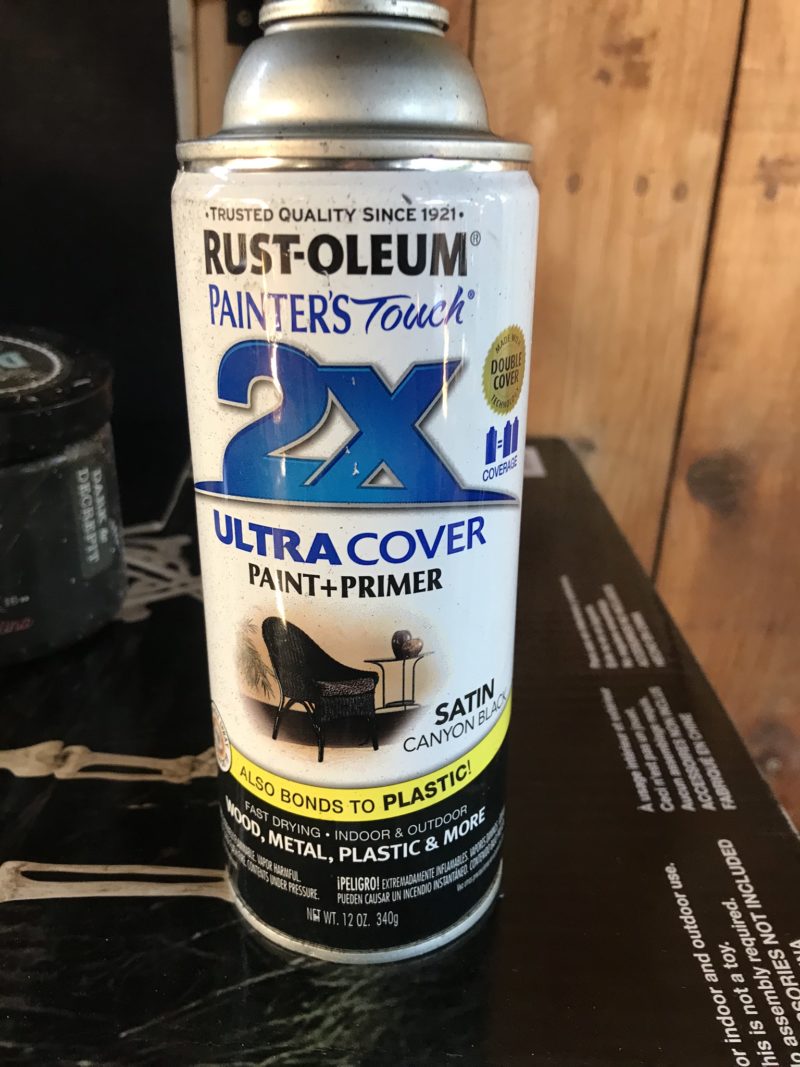
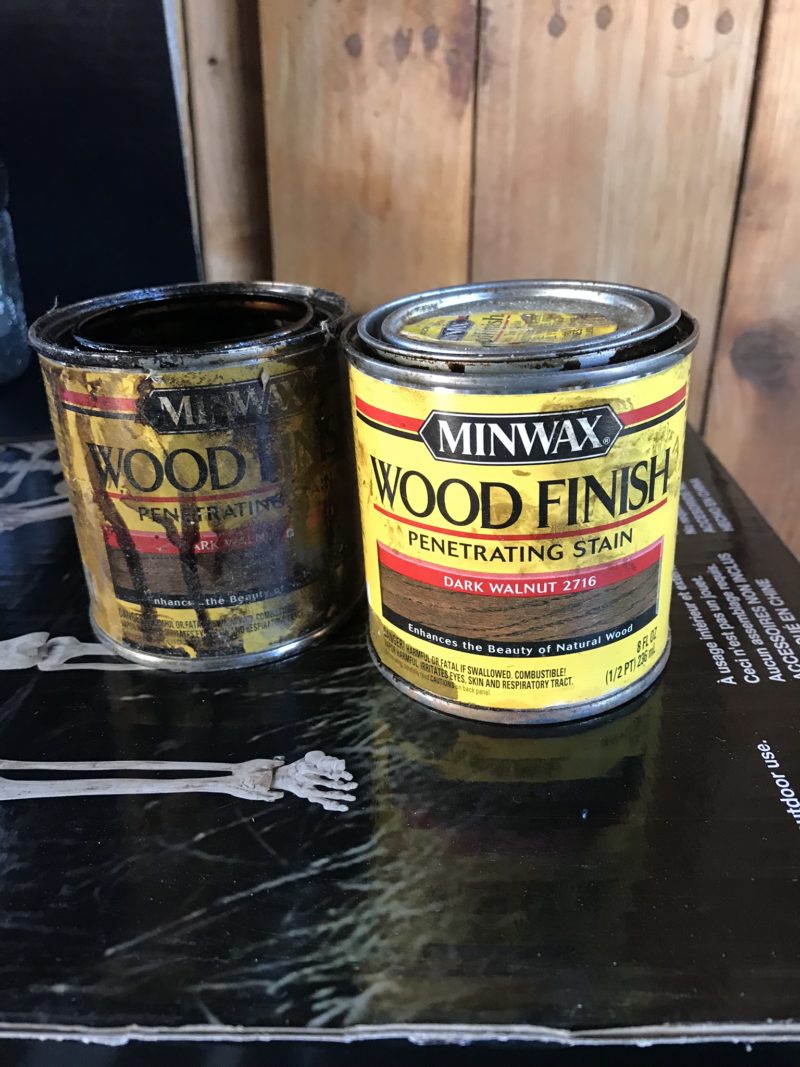
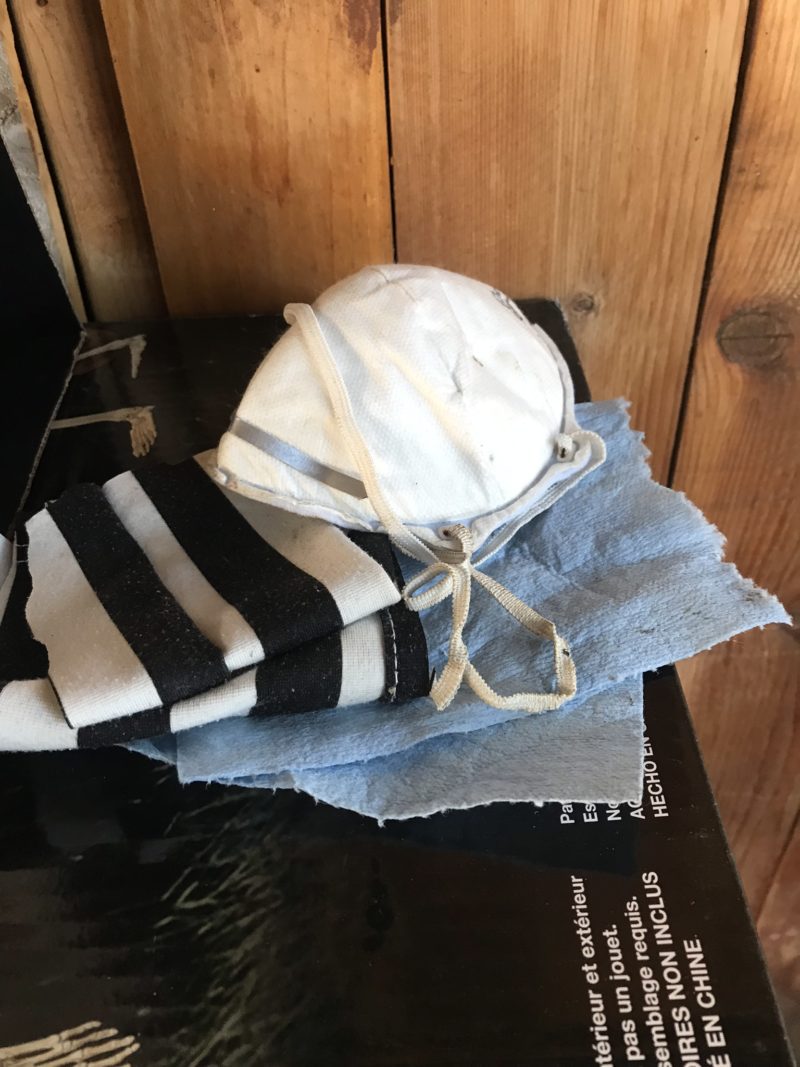
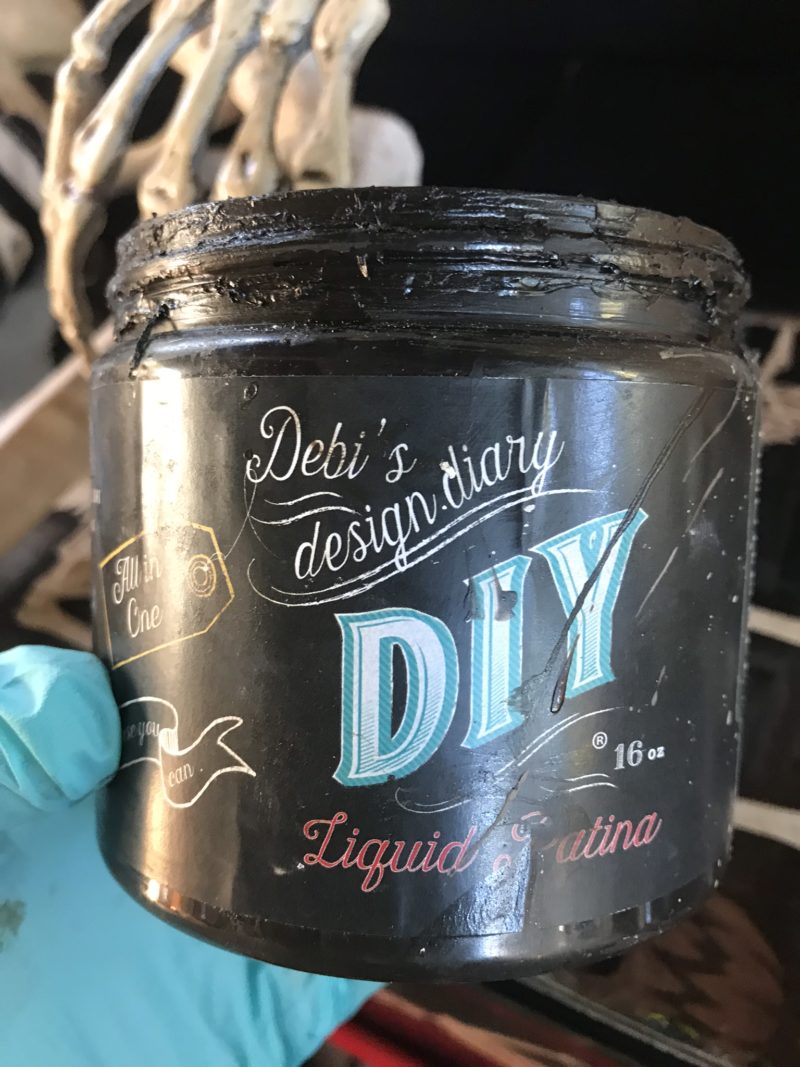
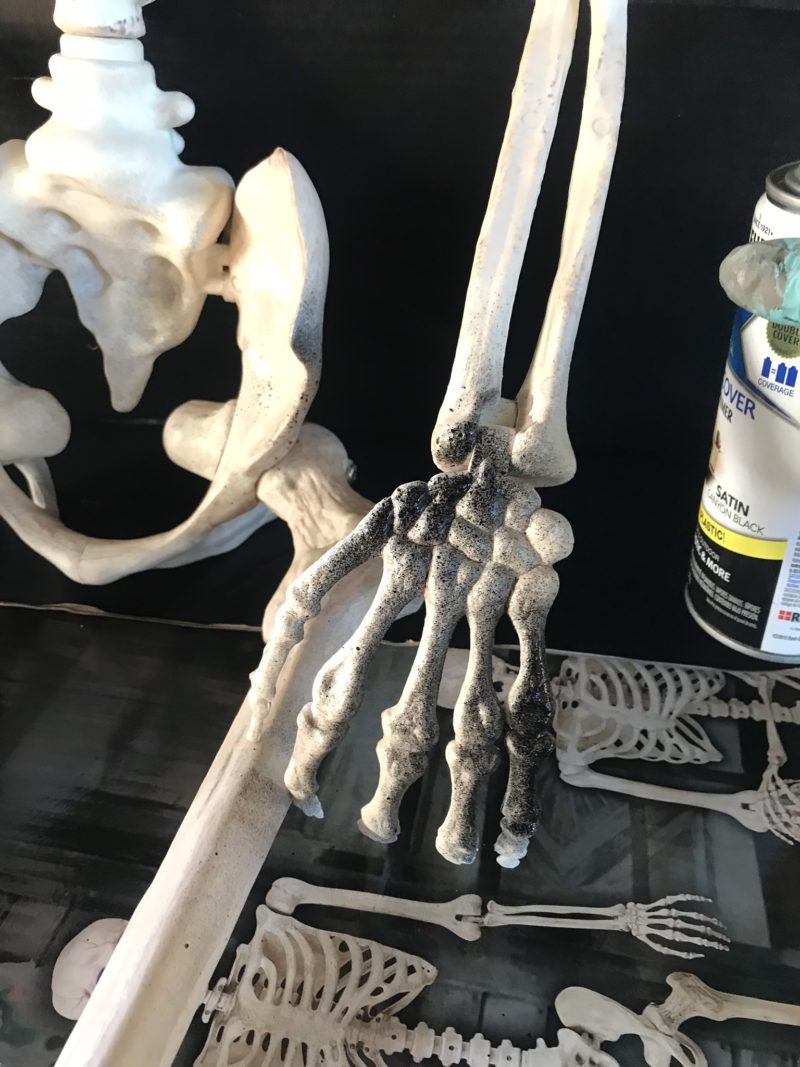
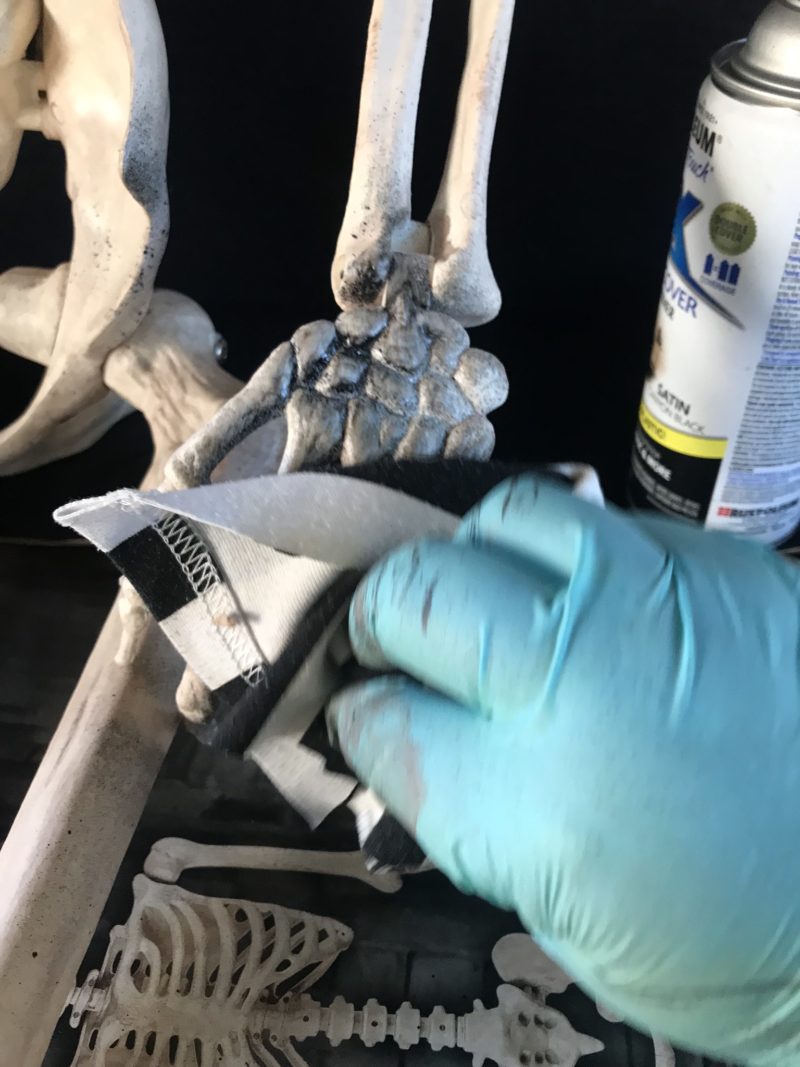
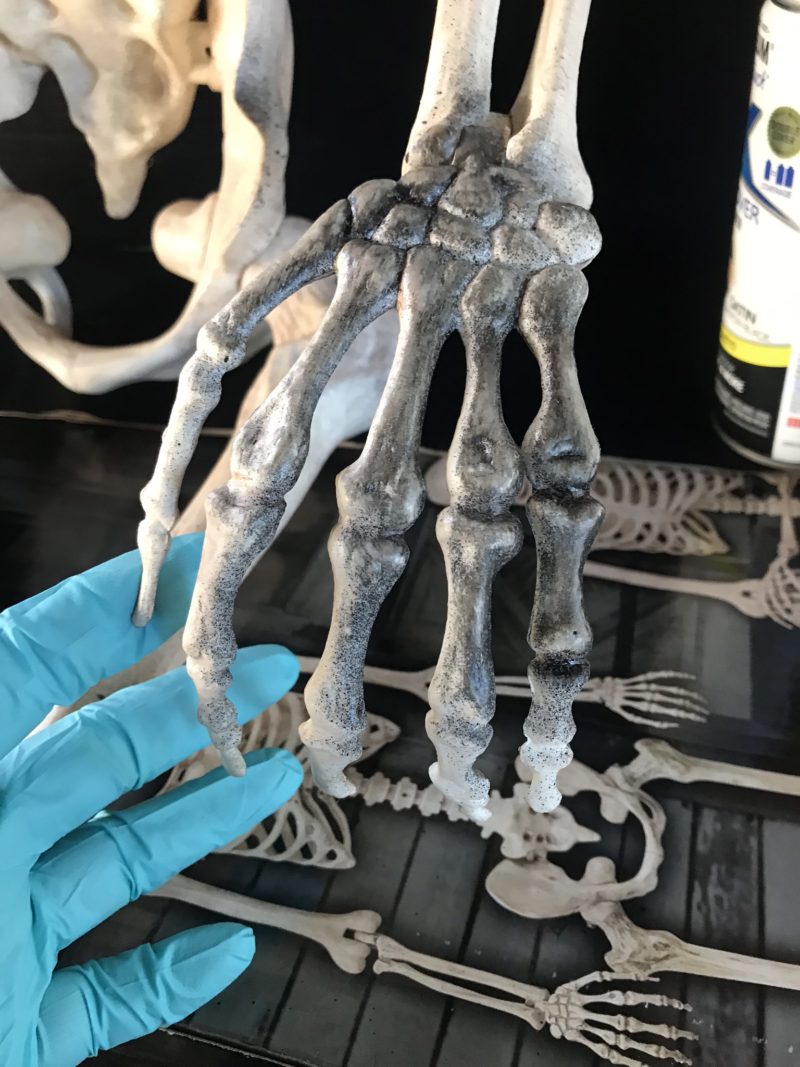
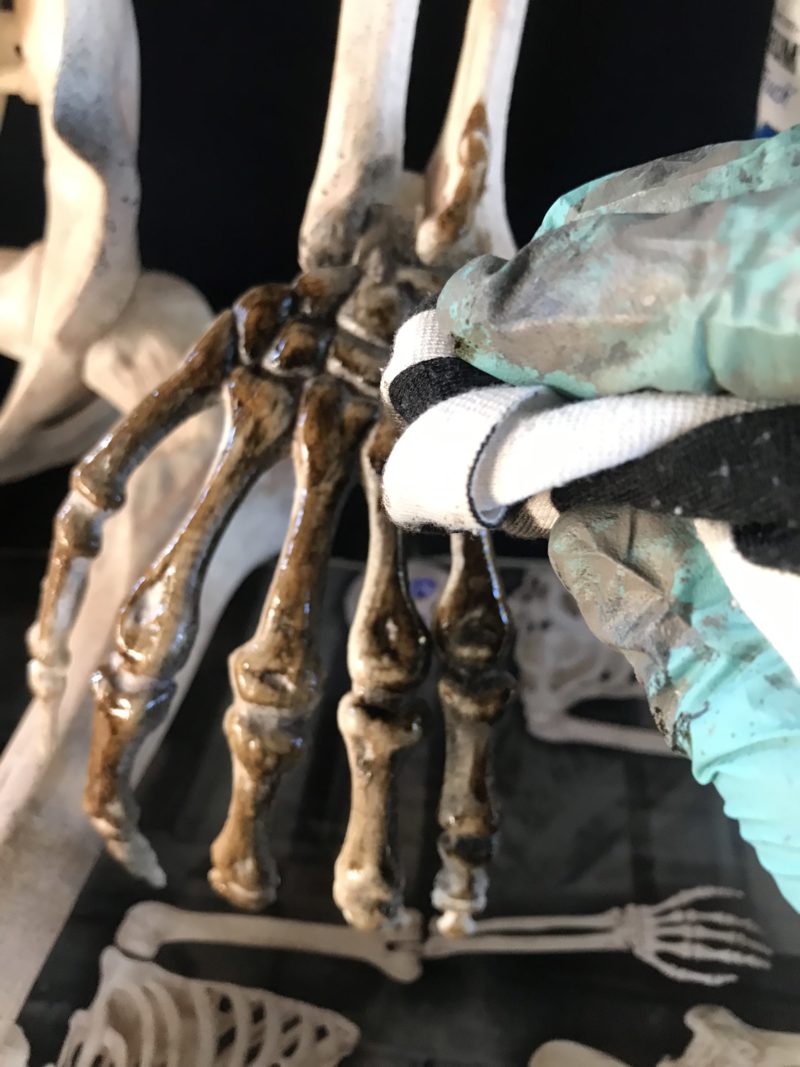
All you need is some paint or stain in brownish and black colors. I have used all kinds of combinations of things to turn the bones old – spray paint, wood stain, chalk paint, wax, ink…you name it. My eco-friendly preferred method is using a soy-based wood stain or another eco-friendly product from DIY paint called Dark and Decrepit (appropriate yes?). I used Dark & Decrepit for most of my halloween pirate scene work – from the skeletons to the treasure chest to the barrels and more. And please don’t forget to use a mask and gloves! If you can use spray paint (it gives me a headache!) stand back and just mist them or you’ll get splotches. If you blob it up just wipe it off quickly or you can even use a little sandpaper to rub it off.
You simply apply your products on your skeleton and then wipe/swipe/smear/scuff it off – that’s it essentially. But you will want to do it sporadically so it appears timeworn.
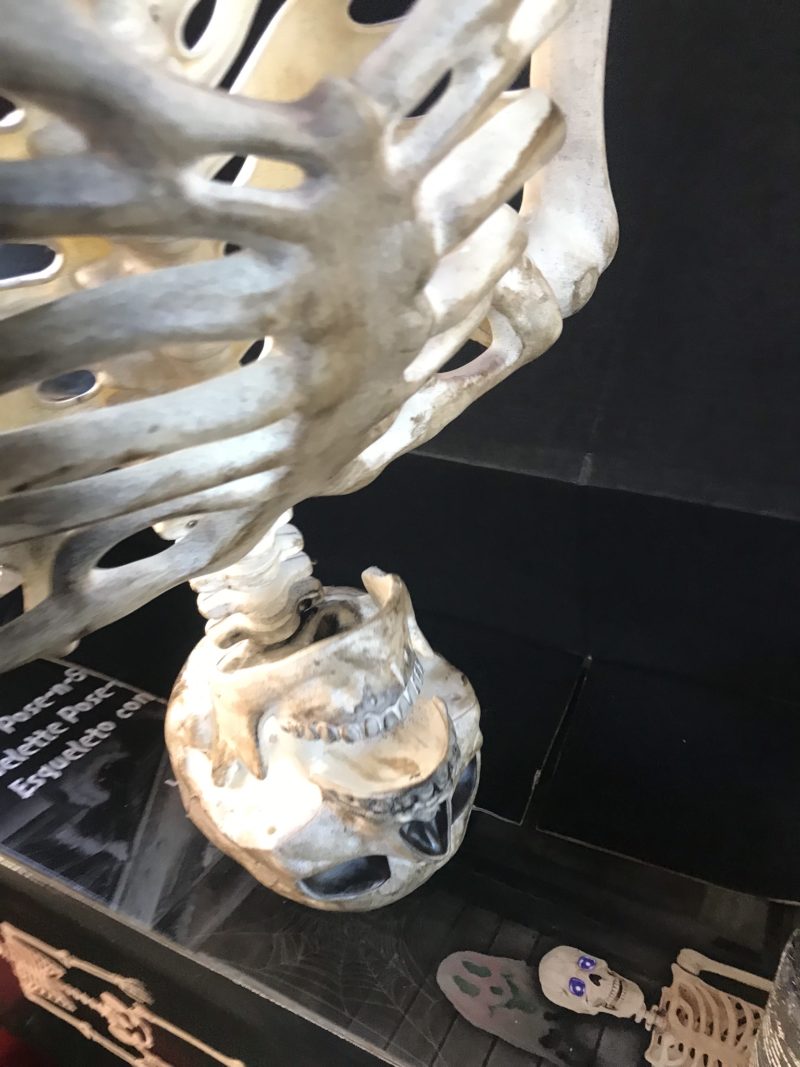
Make sure to bend the joints and tip the skeleton upside down to get inside the skull. Get ’em doing some yoga!
If you are going to leave them outside you can hit them with a protective layer like spray-on Polycryclic (again not my favorite for the stink factor) or brush on a protective layer like Mod Podge Hard Coat (one of my all-time favorite prop products!).
Making Stands for the Pirate Skeletons
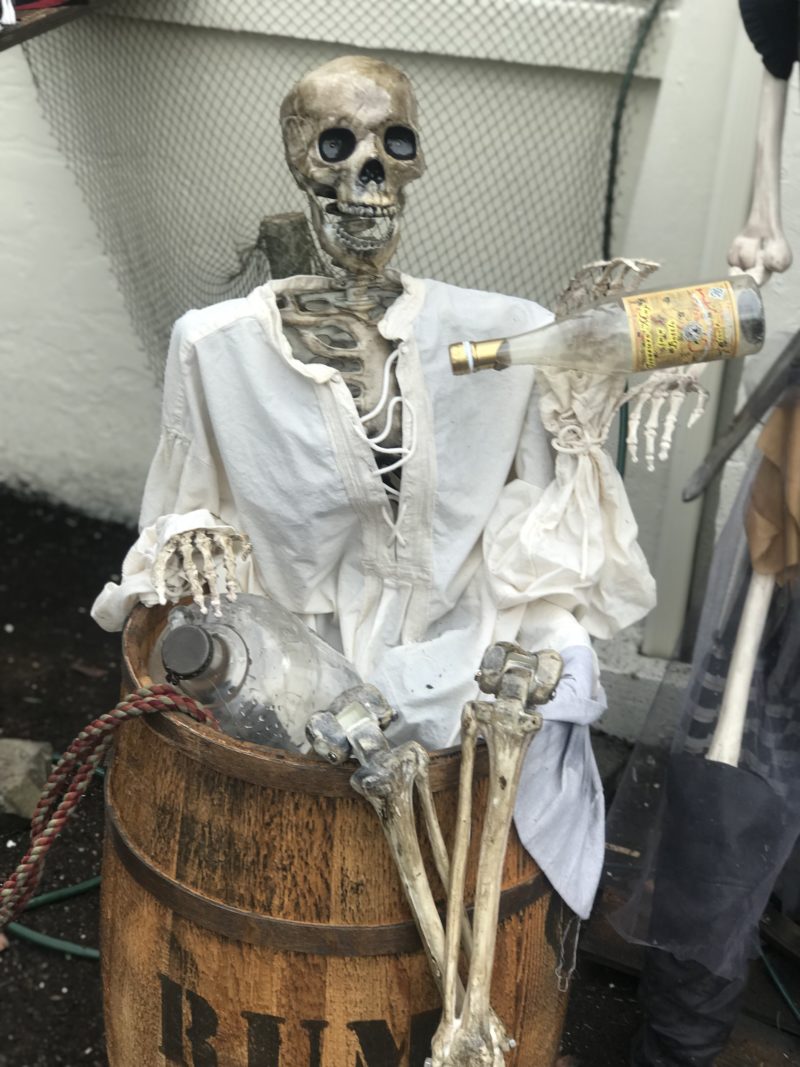
The most important part of these Halloween pirate skeletons looking cool is to have them posed and standing up. You can just lean them or sit them (or throw them in a rum barrel like I did!) But I’d recommend making some stand up so you can move them around. I happened to have some stands that had been used for signs so I started with those but you can make your own for pretty cheap.
Make a Skeleton Stand
The basics of a stand will include some sort of platform, and a pole/rod or something sticking out of the platform for the skeleton to attach too. That is the basics and you should use what you have on hand!
- Take a 2′ x 2′ (or bigger ) piece of MDF or other scrap board and screw a metal flange to it (these are in the plumbing section of the hardware store and are super useful for builds like this – these are also one of my favorite prop tools to have on hand – or buy one here).
- The metal flange should match the width of the PVC pipe you buy (or have on hand). I use between 1/2 to 1 1/2 inch flange and same size PVC pipe.
- Thread a 4-8″ piece of metal pipe into the flange (this comes with the package if you buy it on Amazon) – this gives something for the PVC pipe to sit onto. ( I used a PVC coupler on the one in the picture).
- Cut the PVC pipe (or have the hardware store do it for you!) to about 3-4′ so that it will come up the spine of your skeleton.
- Fit it over the pipe – it should fit tight and if not then you should use some adhesive (I like Gorilla glue). Now you have a free-standing base for your skeleton.
- I paint mine because that PVC pipe is UGLY!
- Secure the skeleton to the PVC pipe with zip ties.
Since all the decor was for a client I went the extra step and made the stands look like old ship boards. This also creates an extra bit of security from tipping. I just used scrap wood I had around and nailed it all together haphazardly. Make sure you get pieces tight against your pipe to keep them from tipping over. You can see above the pirate flag base before and after with all the “driftwood”.
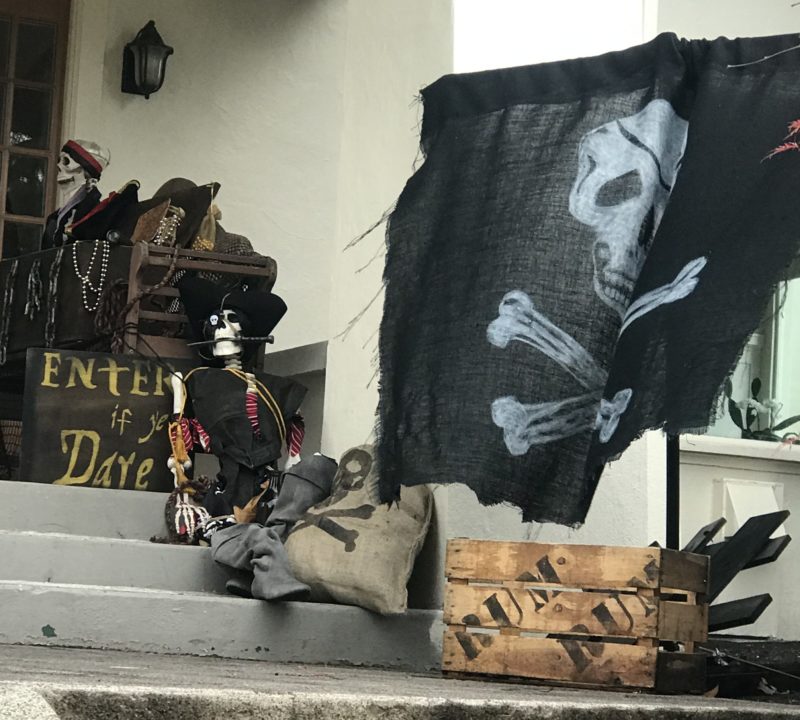
Below you can see one of my versions of a stand – this was for the pirate flag I made. My client had just painted her house so we couldn’t attach it to the house itself so I made this one. It’s just black burlap slipped over a PVC rod and attached to the base. I used extra wood on the bottom to keep it from blowing over in our wild Oregon rain and wind!
Pirate Skeleton Costumes = the best part!
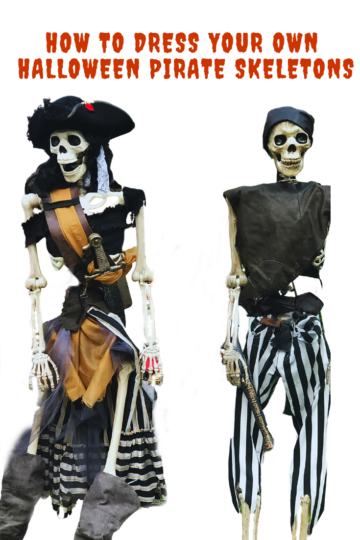
Dressing the pirate skeletons is my favorite part!
I collect various costume bits from all sorts of places – from yard sales to 2nd hand stores. A great source is Halloween costumes the day after Halloween! Buy up all the bits 50-75% off and save them for next year. I have a big ol’ bin of them and they’ve come in very handy over the years!
Use an old leather jacket for costume bits
- Buy old leather jackets if you find them cheap – I used just one XXL sized one to make bits of costume for 5 pirates!
- To cut up a leather jacket – cut off the arms and seams (pirates didn’t have seams or zippers, etc.). And then shorten as needed – I cut off about 5 inches from the bottom of my jacket – and used it as the belt/skirt piece for one of the lady pirates.
- I also ripped out the lining. I kept this too and dirtied it up to use as bandanas, and I used as a one skirt layer for one pirate.
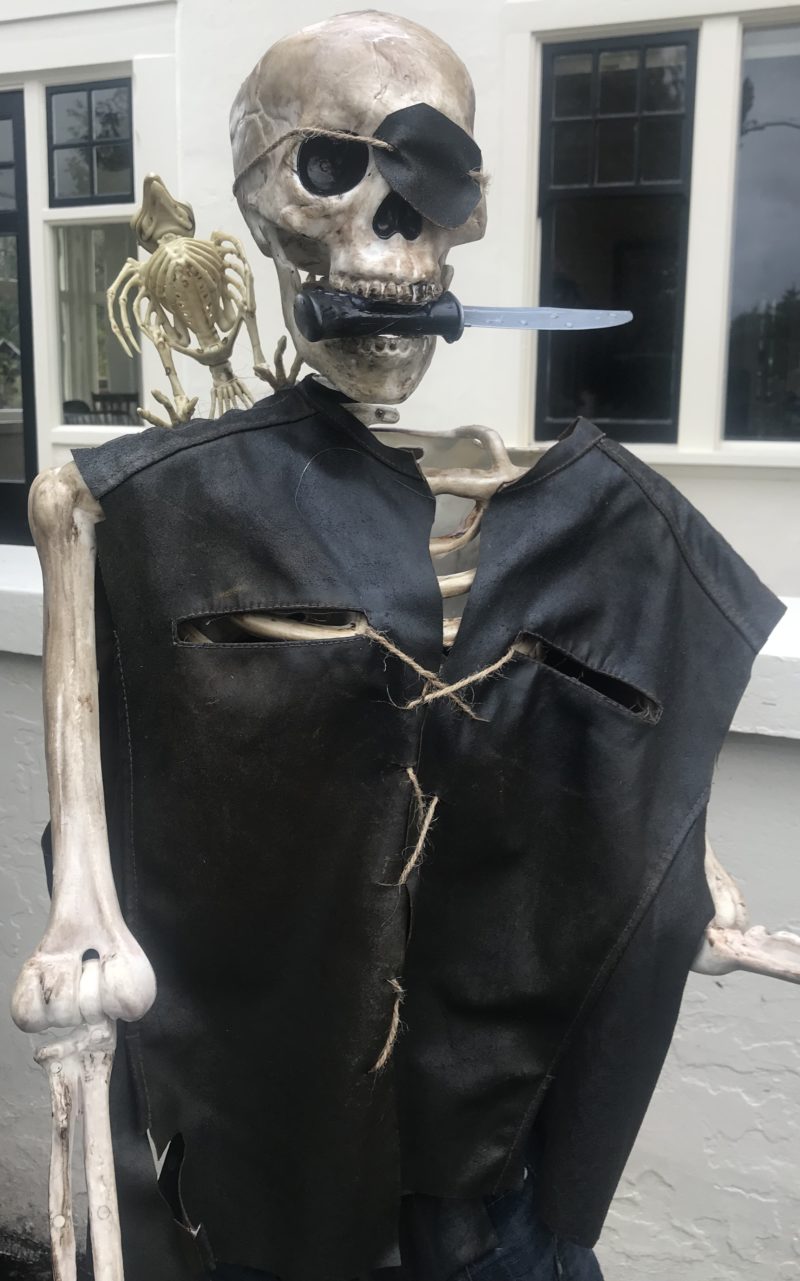
- I used the main jacket as one vest. I used scissors to cut slits that I wove old twine through to hold in place.
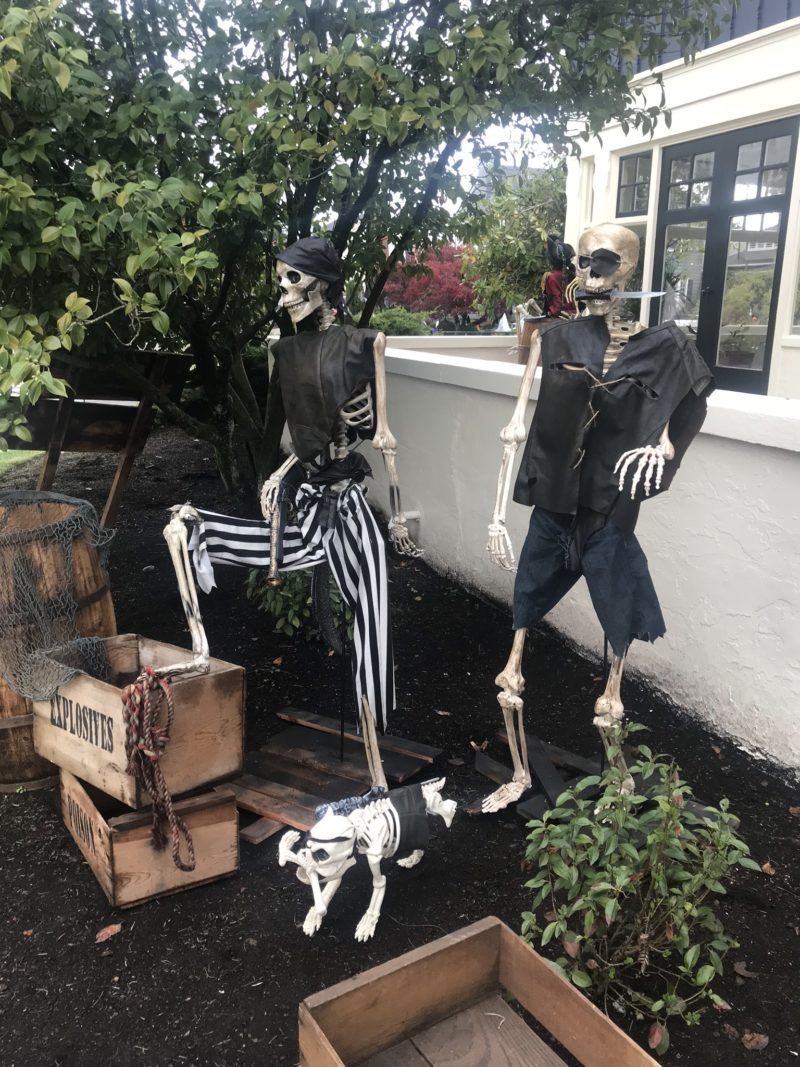
- Each one of the arms was cut up the seam and opened up – I then cut a hole in the middle part of the arm and slipped it over a skeleton’s head to make a tunic-like-shirts for 2 of the pirates (see the guy on the right).
- Keep all the extra pieces of leather and fabric. I used the remnants for eye patches and straps for weapons.
Making pants and skirts for Pirate Skeletons
Pirates look best when they have layered up looks – like shirts over shirts and vests under jackets and sashes and belts and more! Skeletons fit children’s clothes or women’s size small clothes well. But, don’t shy away from oversized stuff either, because when layered they look pretty good! Like my rum barrel pirate – his old pirate shirt is like a 2xl but he looks great!
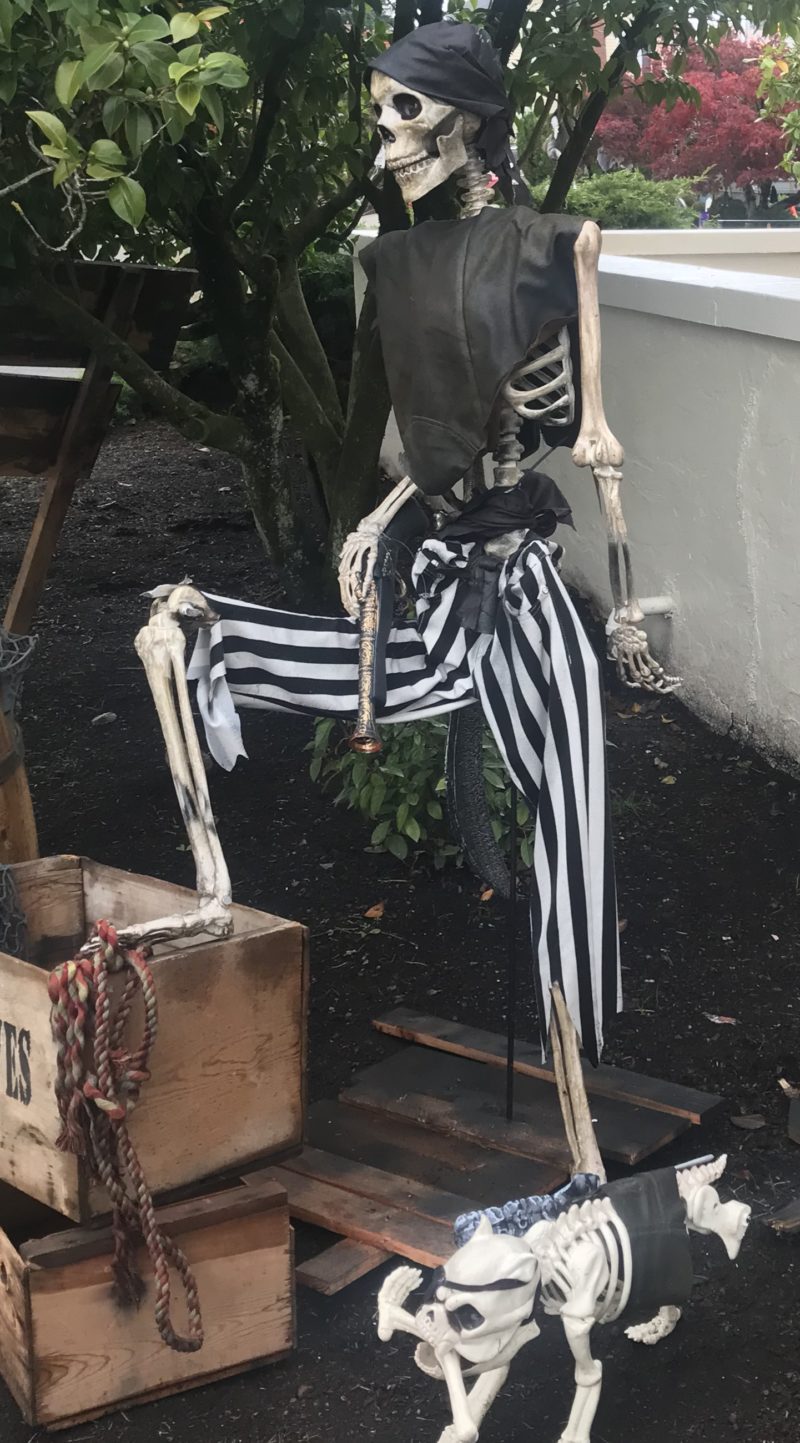
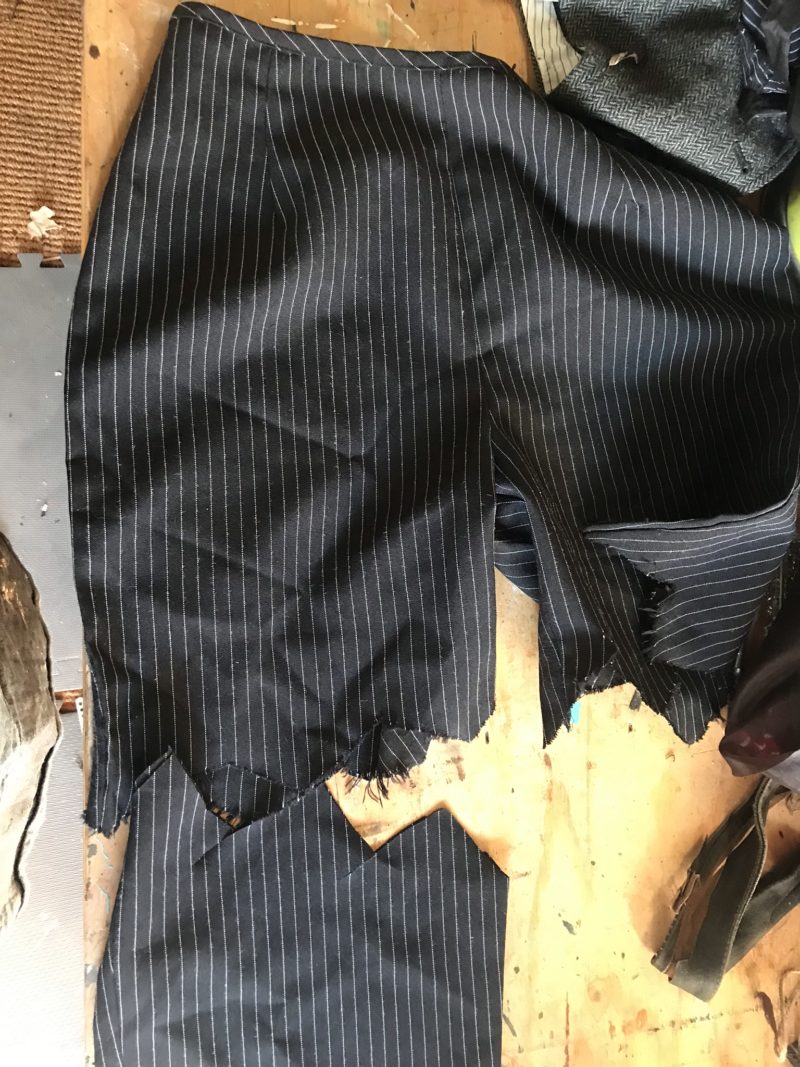
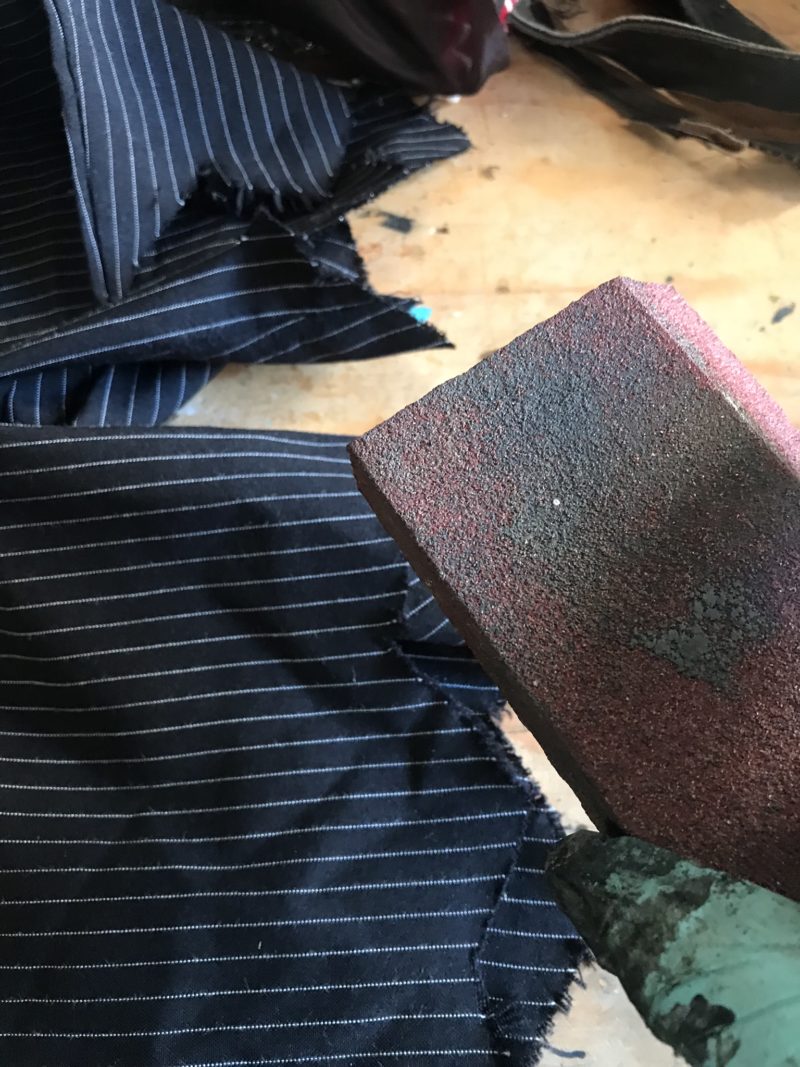
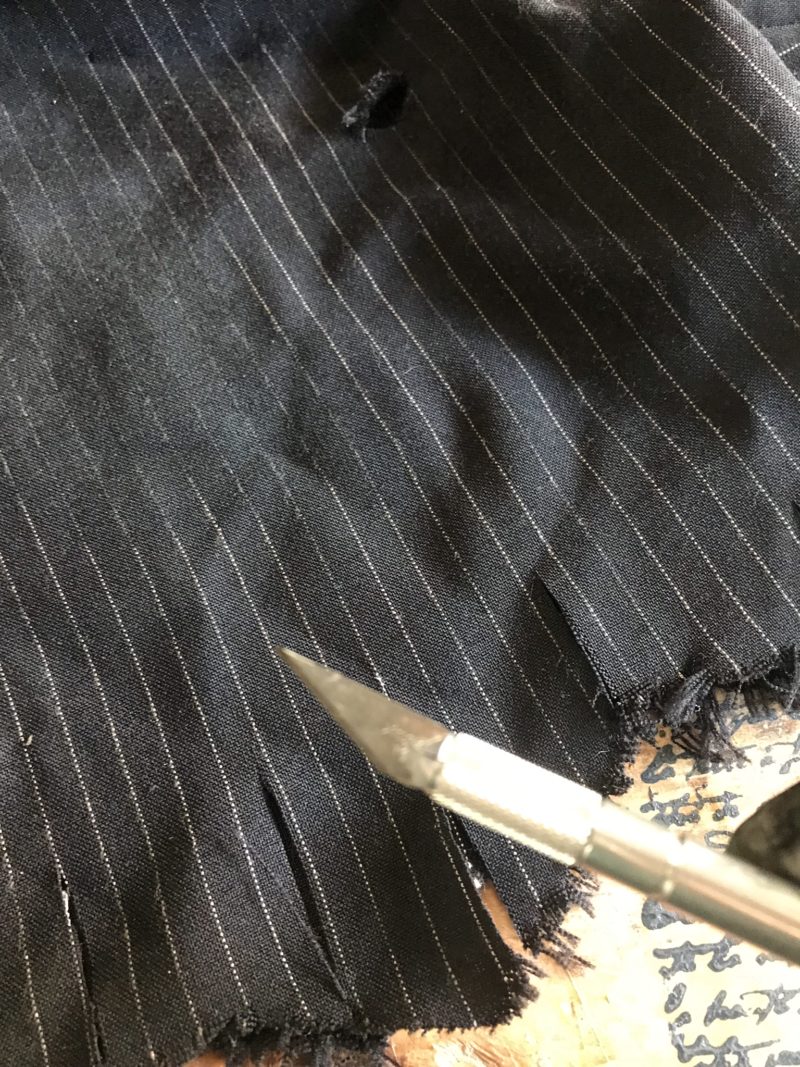
For the bottoms, Take an old pair of pants – look for stripes, canvas, whatever looks piratey. Cut them off with a jagged seam. I like to cut them at points then use an exacto knife (a must-have in the DIY tool kit!) to “shred” the ends. I also use a piece of sandpaper to rough them up. Use all kinds of methods to dirty them up – paint, stain, dirt, hot glue and dirt rubbed in, fabric paint or dye…all the things. Let your kids take them and mess them up – it’s like a free ticket to fun.
Dirty Up the Pirate Skeleton Costumes!
I used an old bucket filled with some black RIT dye and water and threw in some of the newer looking clothes items that needed roughing up. I used a stick to stir it around and kept an eye on it because I didn’t want them dyed completely, just darkened. Then I’d pull them out and leave them outside to dry – and didn’t care if they got dirty or rained on because they were supposed to be gross and would be outside for Halloween anyway!
When I start dressing them I like to hang them up – it makes it a lot easier to maneuver! If you are making a stand for your skeleton you can put their pants on and then attach them to the stand before you finish dressing them. Wrangling them is a pain otherwise, but you can make do if you sit them on something up against a wall so they don’t tip over.
Layer Up the Cosutmes of the Pirate Skeleton
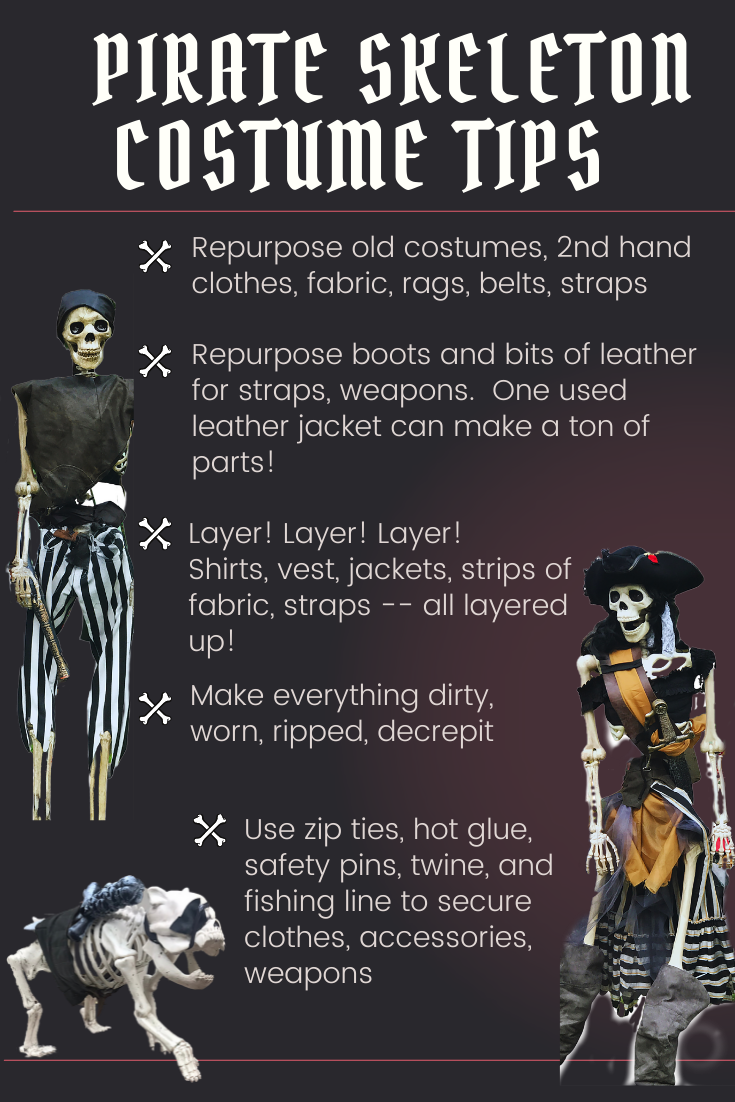
Layer, layer, layer. When you put the first outfit on – it will be all blah- so you need to start strapping stuff on! If you re-use previous pirate costumes, whatever you do make sure they look decrepit! And then start layering some other fun stuff on. For example, on one of them I took the boot cover and repurposed it, cutting it almost in half leaving a bit attached and then secured it as a strap for a weapon.
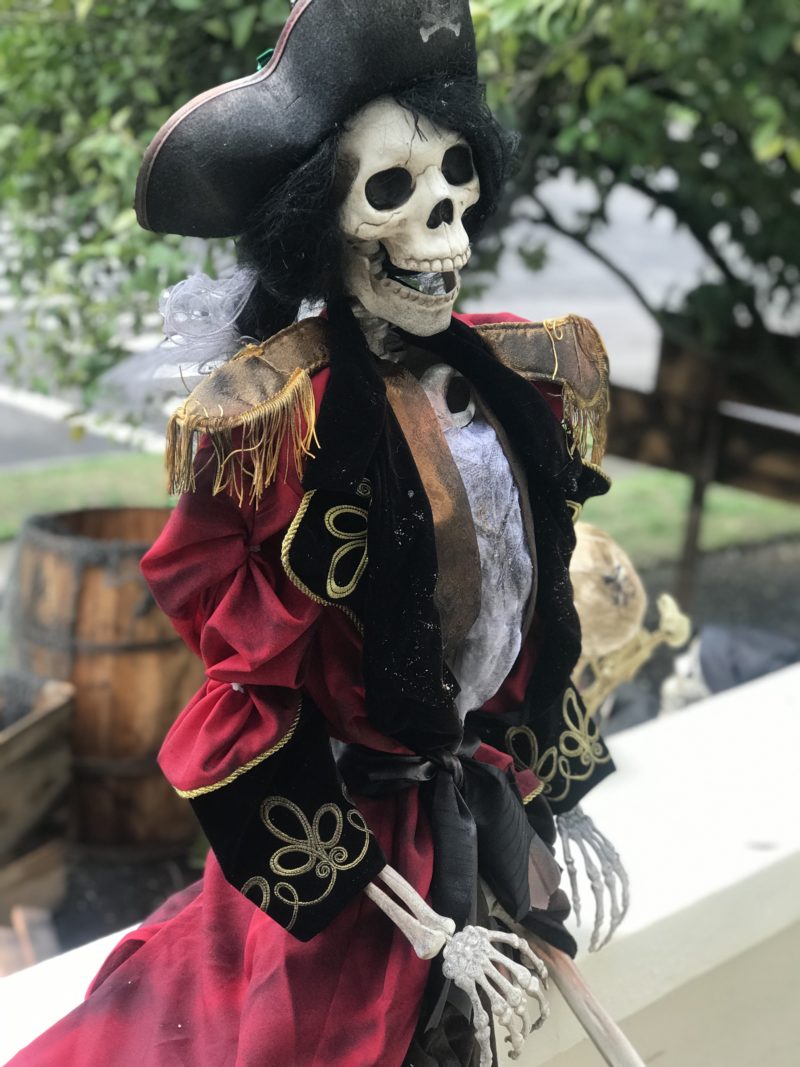
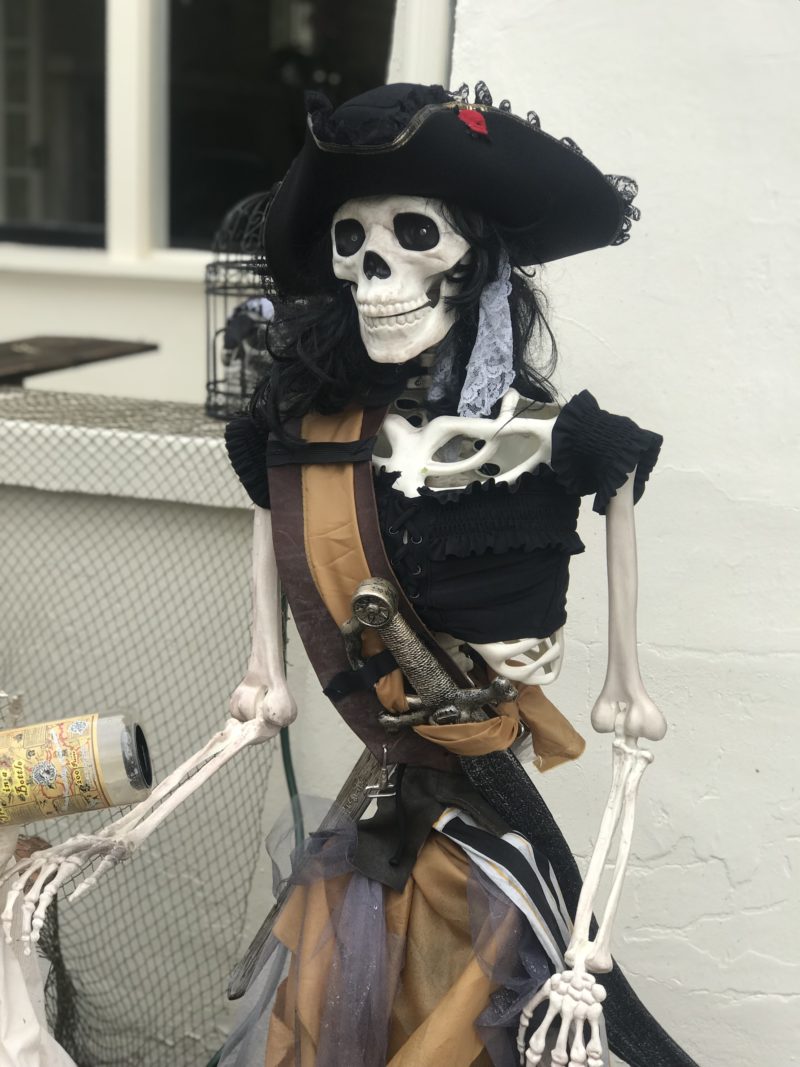
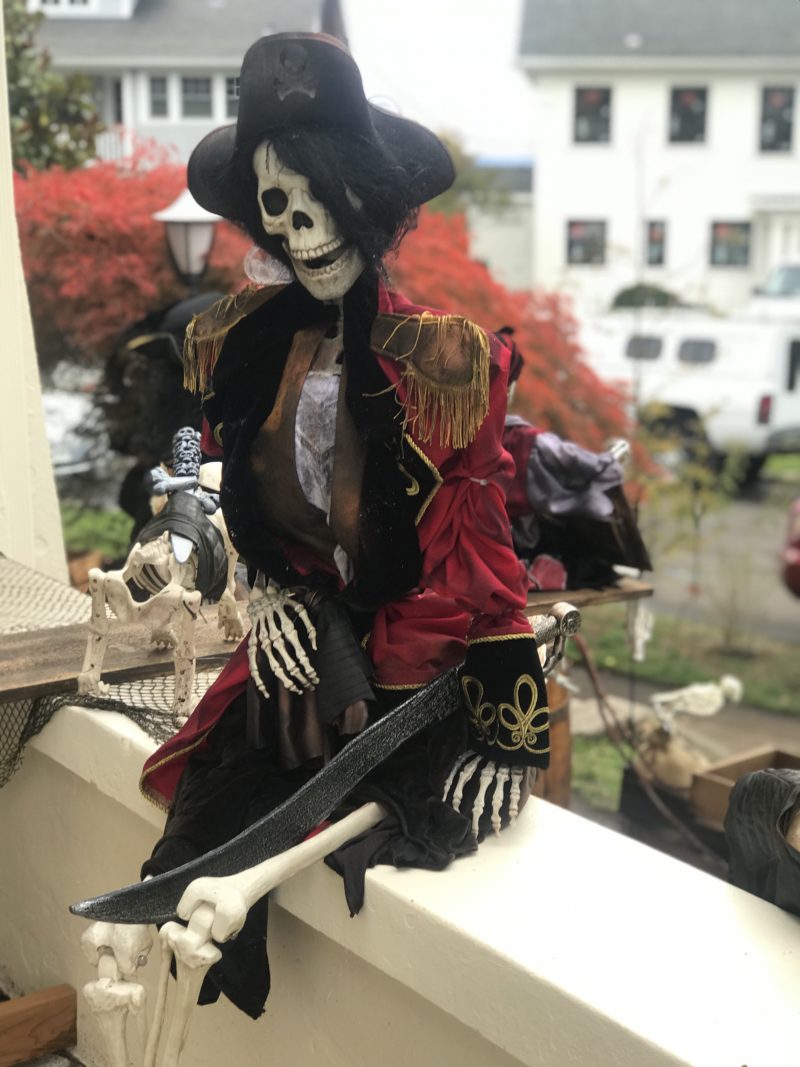
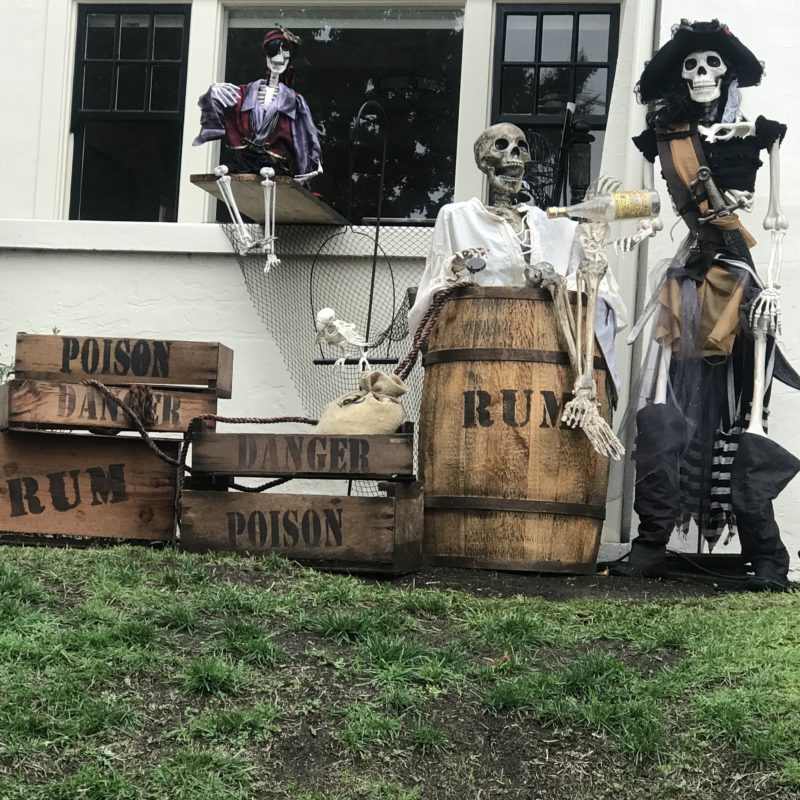
For the Captain lady pirate skeleton (middle pic below), I used a pool noodle cut into pieces and tied together – and zip tied it to the back of her bum so it would look like a bustle. Her coat was part of another costume – I danked it up, folded the collar over and pinned it off her skinny little hips. For the lady’s skirts, I use scrap fabric, zip-tied or safety-pinned on. I also used the scrap pieces of fabric and leather for belts and cinching which also serves to secures the clothes.
Decure the pirate skeleton costume parts with zip ties, safety pins, hot glue, fishing line, etc.
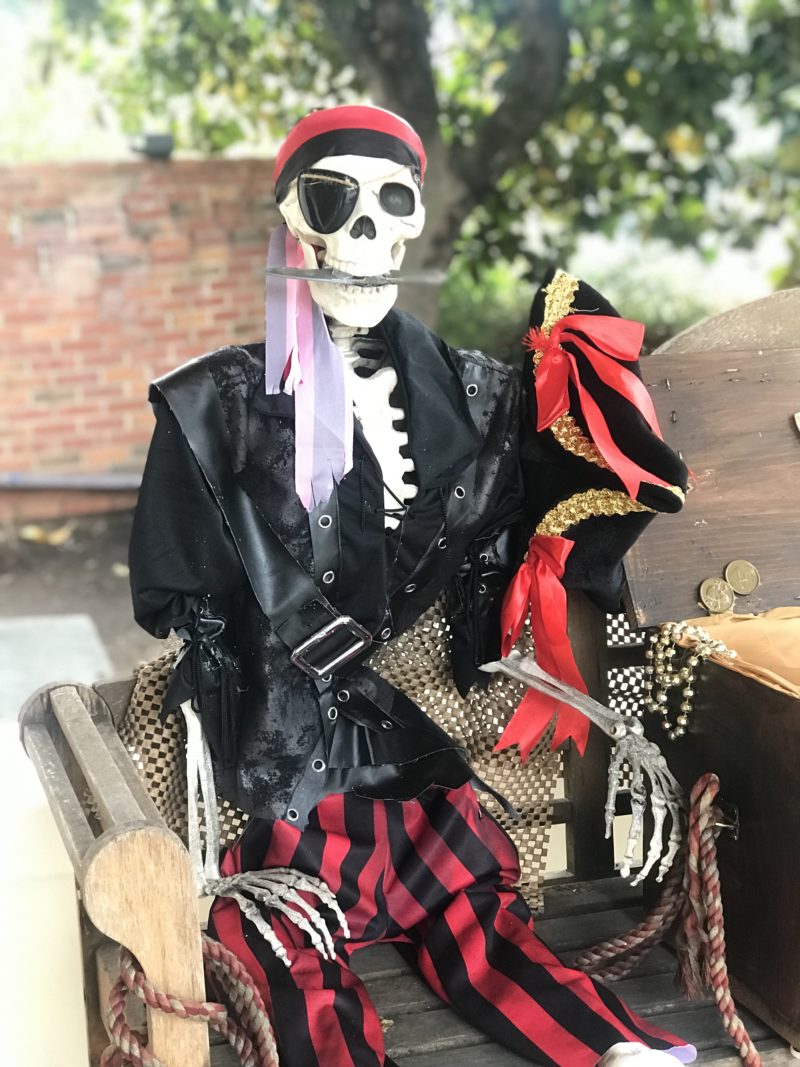
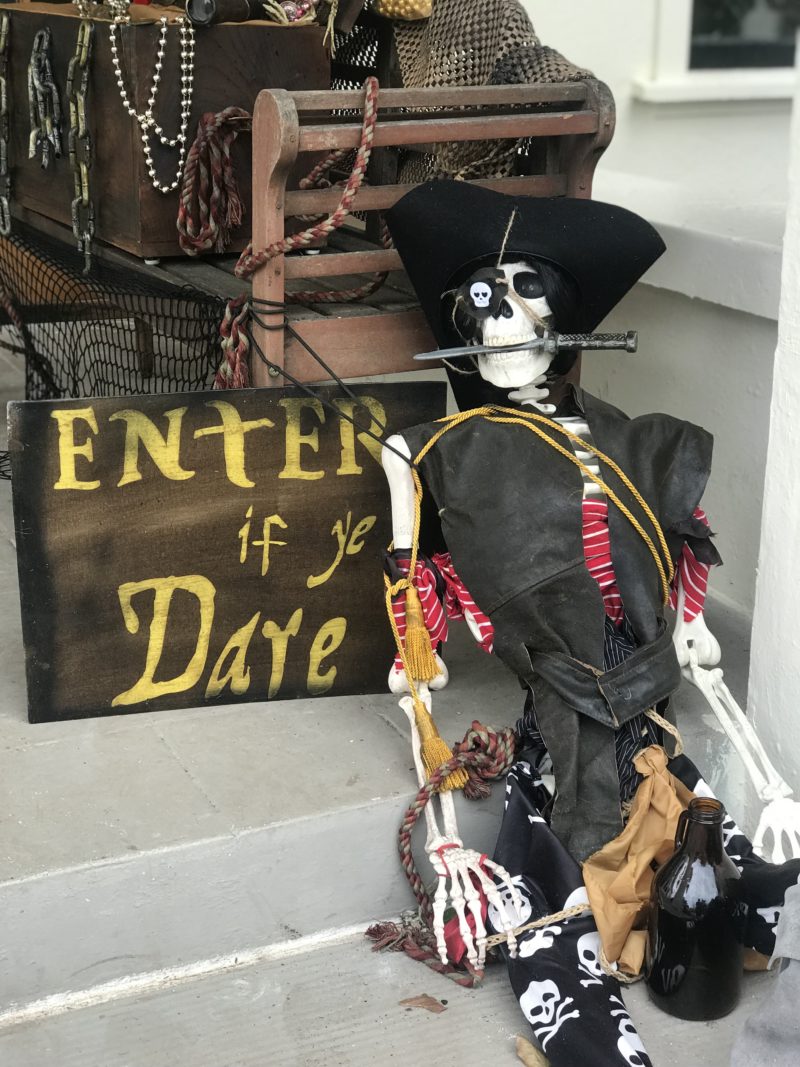
I love adding all the little details! Like wigs tied back (hot glued to the skulls). Hats (dirtied up of course). Scarves for headwraps and eye patches! I take a scrap piece of leather and cut it into an eye patch shape, poke two holes and use twine to tie it on. You can secure things with zip ties, hot glue, gorilla glue, safety pins, or fishing line as needed.
Shoes or no shoes?
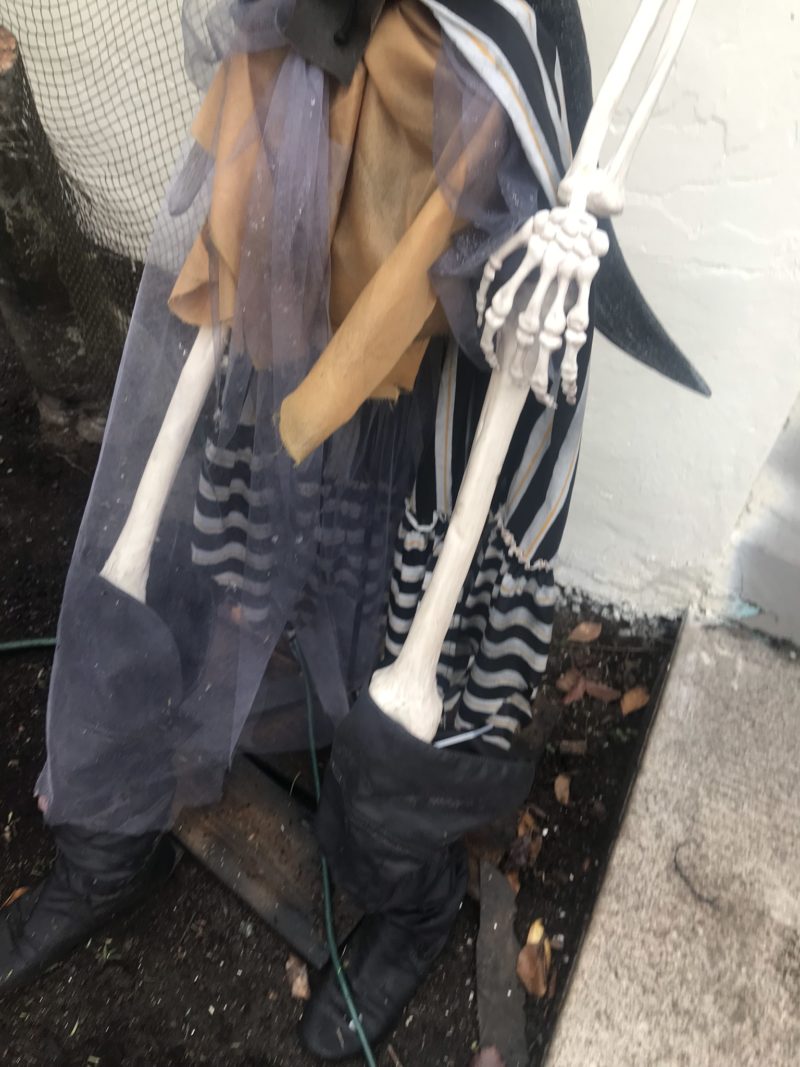
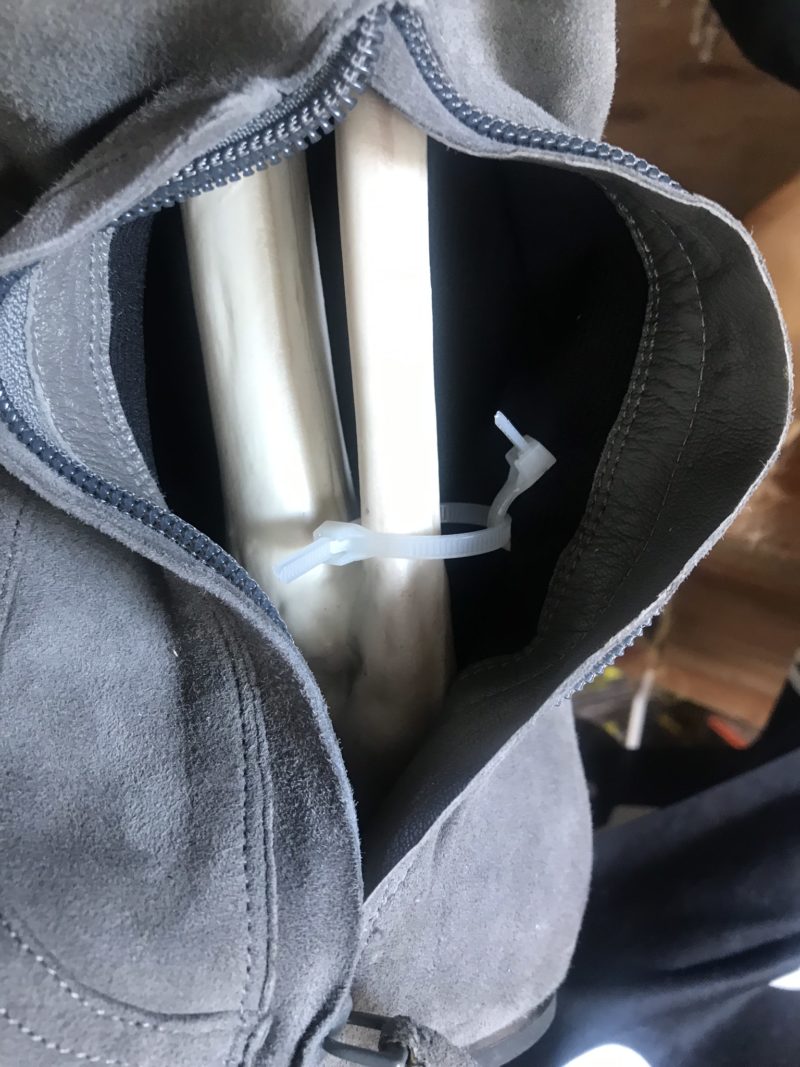
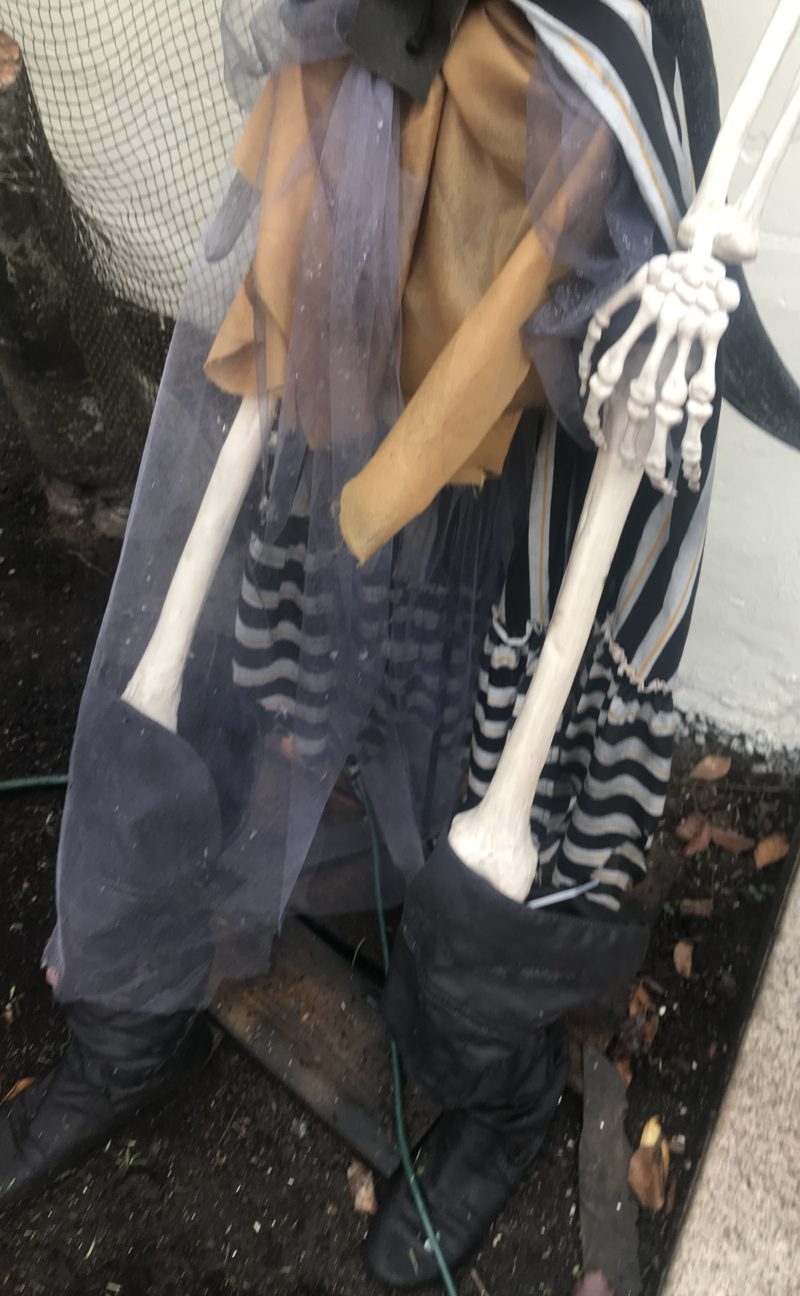
I like a mix of shoes and no shoes. I used boots for the lady pirates – keep your eyes out at 2nd hand stores and yard sales (heck even look in your closet). I secured them to the legs with zip ties to keep them up. The scrappy skeleton pirates look good barefoot – like the one pictured in the middle below – he’s like some deck hand pirate skeleton so his costume is shabbier.
The pirate costumes you can buy usually come with boot covers so you can use any old pair of black shoes and cover them with these – or even black socks. I didn’t do that because I CUT THEM UP and I used them for belt straps instead! Repurposing pirate costume bits is key!
Below are some close-ups of how I attached the boots, some naked feet, and the boots cuffed over.
Skeleton Pirate Props: Weapons, dogs, and parrots
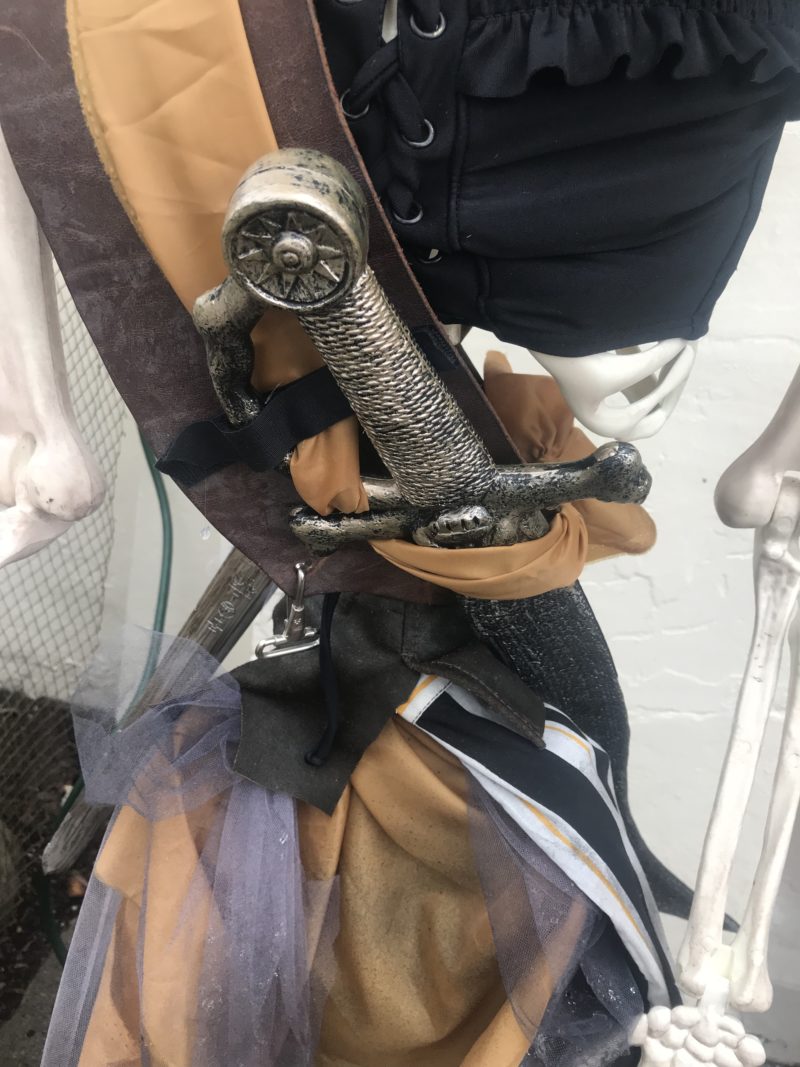
I pick up weapons at yard sales and post-Halloween store sales. They are cheap and easy to find. Focus on daggers, swords and old-timey pistols for pirates. Hot glue a dagger in the teeth, a gun in the hand. The sashes and leather straps are useful for strapping weapons on. For the swords, you will have all the straps from the above step so just slide the sword in, secure it if needed. The dollar store had skeletal birds so I glued and tied those on a few of the pirates.
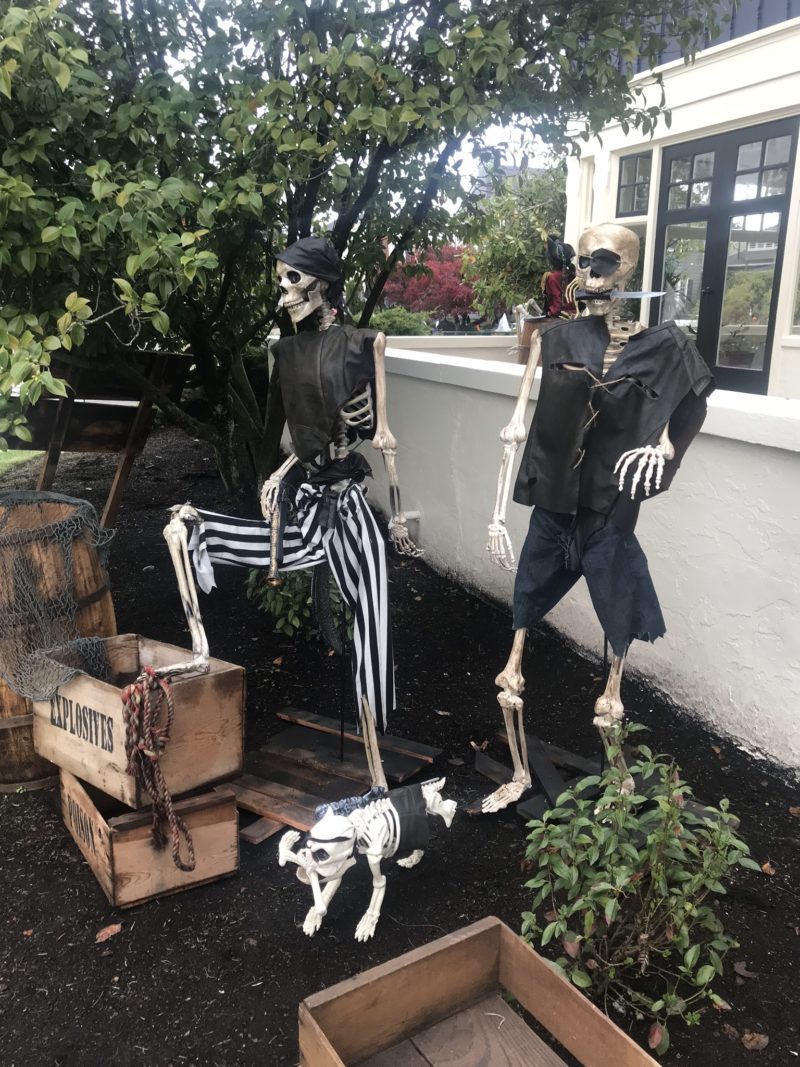
And the dog…well ain’t he cute! I have had him for a while and you can get your own skeleton dog on Amazon. I gave him a little leather vest (remember how I said to keep all the remnants), and eye patch, and a dagger. Then when I was posing him I accidentally snapped his leg off! Ooops – so the bone went in his mouth a peg-leg dog happened!
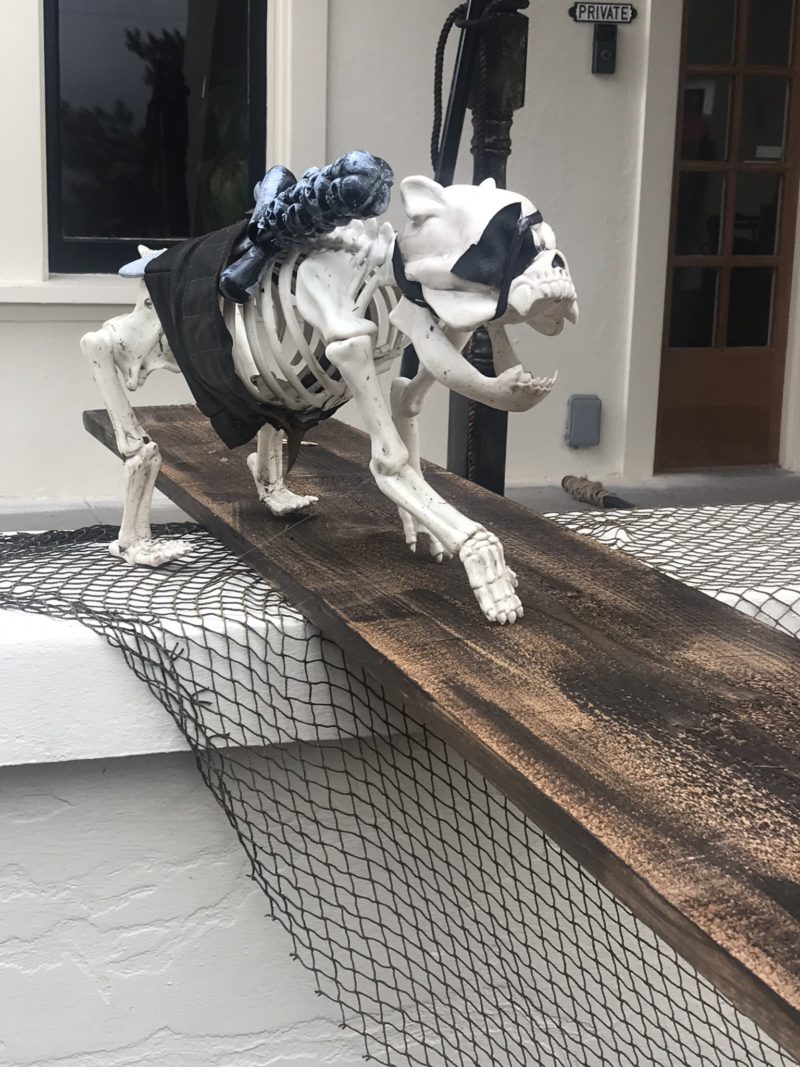
- Skeleton
Pirate Dog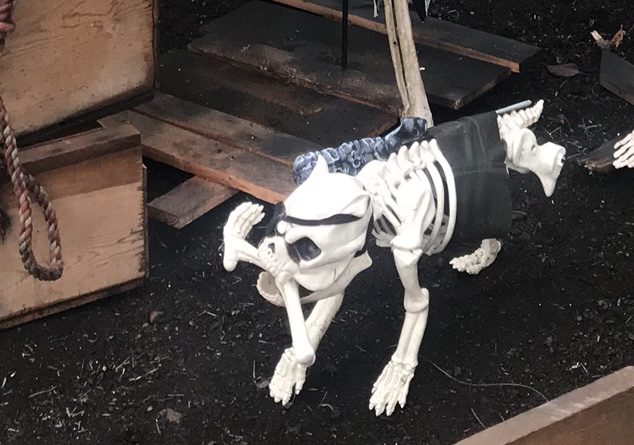
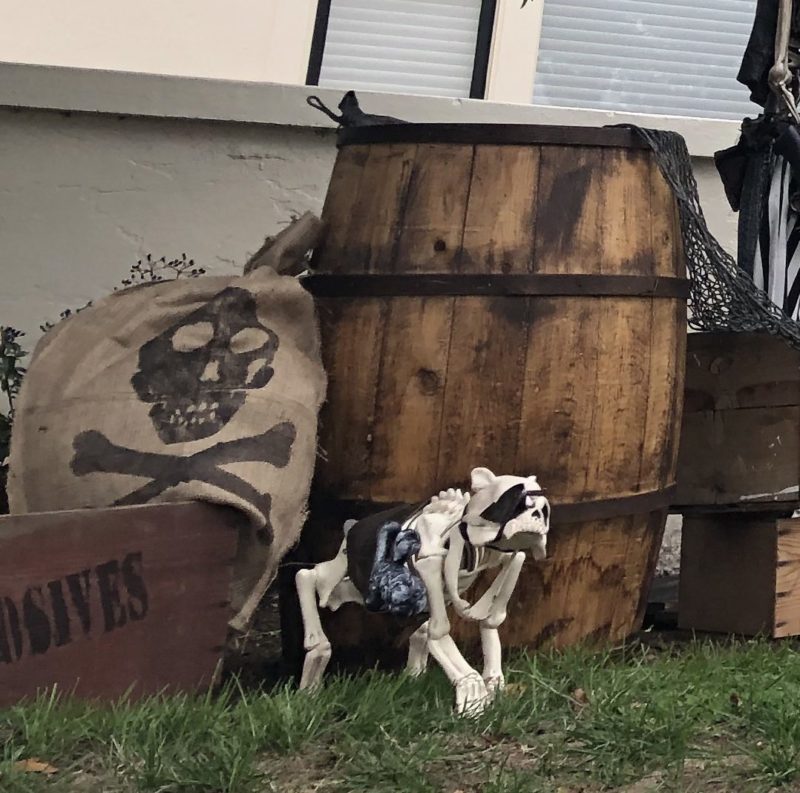
Skeleton Pirate Decor
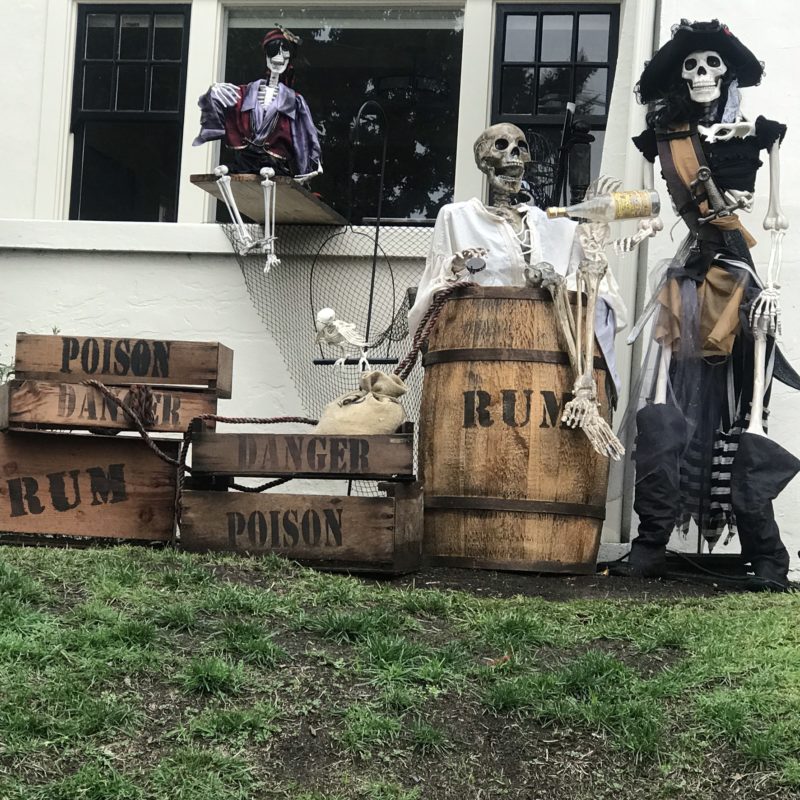
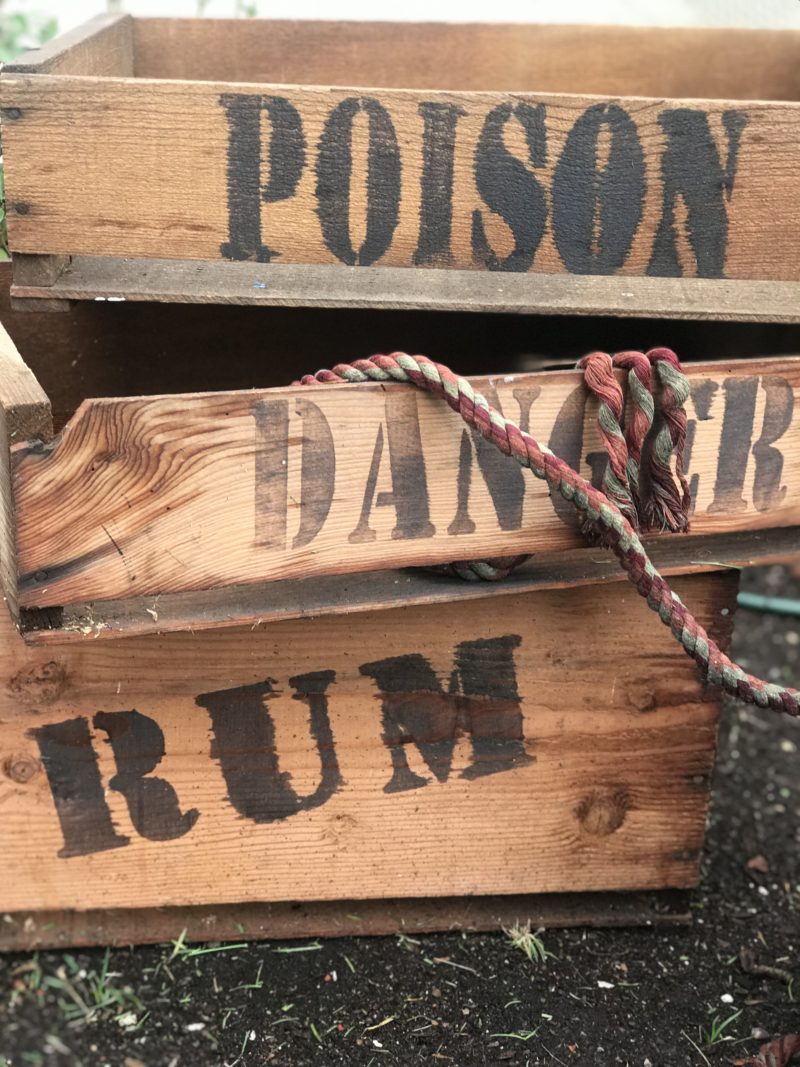
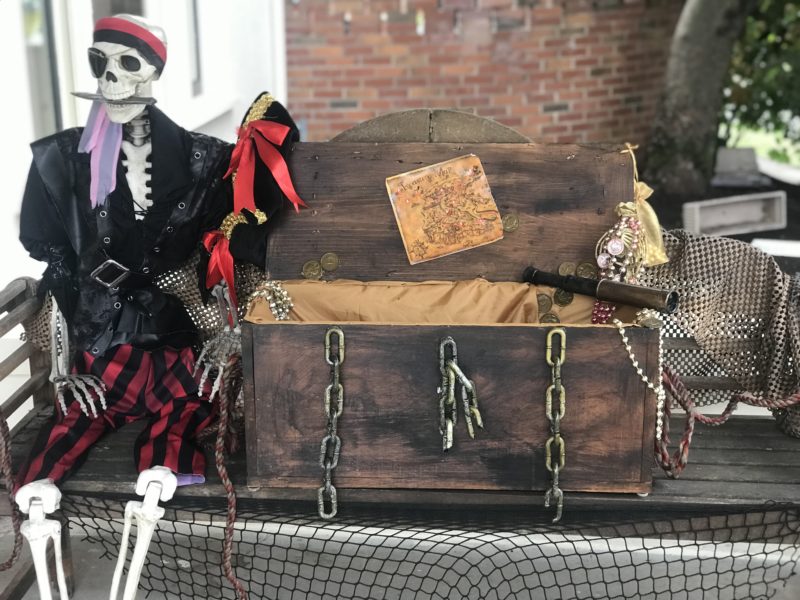
Again, since this was for a client, I wanted to create a real Halloween Pirate Skeleton max-piratey scene. I used barrels, crates, rope, treasure chest, flags, and other miscellaneous fun stuff to spruce it all up. I dirtied up the barrels with some stain. I stenciled on the words “rum”, “danger”, “explosives” etc. (I used my Cricut to make a stencil but you can do them by hand too). I dropped the yellow rope I had in a bucket of dye to turn them decrepit. I used this same bucket to drop clothes in. I made a plank – so we could make the toddler pirate walk off it! I ordered the awesome fish netting from Amazon.
Some Helpful Tools Perhaps?
I included some links that might be helpful – they are affiliate links that help you and me too! See my full privacy policy and disclosure here.
That just about wraps it up but I wanted to give you a list and links in case you want to get started on your own scene. To create some fun props and decor, you’ll need some basics:
- Scissors
- Safety pins
- Exacto knife
- Hot Glue Gun (I love my cordless one!)
- Mod Podge Hard Coat
- Gorilla Glue
- Fishing line
- Old twine
- Stain or paint – get some DIY Dark & Decrepit (I don’t sell it or make anything I just love it!)
- Polycrylic
- Rags, mask, and gloves
- Metal flange and rods
- A drill and screws for securing the flange and boards
- Skeletons and Skeleton Dogs
- Netting
It’s A Pirate’s Life For Me… aaaargh!
And there you have it – some fun DIY Halloween Pirate Skeletons. Here are some pictures of the set up — which generate a lots of oohs and aahs from the neighbors and a happy client for me!
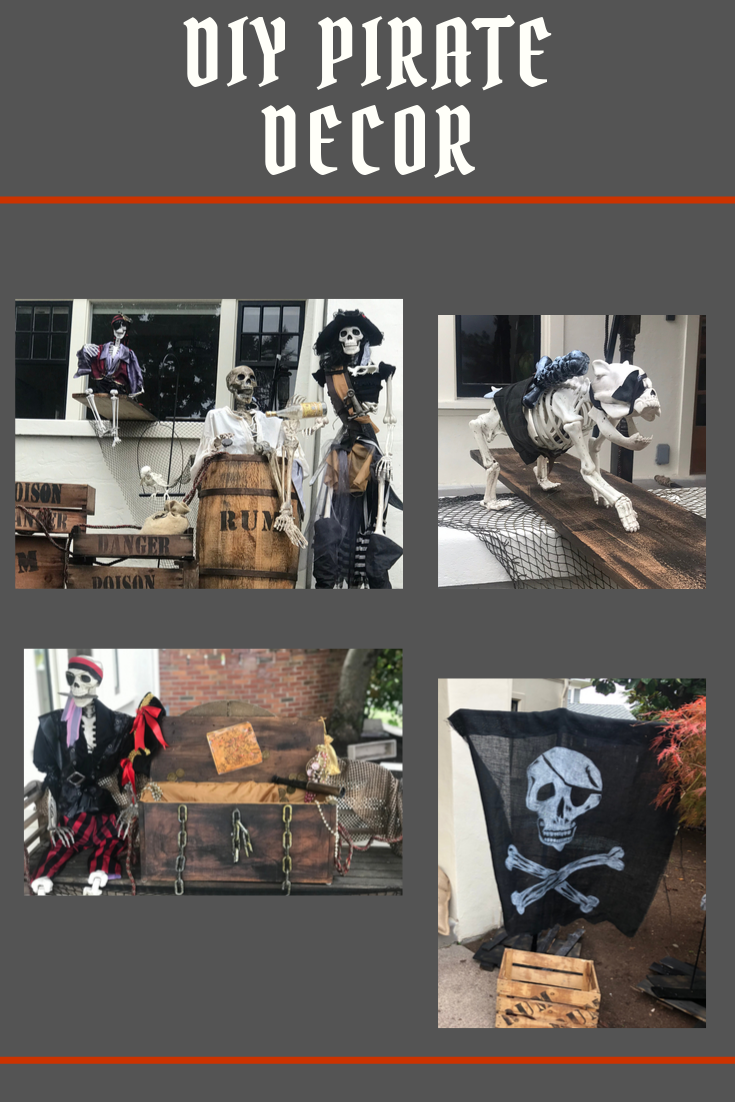


Hello would you mind sharing which blog platform you’re using?
I’m planning to start my own blog soon but I’m having a
difficult time choosing between BlogEngine/Wordpress/B2evolution and Drupal.
The reason I ask is because your design and style seems different then most blogs and
I’m looking for something unique. P.S Apologies for being off-topic but I had to ask!
No problem, I’m off-topic all the time! I use WordPress with Mai Theme plugin. Good luck on your blog!
Hey very cool web site!! Guy .. Excellent .. Amazing .. I’ll
bookmark your blog and take the feeds also? I am glad
to search out a lot of useful info right here in the submit,
we need work out more techniques on this regard, thank you for sharing.
. . . . .
I like the helpful info you provide to your articles. I will
bookmark your weblog and test again right here frequently.
I am fairly certain I’ll learn a lot of new stuff proper here!
Best of luck for the next!
Hello what is the font used for the word “rum” “poison” ?
Hi there!
Thanks for the question – I used the “Stardos Stencil” font in bold. I used Canva to create the graphics. Hope that helps!
Thanks,
Alison