Paint Pouring: Steps to Create Beautiful Abstract Art, Dutch Pour, Recipes, Techniques to try, and more. This is a long post so click these links above to jump ahead!
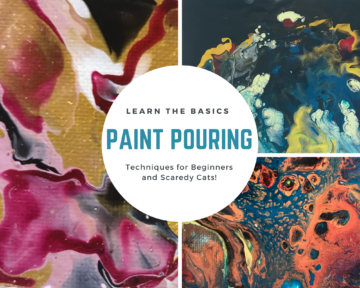
Paint Pouring is a super fun acrylic painting style. This abstract art technique is for people like me who can’t really draw, haven’t taken lessons, are totally messy, and just want to make something pretty! The best part of paint pouring is that you never know what you are going to get, they almost all turn out beautifully. The fun, yet sometimes frustrating part is that it’s almost impossible to create the same pour twice!
First of all, I’ll be sharing my basic paint pouring recipe and ways to tweak it, the basic supplies you need and alternatives, and a few basic techniques. Once you do a few pours on your own, you will be able to play and tweak things yourself. And you can read way down at the end of this post for some advanced techniques, info, and links to explore.
Fearless Paint Pouring
Acrylic paint pouring should be freeing and effortless! Yet, I recently taught a series of paint pouring classes where I learned about people’s fears of making a mistake, or of doing it wrong, or having a bad result. Many didn’t want to even start experimenting because they were afraid! I say “BOOOOO” to that, I want my classes to be fun and this wasn’t working! What seemed simple to me – “just try one of these techniques to pour paint on a canvas and go with it” – brought terror to my people!
I know what you are thinking, but it can seem like so much is on the line. But I’m here to tell you, you can just start over! In my first class in the series, one of the samples I worked on turned out a hot mess. Yes, a hot mess! So even after tons of paint pours it happened to me, because it happens to all of us and is the best way to learn. What did I do? You guessed it, I scraped it off and started over, and you can too!
So, I am here to give you the basic basic basic technique to get started paint pouring, put your fears aside and just go for it. Now, there are a billion videos and blog posts about paint pouring you can dive in and do some research or find some inspiration. But I am simply aiming to give the beginner a place to start! This is really easy and forgiving art – don’t be scared!
This post may contain affiliate links, see my full policy here.
Quick Paint Pouring Video
Quick Paint Pouring Steps

Steps for the beginner paint pouring technique
Step One: Prepare the Canvas
Start with a small 3×3 canvas for practice. Trust me on this, you will get braver later, just see what happens on the small ones before investing in a lot of canvas, paint (and, ahem, waste!).
I like to tape the back of the canvas so it doesn’t get all goobery. Just use masking tape or painters tape – or don’t, it will be fine if you skip this step.
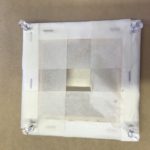
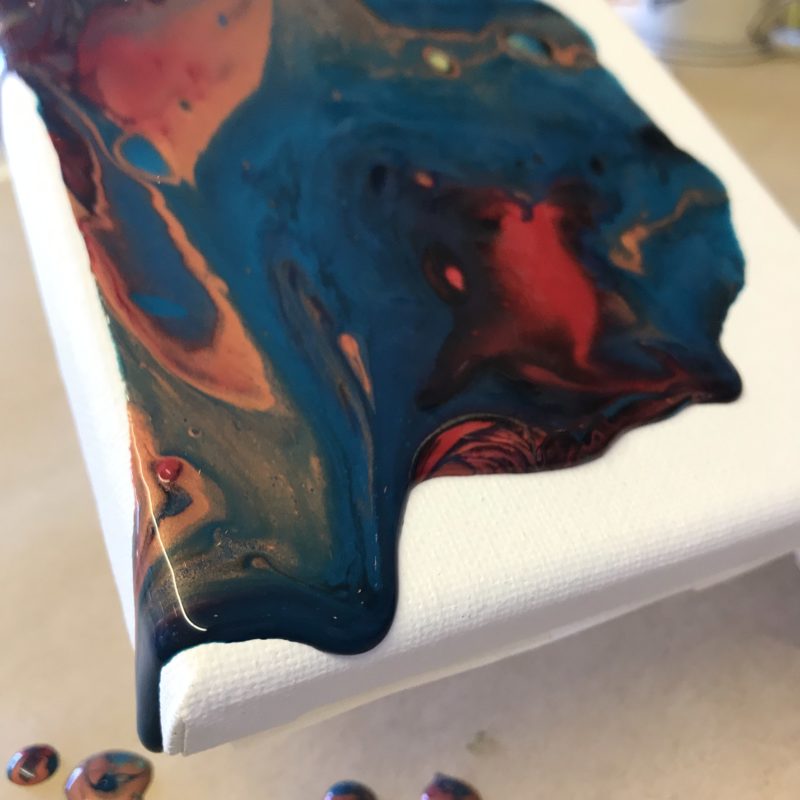
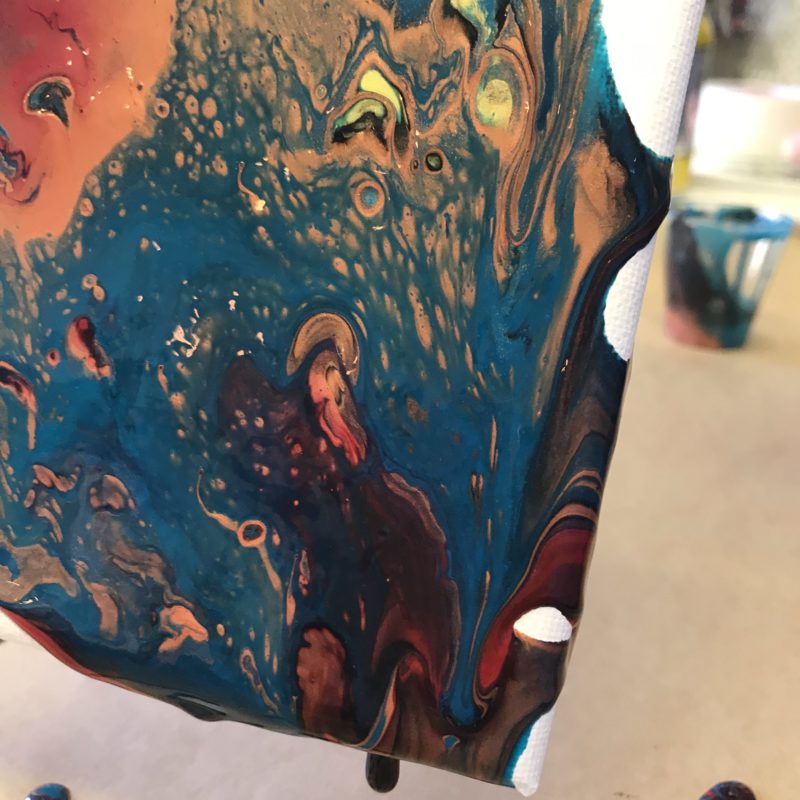
You need your canvas to be up off the table so paint can pour off the sides and so it won’t stick when it dries. I use 4 thumbtacks, 1 in each corner on the backside of the canvas (in the frame part). If you are using a flat canvas that doesn’t have a place for a tack, then just set it on 4 cans or anything else you have around. Next up, mix your paint!
Tip: Um, this is REAL messy. Trust me and cover your area with plastic or paper and wear an apron, smock, or old clothes you don’t care about.
Step Two: Mix up the Paint using the Paint Pouring Recipe
There are as many “recipes” for paint pouring as there are for the best chocolate chip cookie – and it all comes down to preference! Do you want it crispy or chewy? Lots of chips or very few? Giant or tiny? You get the point – there is no “right way” to do it. I seriously mean that – this isn’t math where there is only one right solution to the equation.
Here’s the BIG SECRET, there is no perfect recipe or technique.
This is art, it is fluid, you do you! Every single painting will turn out differently. Some recipes will create giant “cells” and some don’t, some alter the color or flow of the paint, others don’t. The fun is in trying things out deciding what you like best. For beginners, set aside all the differences and just start experimenting with the basics laid out here.
To start, use my beginner paint pouring recipe below. If you want more advanced techniques or information you can read about that at the end of this post.
BASIC PAINT POURING RECIPE for Beginners
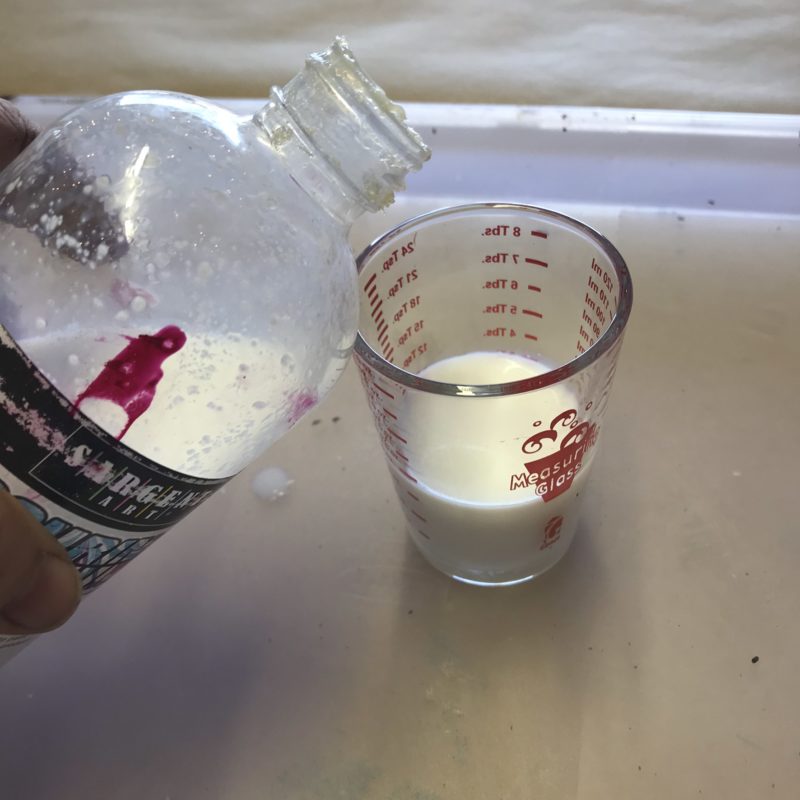
1 part acrylic paint: 1 part “medium”: a little bit of water
Or in real measuring terms:
- 2 ounces of acrylic paint
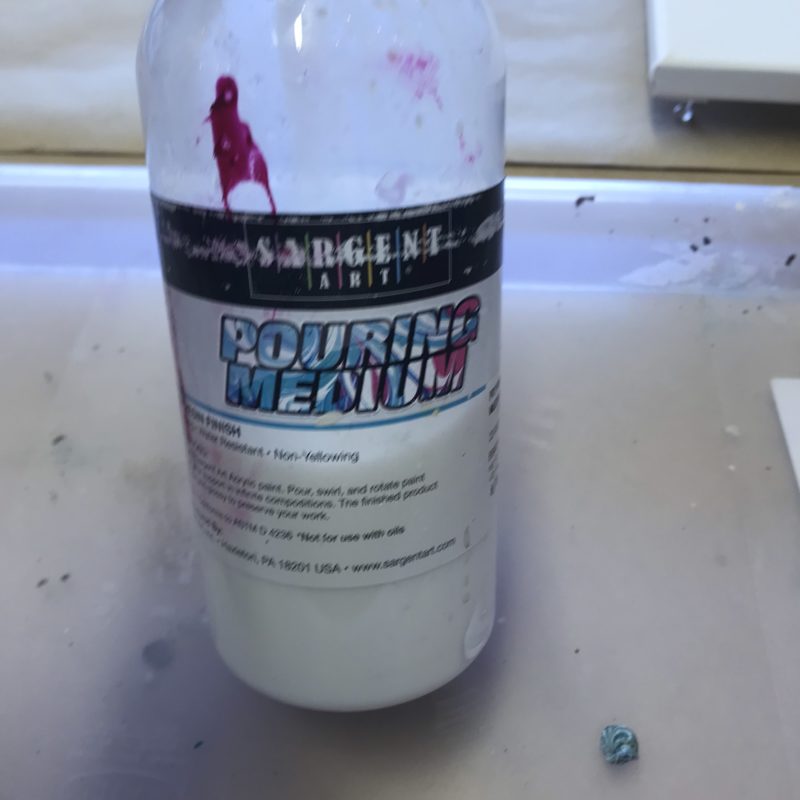
- 2 ounces of a medium (I like Floetrol or Glue-All for beginners)
- add about a teaspoon of water.
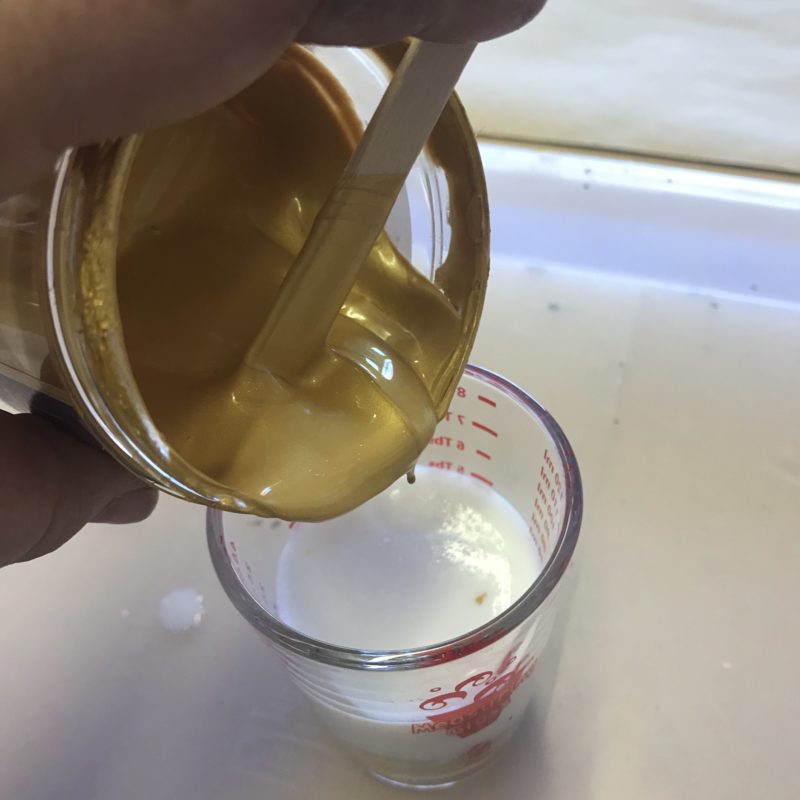
- Stir this up good and lift your stir stick up and if it runs off like melted honey you are in business, if it is thick then add a few drops more water and stir again.
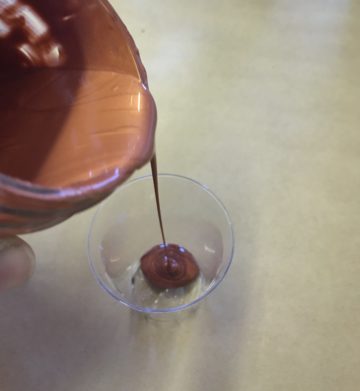
The key to the acrylic paint pour recipe is creating very flowy and fluid paint to pour. It should be like melted honey or syrup. “Mediums”, or paint additives, create the right consistency and act as a binder improving the integrity of the paint so it doesn’t chip, crack, fade or do other crap stuff after you create the art of your dreams! To get flowy, you must add a medium to your basic acrylic paint.
Adjust the amounts of paint, medium, water as needed.
The actual amounts you use are NOT critical people, so do not panic. Just pour paint in your cup, pour the medium in and add a little bit of water. Stir that up! Now if the paint pours like thin syrup off your stir stick you are in business. If it is thick add a little bit more water. However, note that just adding water will weaken your paint so they say you should never add more than 50% water to a recipe – and I never use more than a few teaspoons.
TIP: Don’t get your paint too runny or it will all blend together in a muddy yucky mess!
Mix up several colors ahead of time. I would choose 3-5 of your favorite colors (you can make just what you need or make more for later). I do this all at once and store it in mason jars or squeeze bottles. It’s just easier for me to get it all done and it will keep for a long time as long as you stir really well so you don’t get paint boogers.
Step three: The Composition
The composition is basically deciding what colors you want to go together and what “look” you are going for. Take some time with this part. You can look at Instagram, Pinterest, YouTube, and Google images to get some inspiration to copy.
If you use colors all in the same color “family” your pour can get muddy as they all blend together and look the same. So, think about using colors for “pop” and contrast.
Choose a vibrant color, a dark color, and a 2nd vibrant or metallic color
Think about where you will put your art, and what décor it goes with, or use a pillow in your décor as inspiration for your pour. Think about your favorite sports team (go DUCKS!). Or just go for it with colors you love!
Here are some of my favorite colors combo’s:
- Pink, gold, white (2 different shades of pink is lovely)
- Navy blue, white, gold, speck of red
- Hunter green, gold, drops of white, swirl of cadmium yellow
- Turquoise, cream, gold, splash of navy
- Copper, navy, drops of white, drop of burgundy/raspberry
Step Four: Layer Your Paint in a Cup
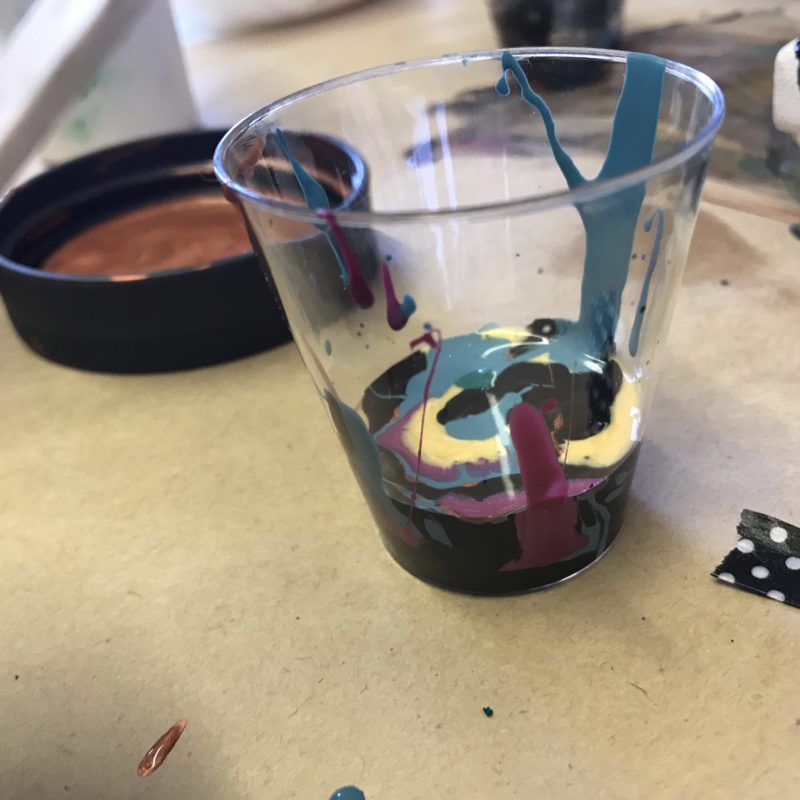
To pour your paint you will be using a small cup with the paint layered in it. The cup will then just get turned upside down and paint “poured” on the canvas.
You should have at least 3 colors or more for an interesting pour. For example, for the 3×3 practice canvas, you will need about 1 ounce of paint.
Start by pouring a small amount of your first color in the cup, then your second color, then third, then repeat. It doesn’t have to be precise, or even, you can you a few drops or a whole layer. You can use more of 1 or 2 colors and a splash of another.
There is NO right way and NO perfect recipe for this part.
APPROXIMATE AMOUNTS of PAINT NEEDED for PAINT POURING
- 3×3 canvas needs about 1 ounce of paint
- 8×10 canvas needs about between ¼- ½ cup (2-4 ounces) of paint
- 11 x 14 canvas needs 6-8 ounces
TIP: It’s better to have a little bit too much paint in the cup leftover than not enough!
Step Four: Be Brave and Get Paint Pouring
This is the hardest step for many people. You just need to do it! Take your cup, layer it up with paint colors you’ve chosen and just go for it.
For beginners, I think the flip cup technique is the easiest to start with.
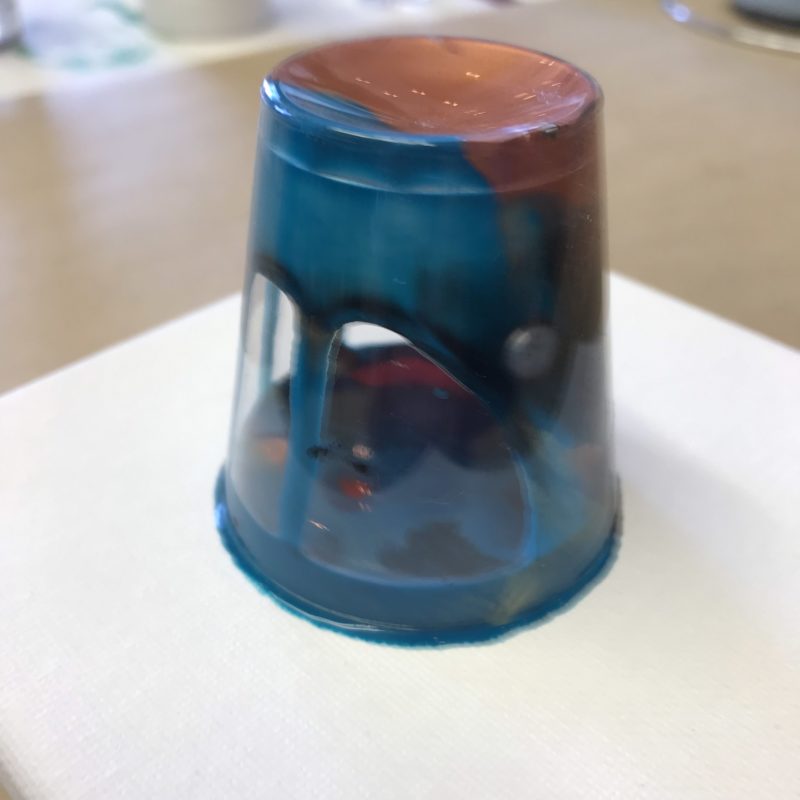
- You will turn your canvas upside down on top of your cup, right in the center of it.
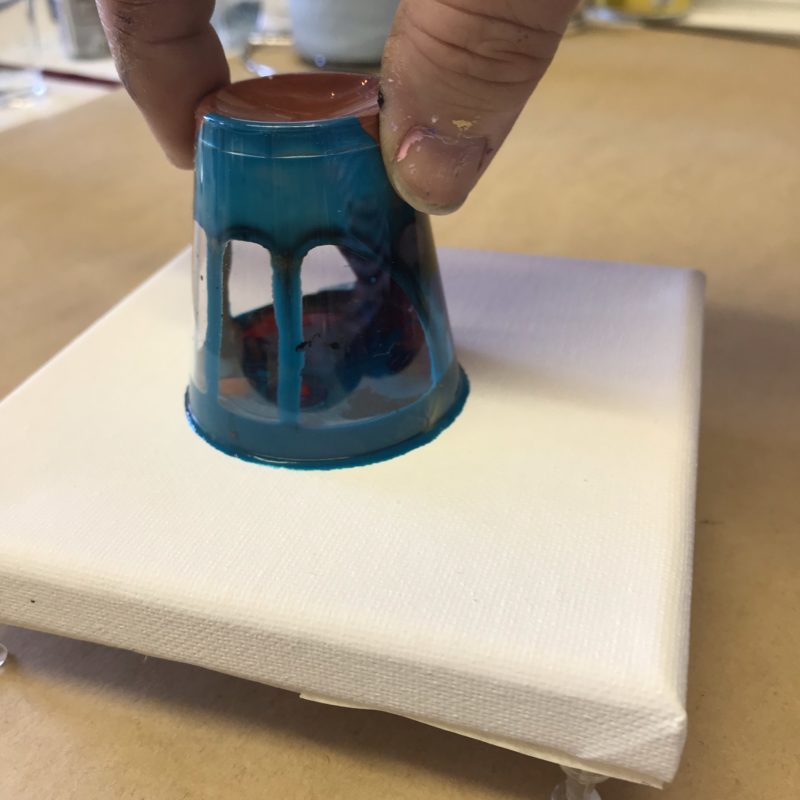
- Then quickly and carefully flip it over all the while holding the glass against the canvas.
- Once flipped, leave the glass alone for a minute to let the paint drip down.
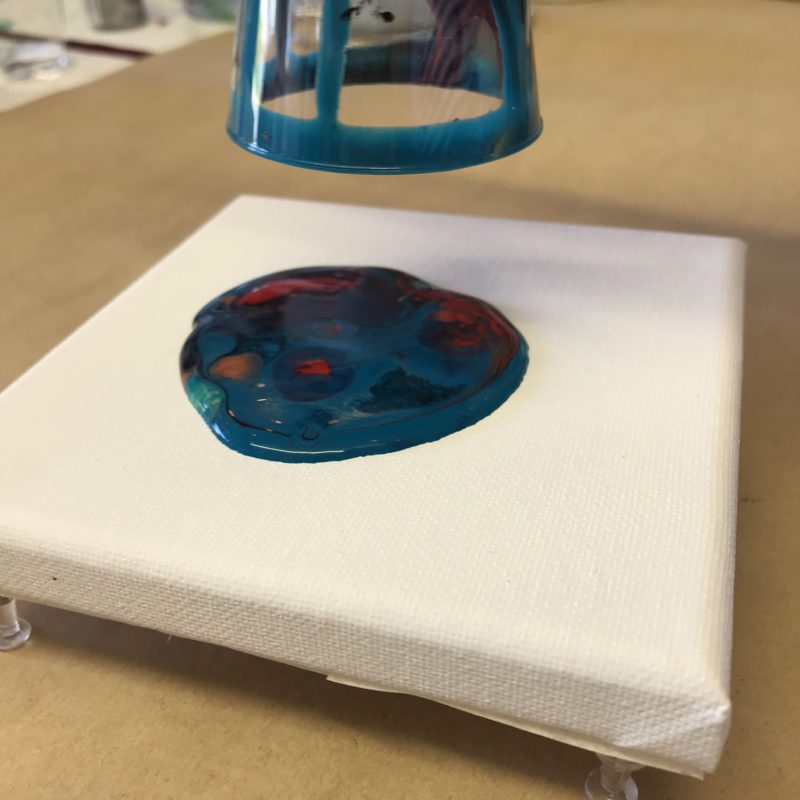
- Then pick up the glass and watch the paint start flowing.
Go with the flow…
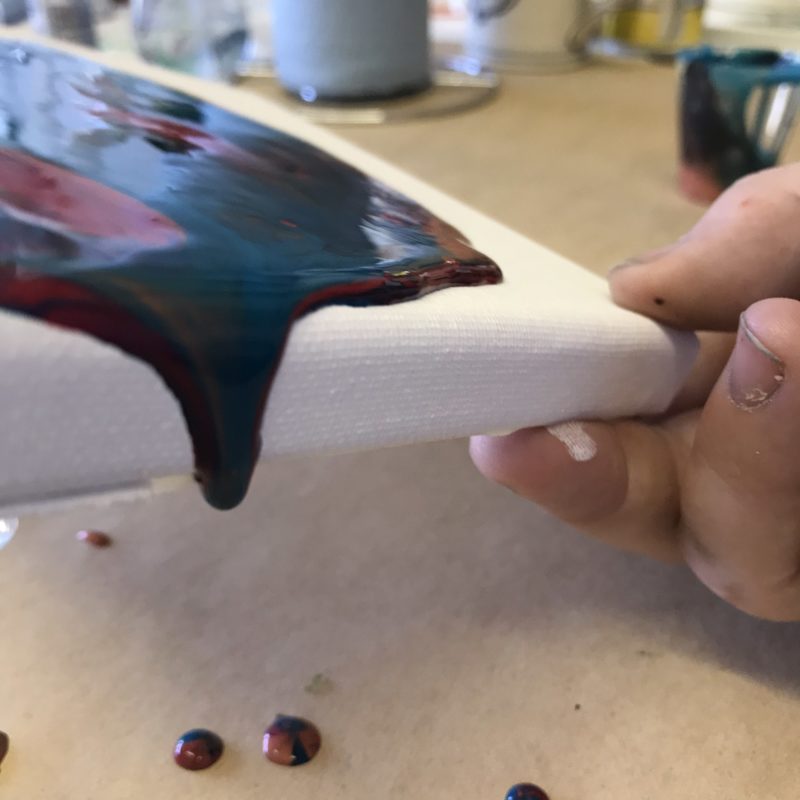
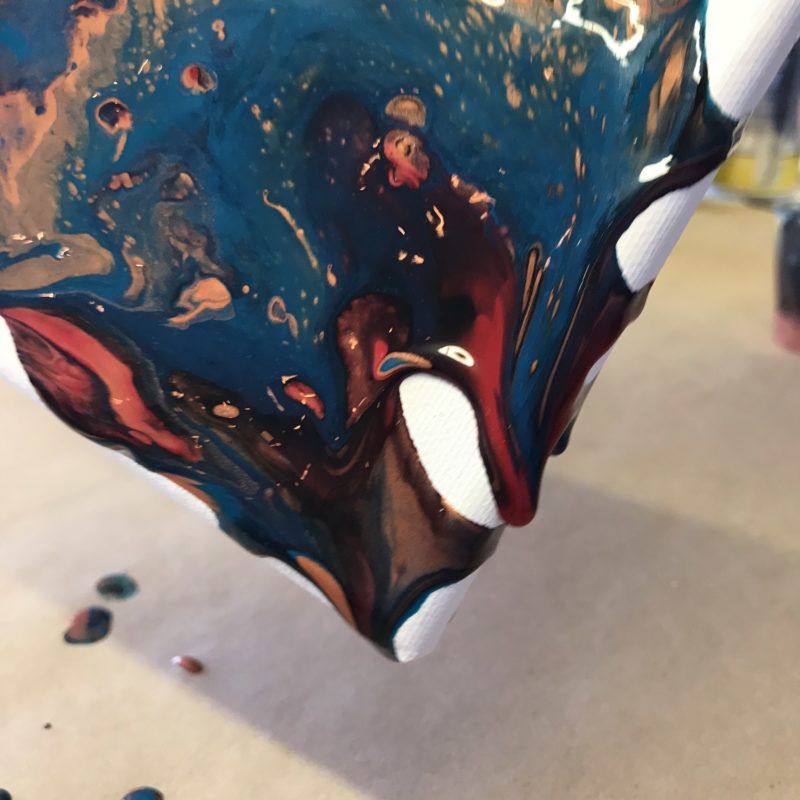
- Next, you will very gently tip the canvas from one side to the next to cover it, let it drip off the sides a bit, but don’t lose it all off the side.
- You want to be sure to get all corners covered first. You can use your fingers or a palette knife to cover the sides of your canvas with paint, just dip in and cover.
- The paint will continue to pour off the side and the sides will look great.
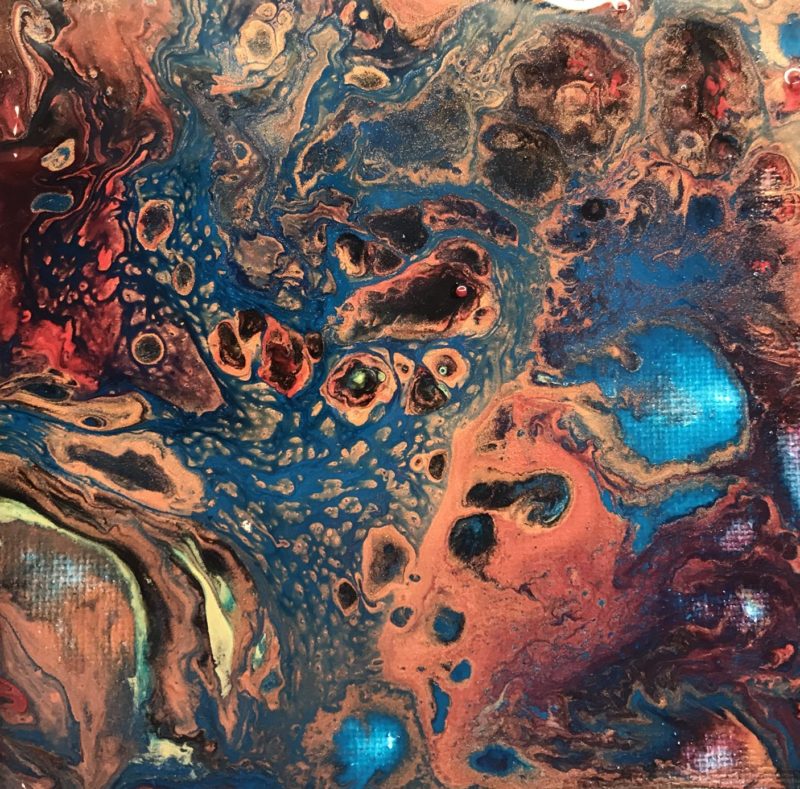
TIP: leave a little bit of paint behind in your cup and dribble a bit of it in each corner and along the sides, this will help you fill in any spots missed during your tipping.
If you find you didn’t use enough paint, mix a little bit more in your cup and drizzle it directly on your canvas where it’s bald and then tip a bit more.
Tip: do not over tip, mix, swish or mess with your art – overdoing it can blend the colors too much and they get muddy. Step away even if you really want to mess with it!
Tip: leave your art on a clean, level, dust, and wind-free space while it dries.
That’s it! You are done.
Seriously, just walk away! Leave it to dry about 24 hours. If you want to add a finish coat you should wait for the paint to cure, 3-4 weeks (a hot tip from reader, Amy!) It’s not necessary unless you are creating some fine art you want around a long time.
To add a finish coat I just paint on one of the topcoat varnishes I have on hand.
Update 2020: Please hop over and read my post about the Dutch Paint Pour, there is a free download over there too!
A Special Nod to Dutch Pour
As one of my favorite and most popular techniques, I’ll pay special attention to the Dutch Pour! My inspiration to do my first paint pouring came from watching this on YouTube. This technique involves blowing the paint that has been layered, creating beautiful images with a good amount of negative space.
Rinske Douna is the artist who I believe invented this technique. I love it, it is glorious. She covers the entire canvas in white, then layers paint in circles. She then surrounds the paint circle with more white and uses a blow dryer to blow the white over the color circles, and then back the other way off the edge of the canvas. You have to watch to understand! Go follow her on YouTube, become a fan, she’s a genius.
Dutch Pour PAINTS:
For the Dutch Pour you will need a lot of a base color, like white, and that recipe will need to be considerably thinner than the traditional honey or syrup texture described above. You need the paint to be able to move freely. She generally doesn’t use mediums, just water! When mixing aim for a texture like heavy cream.
She uses:
Amsterdam acrylic paints. Color and White
Winsor & Newton Galeria Acrylic Paints
Her Dutch Paint Pour Recipe:
Mix the acrylic paint with water only, no more than 50% ever. She pours the paint in a cup, adds a little bit of water and stirs, adding a little bit of water at a time to blend. She never measures, just uses her senses to see how it flows off her stir stick. Paints have different viscosity and brands and pigments vary so there is no sure-fire recipe. But for those of you who need measurements, start with 1 ounce of paint: 1 TBS water.
Dutch Pour Steps:
1. Prep the canvas as described above.
2. Cover the entire canvas with a base color, white usually, spread it evenly and make sure to cover the edges.
3. Select your colors. To start, choose 3-4 colors at most. Select 1-2 vibrant colors, a dark one and a metallic one.
4. Pour a small circle of your vibrant color. Into THAT circle pour a small about of the dark color. If you chose another vibrant color pour a small amount into THAT circle. And finish with your metallic color.
5. Take your base color, white, and pour some all around that circle (don’t cover the circle).
6. Blow with a hairdryer (with a narrow flat nozzle attached) on low, just quickly in one direction – this will blow the outer white pain OVER your color circles. Don’t Panic!
7. Next, and take a breath, use the hairdryer and start from the opposite direction to blow the paint back the other way. She generally uses 2-3 quick passes. It takes practice! Don’t worry. Start on low, and use low quick passes, wiggle your dryer as you make your pass.
8. Use your mouth or a straw to finish blowing paint where you want it to go.
TIP: Watch her videos and practice doing what she does.
Advanced Paint Pouring Techniques and Information for when you are ready!
Paint Pouring Recipes to try:
- The Beginner Paint Pouring Recipe is 1 part acrylic paint: 1 part medium: 1/4 part water
- 1 part acrylic paint: 2 parts pouring medium: 1 part isopropyl alcohol
- 1 part acrylic paint: 1 part Floetrol: a few drops to 1 tsp of water
- 1 part acrylic paint: 10 parts GAC 800 (prep and store overnight before use to allow bubbles to pop)
- 1 part high flow acrylic paint: 10% WATER
- 1 part high flow acrylic paint: 1 part 70% isopropyl alcohol: 2 parts GAC 800
- 1 part acrylic paint: 1 part Floetrol: a few drops to 1 tsp of water, a few drops of Dimethicone
Paint Pouring Techniques
Flip Cup, great for beginners: Fill one small cup with paint layered and dump it on the canvas at one time.
Direct or Straight Pour: Pour or squeeze the paint directly on to the canvas in a random pattern of swirls, dots, circles, squiggles. You will cover the canvas, building up the layers of colors directly on the canvas. Then tilt and move the paint as desired
Dutch Pour: Cover the canvas in a layer of white (or black, a solid color) then layer paint in concentric circles pouring one color directly on the previous one, experiment with adding drips here and there. Then pour your solid color around your circles then using air, blow this paint over your circles. Then reverse it and blow the other direction.
Dirty Pour: Fill a small cup, layering paint colors and then drizzle it all over the canvas in a random pattern, or a purposeful one! Tip canvas to spread.
Funnel or Colander Pour – Fill a small cup, layering paint colors then pour the paint into a funnel or colander and let the paint drizzle out as you move it around.
The Lazy Susan – Get a spinning tabletop Lazy Susan, place your canvas in the middle. Fill a small cup, layering paint colors, then pour the paint on the canvas while spinning it!
Paint Pouring Finishing Techniques:
Tilting – to spread the paint, slowly tilt your canvas but don’t go crazy or you get a hot mixed up muddy mess. Tilt in different directions until your entire surface is covered, letting it drop off the sides just enough to cover without pouring all your pretty bits off!
Torching – using a kitchen torch (butane powered) to “torch” your paint bubbles, the torching pops the bubbles and creates a very interesting effect.
Swiping – to spread the paint use a stir stick, string, or your fingers.
Balloon Smoosh – Use a semi blown up balloon and smoosh it right into your paint, hold it there and then carefully lift it straight up and off the canvas. This takes some practice but is a cool effect.
Blowing – Use a straw, a fan, hairdryer, or just your mouth to move the paint around the canvas. This can make some colors muddy so be cautious with this one until you get the hang of it. It can also be messy if you get crazy with it and blow paint all over!
Edges – I like to pay attention to the edges of a stretched canvas for a complete look. You can let paint drip right off the sides if you have enough paint to cover -this is a great thing! If you don’t get full coverage you can use a paint stick or your finger dipped in the runoff paint on your tray or what’s left in the cup and dabble it on the edges. Another tip is to leave a little bit of paint in the cup when you lift it off and purposefully drizzle it on the 4 corners and along the edges to help this part along.
SHOP THE PAINT POURING SUPPLIES
Below are paint pouring supplies I use. This post contains affiliate links, see my full policy here. I get a small commission if you buy them here. But you can just as easily whip out your coupons and head to your local craft store to pick them up! And you likely have a lot of these things on hand already!
There is a starter kit you can buy too, in one fell swoop.
Acrylic Paints:
The fluid and soft body types are best as they are already flowy, the cheaper brands work great and are known to create “cells” (little interesting bubbles). Start with a variety of basic colors then you can blend your own. You might want to include a few bonus colors like gold or silver, or another color that matches your decor. You will need lots of white and black, so get big ones!
- Winsor & Newton Galeria Acrylic Paints
- Apple Barrel Acrylic Paint Set, 18 Piece (2 Ounce), PROMOABII Best Selling Colors II
- Liquitex Basics Acrylic Color Introductory Assortment 1 pcs
- Sax True Flow Heavy Body Acrylic Paint, 1/2 Gallon, Titanium White
- Sax True Flow Heavy Body Acrylic Paint, 1/2 Gallon, Mars Black
Pouring Medium:
You need this to get your paint flowy and lovely. Just water will suck, don’t try it (unless you are doing the Dutch Pour). And if you think you’ll love this art form, buy the big ones! I have gone through so many before I finally just bought the gallons size!
- Liquitex Professional Pouring Effects Medium, 8-oz
- FLOOD/PPG FLD6-04 Floetrol Additive (1 Quart)
- Elmer’s Glue-All Multi-Purpose Liquid Glue, Extra Strong, 1 Gallon
- Sargent Art 22-8827 Pouring Medium Acrylic, 128 oz
Clear topcoat:
Use topcoat to seal your lovely artwork, it’s not necessary but if you want to keep it awhile you could try it. It also levels out some uneven paint bits that may bother you and provides a nice finish (once the paint dries it dulls a bit, so a gloss finish is really nice).
- DecoArt Clear Pouring TopCoat – easy to use, just pours on
- Liquitex Professional Gloss Varnish, 8-oz
- ECOS Paints 00817292022678 Shield Interior Semi-Gloss Wood Varnish, 1 Quart, Clear – this is an eco-friendly option to try if you are going to do a bunch of art, it’s kinds of expensive.
Stretched Canvas:
These work perfect for pouring as the paint drips off the sides. I like the small ones, but any size is great. Prepare the cheap ones with a layer of Gesso (I’ve pronounced this wrong for years! It’s “G” sound is like “Jello”) if you want it to hold up as they are fragile, using pre-prepped artists panels is a good option for a piece you want around for a while.
Other surfaces to pour on include furniture, ceramic tiles, vinyl records, wood, photo paper, glass and so much more! For flat surfaces, you will need to set your item on something (cans, an upside pan, etc) so that it won’t stick to your surface as it dries.
- 8 x 10 Inch Stretched Canvas Value Pack of 10
- 12 X 12 Inch Stretched Canvas Value Pack of 7 Square Size
- 3″x3″ Canvas for Painting, Academy Art Supplies (12 Pack)
Cups, bottles and more for mixing:
Small Cups for mixing and pouring: I use glass ones primarily so I can reuse them. Let them dry and the paint peels off (better than going in our drain system).
Squeeze bottles for prepared paint: You can use condiment bottles like for ketchup and mustard, or the cake decorating ones work well also.
Heat Torch and butane – pops bubbles and creates cells
- Culinary Torch for Kitchen Cooking Food Butane Blow Torch – Dabbing, Creme Brulee, Grilling (Silver)
Palette knife: for spreading paint, a cake knife or spatula work very well for this.
Painters or Masking tape: to protect the back of your canvas
FrogTape 1358463 Multi-Surface Painting Tape, .94 Inches Wide x 60 Yards Long, Single Roll, Green
Gloves: tip, you can wipe or rinse them off as you go and they will last longer.
A tray, baking pan, tupperware lid, cookie sheet: to catch paint drips
Stir sticks: craft sticks are OK, but not as eco-friendly, I like to use butter knives, forks, and spoons. I picked up a whole set at a yard sale. The paint peels off and you can reuse them.
Towels or paper towels to wipe up your messes and gloves
Drop Cloth: to protect your area
Apron, smock and grubby clothes (trust me on this one!)
Tacks or cans: to raise your canvas off the surface as it pours, thumbtacks or 4 cans or other small flat items. Be careful not to puncture or warp your canvas, only lay it on the frame section of the canvas.
ADVANCED PAINT POURING INFO if you wanna read more…
Information about the Medium Choices
High-quality mediums would be a great choice for art you want to keep around, gift, or sell. They make the paint flow without changing the color or integrity of the paint. If you use other things like glue or water your results may not hold up over time as they break the paint down, crack, split and chip.
Elmers Glue-All – most affordable binder and popular with the regular folks! You will not get archival quality with this medium so it’s best for beginners, practice and quicky art.
Floetrol – affordable, great flow, slow drying time which allows for paint movement on the canvas, creates more, smaller cells in the paint, not archival quality either but a great medium
Liquitex Pouring Medium – expensive but creates a painting that will last, creates even flow and promotes drying, creates bigger softer cells
GAC 800 – most expensive but quality item that creates long-lasting art, prevents crazing and fissures so don’t use if you want that in your art, formulated for a high ratio of medium to paint at 10:1
Water – free, gets the paint to the flowy state and almost always is necessary in small amounts, use sparingly or it will create paint that flows right off the edge and blends into mud. Never add more than 50%, and aim for much less like 10-30%, it dilutes the color and binding agents so paint doesn’t stick or stay as well with water thinner.
Isopropyl Alcohol – cheap; you can add it to your paint mixes but it does evaporate so I like to add it at the end or spritz it on from a water bottle, it creates beautiful “cells” because the alcohol is fast drying and trying to escape the paint. It is less dense than water and evaporates quickly once it hits the surface. It is unreliable, you never know what it’s going to do with your paint.
Dimethicone – inexpensive found in hair serums, it will create cells, it also leaves an oily residue on your painting that you will need to dab off once it is dry.
Silicon – moderately expensive, a little goes a long way though, more toxic, adding just a few drops to all colors results in great cells, it also leaves an oily residue on your painting that you will need to dab off once it is dry.
Hemp oil – another super eco-friendly way to create cells in your paint pour.
Here are some amazing sites for more information!
Rinske Douna – the amazing artist and inventor of my favorite technique, the Dutch Pour Rinske Douna website and her YouTube
A great site full of tips and tutorials AcrylGiessen.


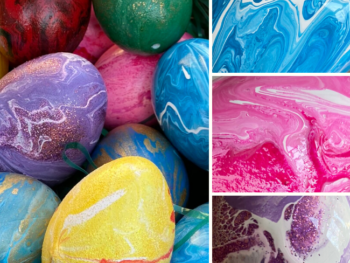
 Mother’s Day Gift DIY
Hello Alison:
I have been playing around with various methods for a while now but just not getting it right; although I know you say that almost anything is okay. However, this is the best information that I have found. You give all the terms and meanings and ways to make a nice piece of art.
Thanks.
Hi Jan!
Thanks that’s so sweet! I know when I was learning there was so much information, conflicting information, and methods I was kind of confused! I have tried almost all of them by now 🙂 Let me know what mediums and brands you have and I can suggest a specific recipe or two for you to try out!
Thanks for reading! 🙂
Alison
The paint is not cured in 24 hours. The layers of paint will not be fully cured until 3-4 weeks. It can cause clouding and cracking if varnished or sealed too soon.
Thanks for the tip and reminder Amy!
A very good described article, full with valuable information
Thanks! I did the trial and error – hopefully it is helpful to people and save some heartache!
Thank Alison!
I’m just beginning the pouring journey and I’m afraid I am already hooked! The info you provide here is very helpful. I too found Rinske’s work intriguing, which what what sparked my interest.
Hi Tracy!
I’m so excited that you are hooked! It is so wild how much I love it. I revel in the experimenting and I hope you let go and let that paint flow! Rinske is a dream, I’m glad you love her like I do! Share some of your pours when you are ready I’d love to see them!
Alison 🙂
This is very well written. Thank you so much for all the info you included! I’ve been wanting to try it, I have all the supplies, I watch some of the videos on you tube, but I had a few questions and you answered them all. Thanks again for all the info.
Yay! I’m so glad you found the information helpful!! I hope you get pouring some paint soon and that you have a great time letting the paint flow! I’d love to see what your paint pours if you ever want to share!
Take care!
Alison
Thank you so much for being thorough. I am excited to get stated but scared at the same time. I was most confused over the white stuff I saw being poured on the canvas surface. I just wasn’t sure if it was paint or glue or gesso. Thank you for the help.
Yay Michele! I am so excited for you to get started. I find it totally normal to be scared – but just go for it! You can always scrape the paint and start over. Be fearless! I found once I let go of my expectations of what it would turn out like I loved watching what happened as I experimented. Let me know if you run into any road blocks along the way and I’m happy to help you out!
Have you ever thought about creating an e-book or guest
authoring on other sites? I have a blog based on the same subjects you discuss and would
love to have you share some stories/information. I
know my readers would value your work. If you’re even remotely interested, feel
free to shoot me an e mail.
my webpage – abstract painting