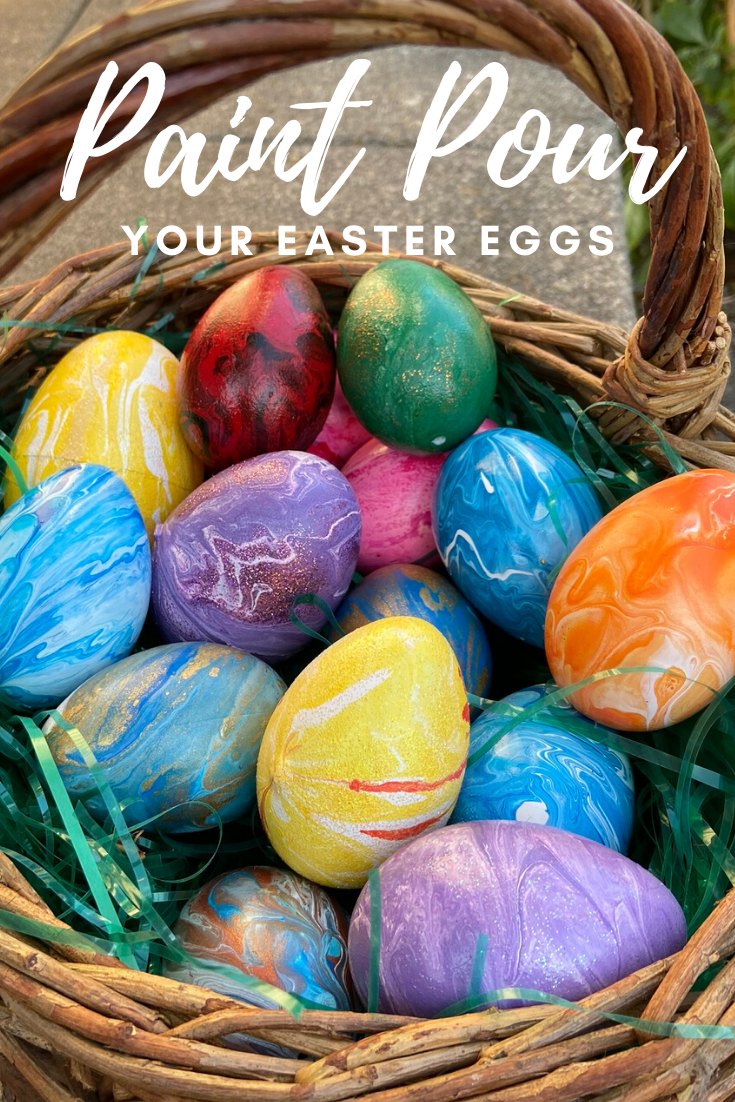
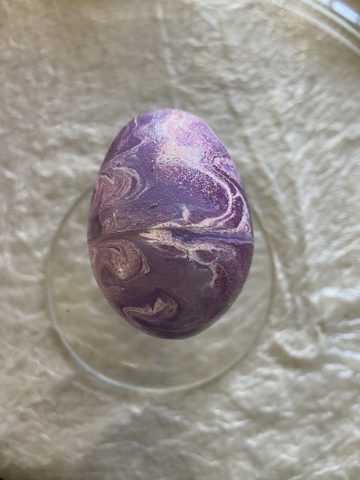
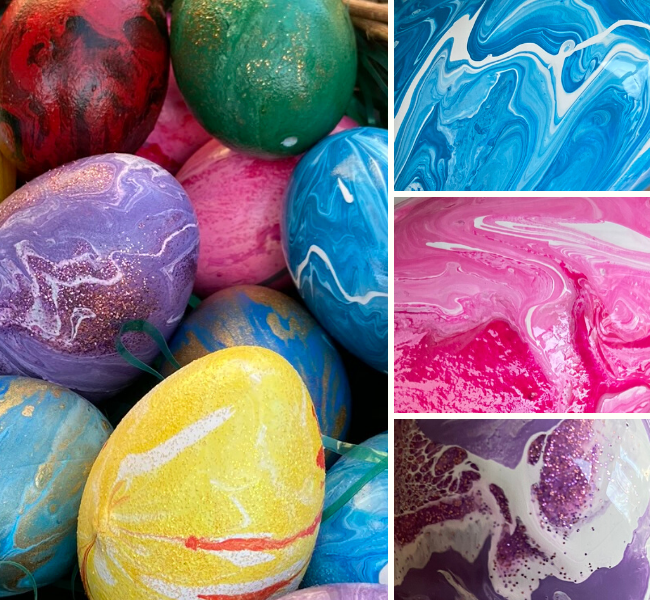
Use my favorite paint pouring techniques to create beautiful painted Easter eggs!
This post may contain affiliate links see myfull policy here.
Paint Pouring is such a fun, easy and carefree way to create beautiful art. Applying paint pouring to eggs was a no-brainer! So here’s how I did it.
Paint pouring involves layering acrylic paints and moving them around in some way. That could be from blowing, tipping, smooshing or any other method that moves paint around. It creates beautiful abstract and marbled images.
These are the basic steps for some fun, beautiful, and easy painted Easter eggs.
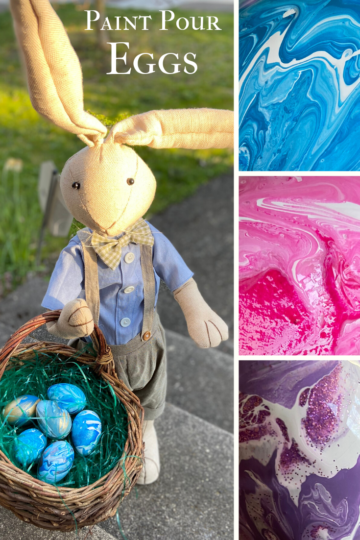
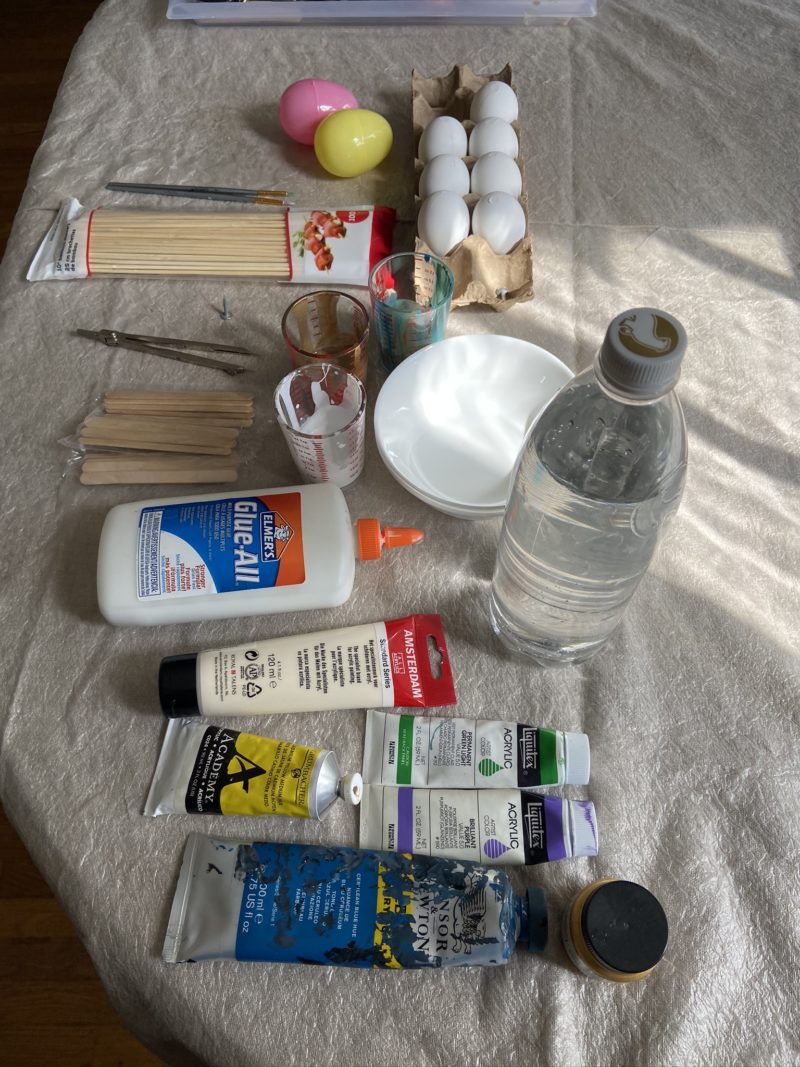
Materials For Painted Easter Eggs
- Arylic paints in any fun color, mix your own too
- Water, Glue, Floetrol, or any other medium
- A bunch of cups or bowls
- Stir sticks to mix paint
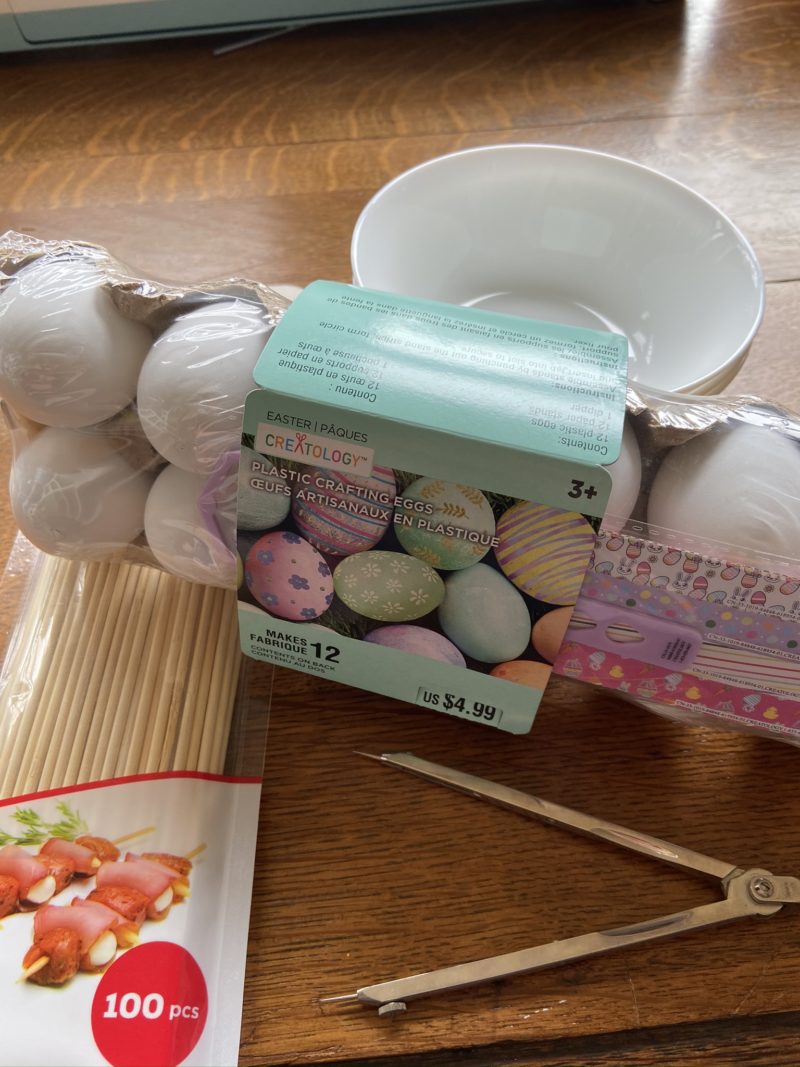
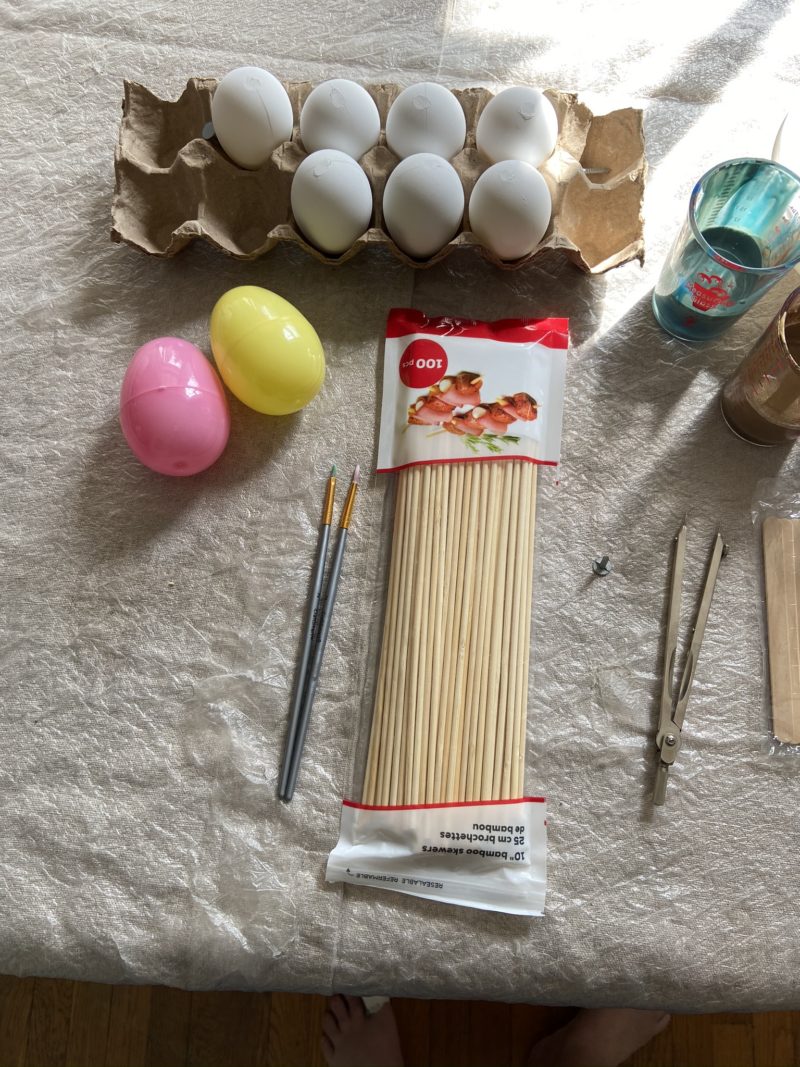
- Eggs – real, fake, whatever you want
- Bamboo wooden skewers, or thick wire
- Several tall glasses, or even better coffee paper cups
- Dropcloth to protect your area
Painted Easter Egg Instruction Summary
- Cover and protect your work area and yourself.
- Prepare the egg by poking holes in the end.
- Thread a bamboo stick through the egg.
- Select your colors. To start, choose 2-3 colors at most. Select 1 main color, 1 complementary color, and possibly an extra metallic or glittery one.
- Mix the paint recipe together for the base color and all the colors you want to use (**see notes)
- Pour your paint directly on to your egg in layers, or use a cup to layer it and then pour it on. You can experiment with what you like best.
- Turn the egg while you are pouring the paint. To be sure you have full coverage, add more in drizzles or catch the drips. Don’t go crazy – it will start to blend together if you over blend.
- Use your mouth to finish blowing paint where you want it to go.
- Set the eggs aside threaded through a cup/box or standing upright in a cup with a bowl or paper towel below it to catch the drips.
- Turn the eggs every so often and/or catch drips as they come off.
- Once dry varnish, or just rub with some oil!
Prepare the eggs
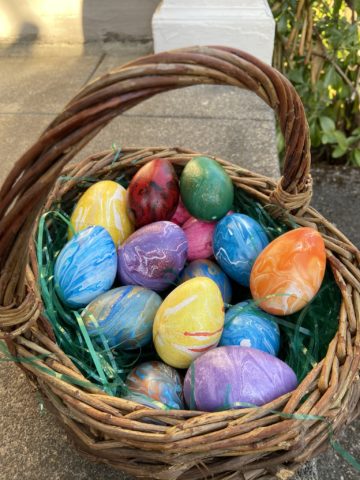
I used two types of eggs for this tutorial – the kind of fake craft ones from the craft store, and the plastic ones we all have laying in our Easter basket stash.
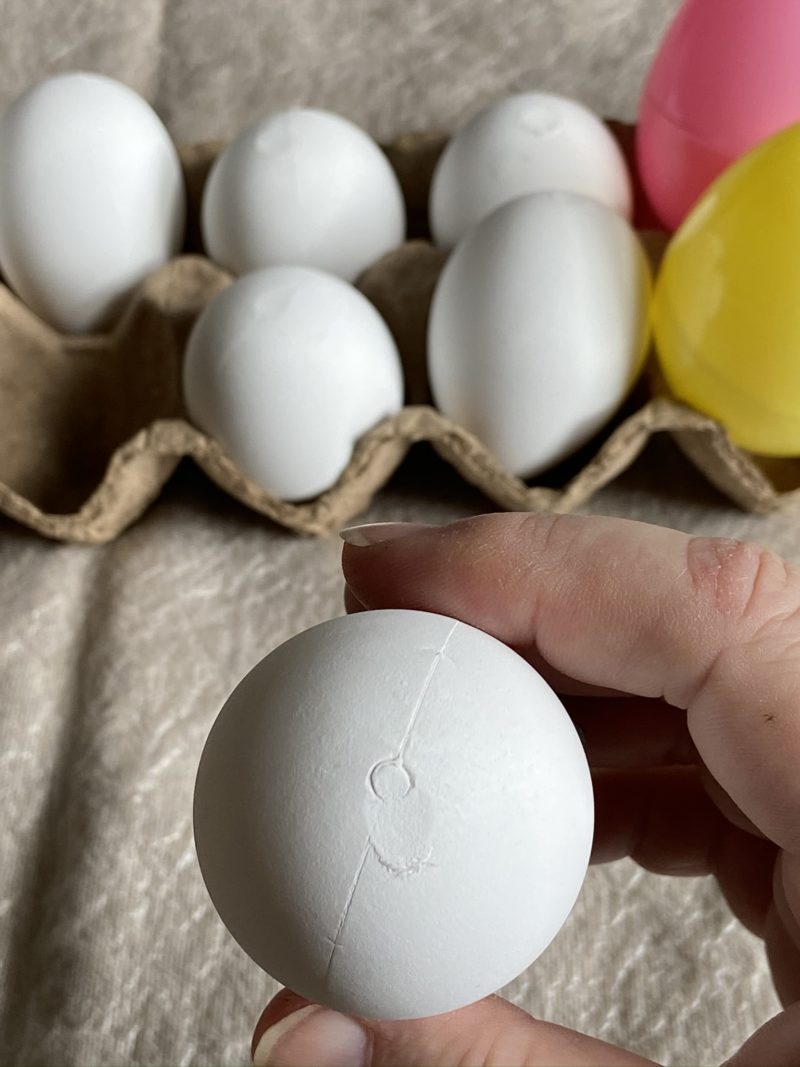
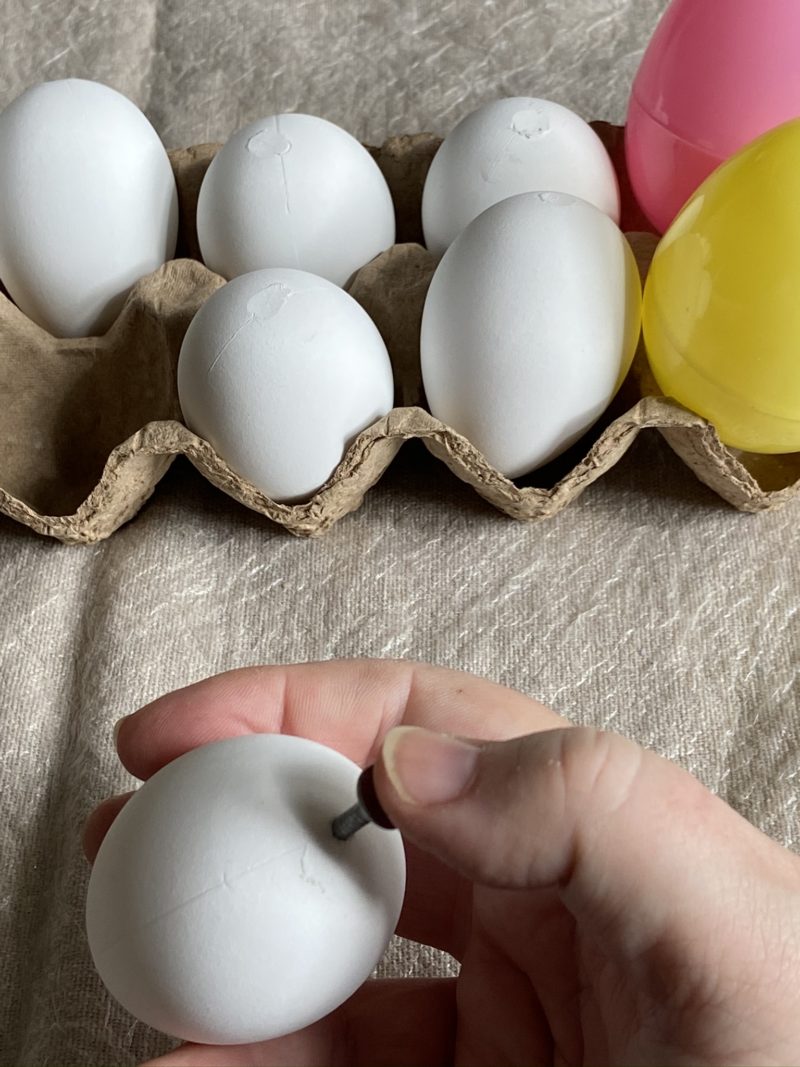
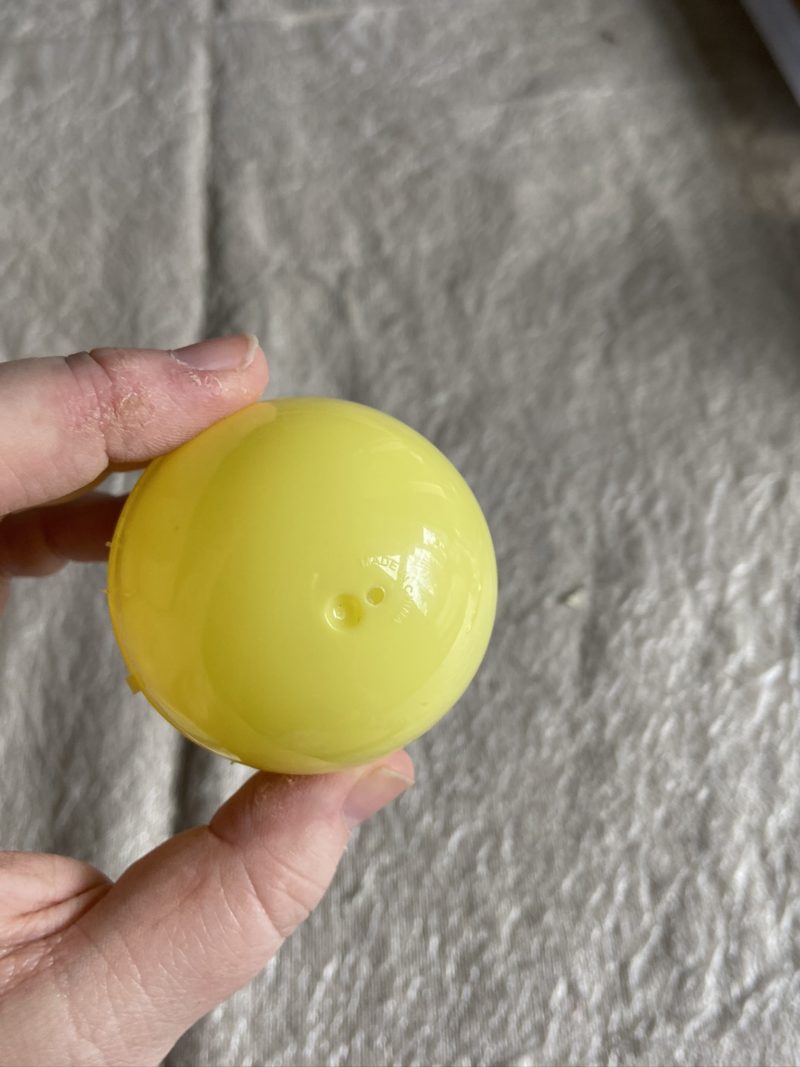
The fake craft ones have a nice little spot on the bottom where you can poke a nail through to create the hole – just give it a good solid push with something sharp like a nail or protactor! The plastic ones in my stash already had holes in them so that was convenient, but you could poke a hole the same way.
Using the plastic eggs
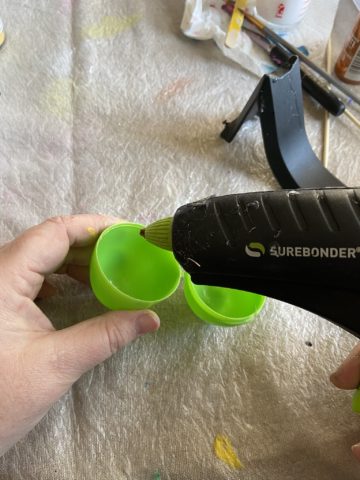
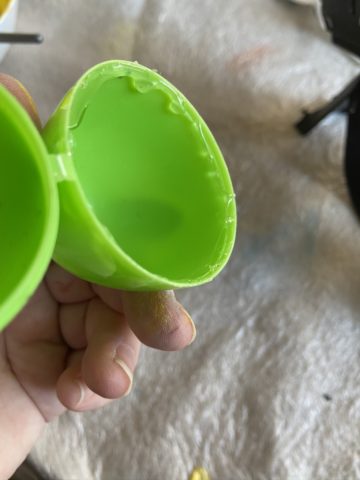
If you are using the plastic eggs then you can glue it shut. Easy peasy, just put a line of hot glue on the inside part of the lip – doing it on the inside will reduce extra glue seeping out once you close it. Pinch it closed and let it cool. If glue came out the seam then just pick it off with your finger.
But if you glue it on the outside, or don’t pick the glue off it will look like this – not great!
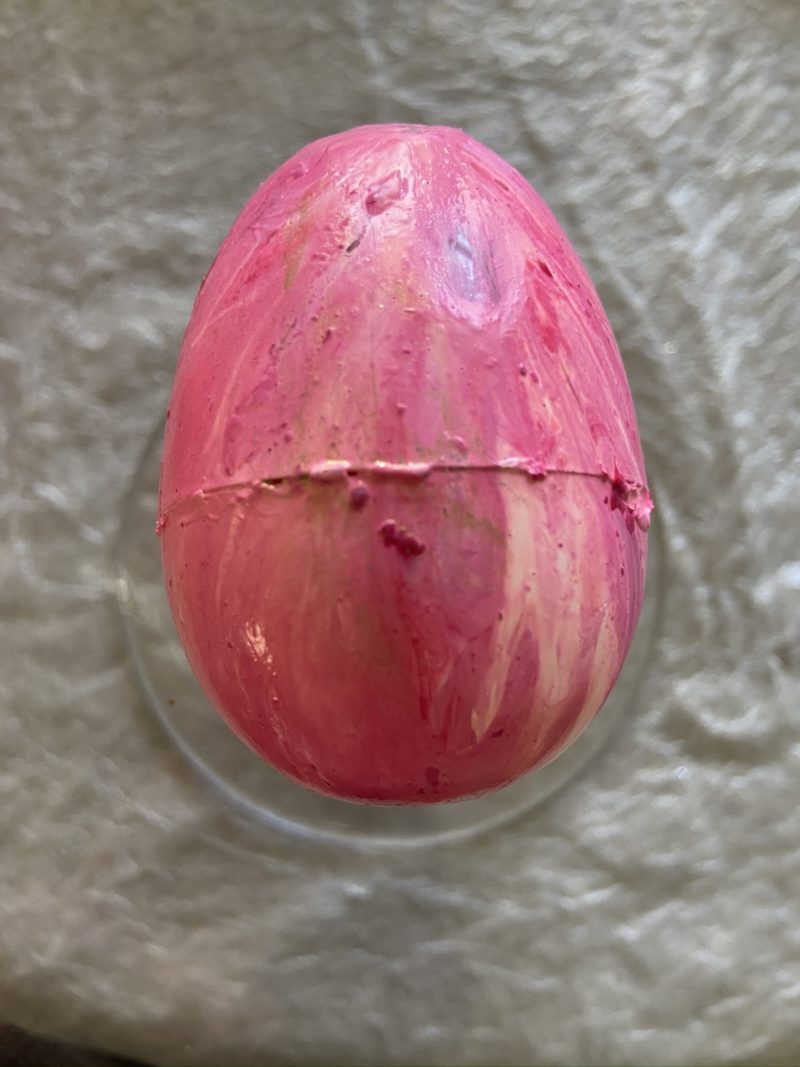
So get that glue on the inside and you’ll have a nice seam, like this one instead!
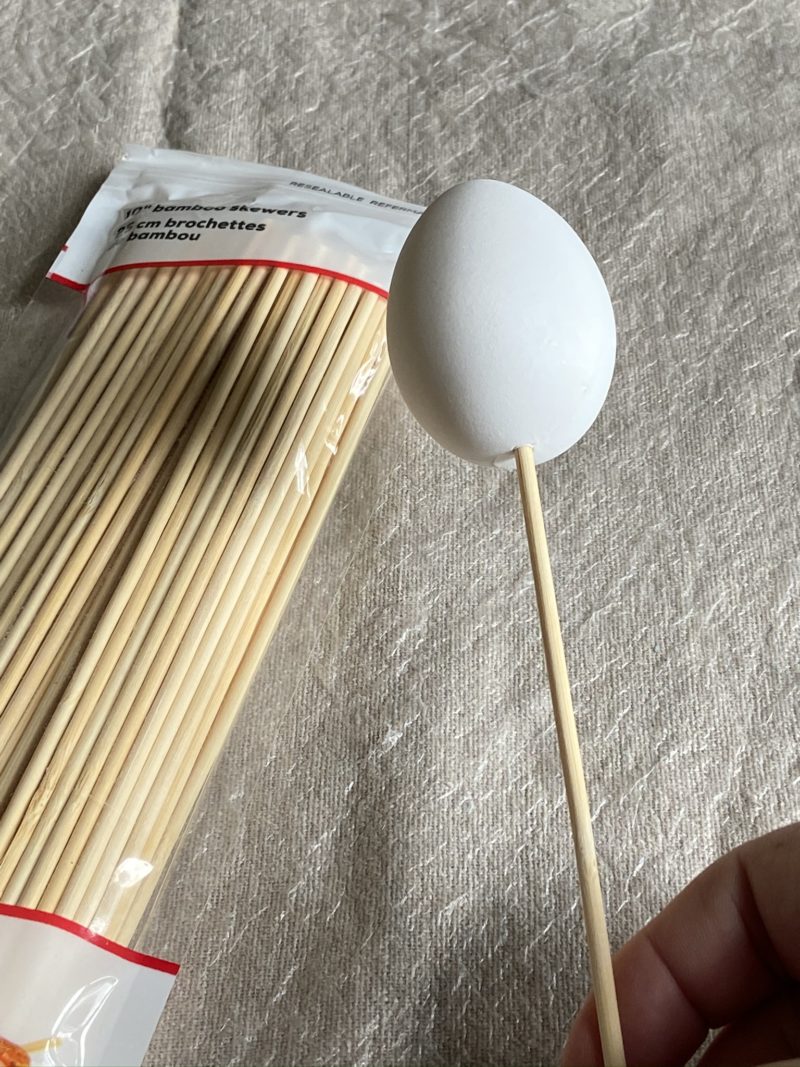
Thread the eggs onto wooden skewers, or metal or even a thick piece of wire like a coat hanger – use what you have! This keeps your hands out of the mess and you can spin and rotate the paint around on the egg.
Create a place for the eggs to rest while they dry
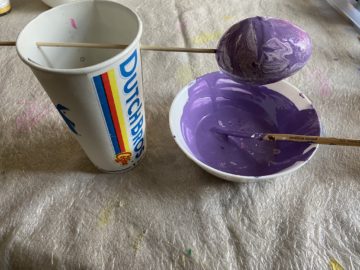
Create a place for your eggs to rest. Use tall glasses, paper cups, or even a shoebox. For the paper cup/shoebox you will poke holes on both sides so the bamboo stick will slide in. This works great to hold it tight and you can turn and spin the egg. Weight the inside of the cup with something like a rock or tube of paint!
Mixing the paint for painted Easter eggs
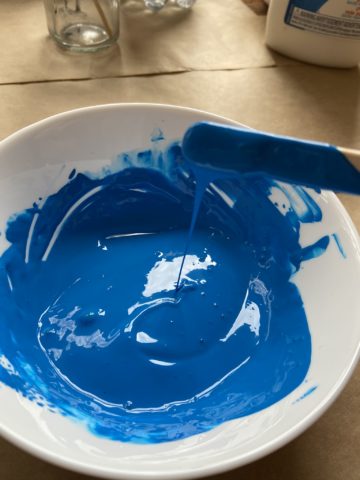
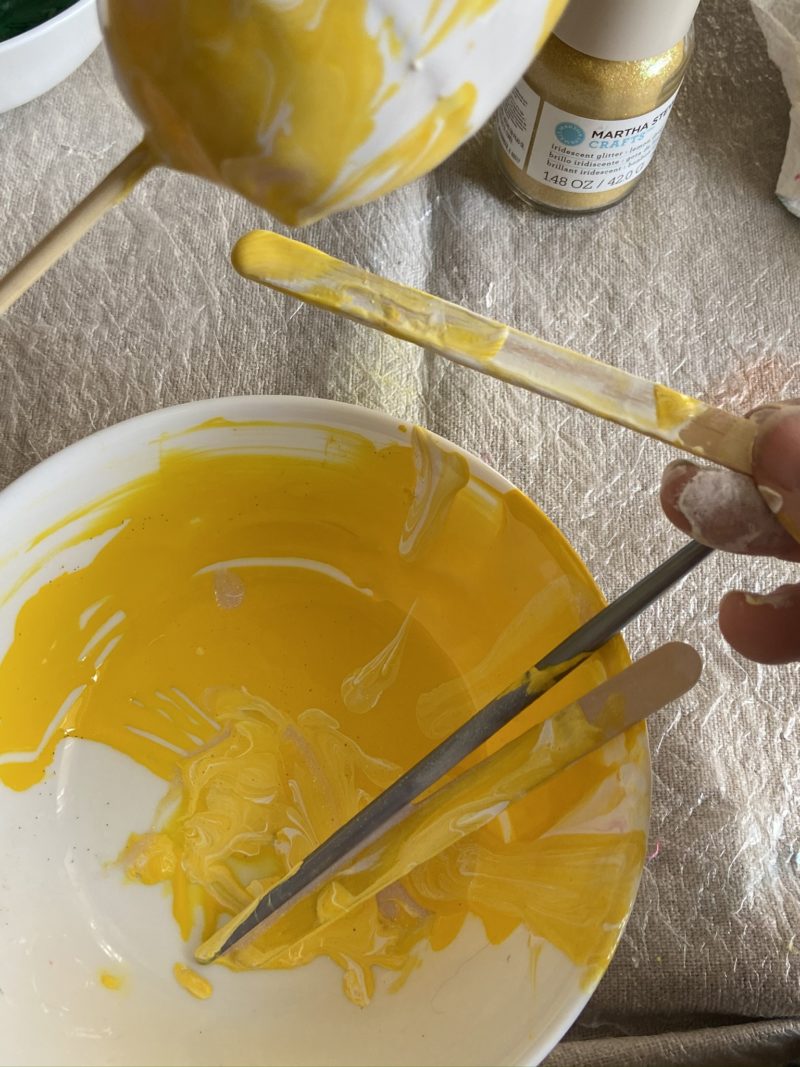
The paint mixing will be different than a traditional paint or Dutch pour because you need it to be a little bit thicker. If it is too thin it will run straight off and the colors will get muddied together. If it is too thick it won’t move and it will glob and look clumpy. Here’s some shots for you to see what I’m talking about.
Make the paint the texture of honey
For pouring paint over eggs you want a texture heavier than cream, more like honey. Your paint should cover the stir stick but pour off in a thick stream.
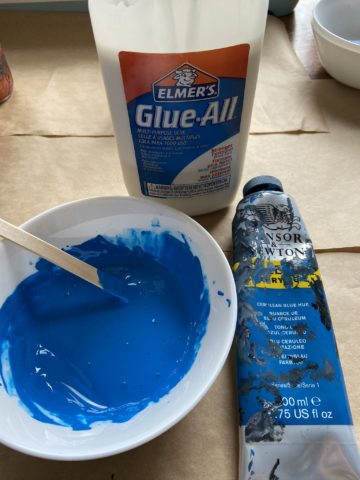
Use whatever acrylic paint you have on hand. You will dilute it with water or a “medium” or additive like Liquitex Professional Pouring Effects Medium or Floetrol Additive.
Experiment with adding water, or mediums to get the right consistency for your paint
Acrylic paints vary in how thick they are – in fact the some of the cheapest ones are pretty good texture for paint pouring over eggs with little added to them. The thicker paints will need more thinning. So you can see there is no sure fire recipe but start here.
Pour each paint color in a cup or bowl (I use glass ones, but any cup will do). I like to mix up more than I need for all the colors and store them in squeeze bottles or glass jars.
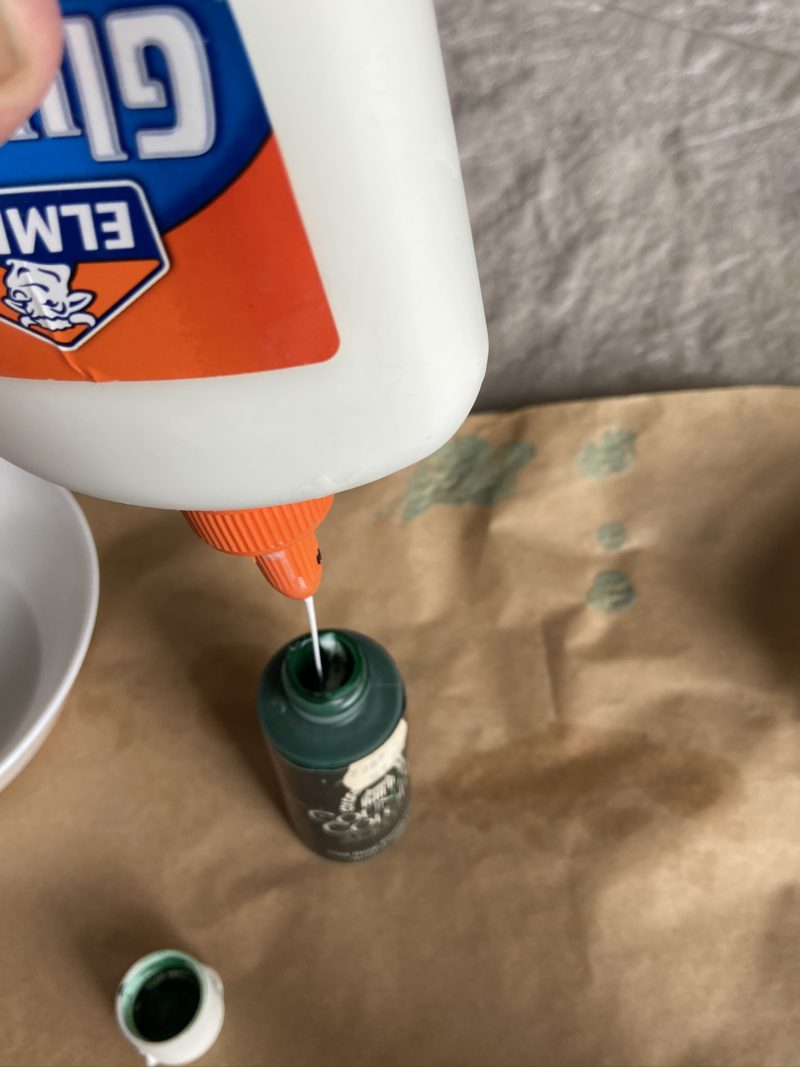
Mix your acrylic paint with water or one of the mediums. Add a little bit of water at a time and stir. Start with the basic recipe, then use your judgment to see how it flows off her stir stick. You shouldn’t use more than 50% water, it can ruin the integrity of the paint and it will chip and crack later
The Approximate Paint Recipe:
1 part acrylic paint and 20-50% water.
For 1 ounce paint start with about 2 teaspoons water.
Your Color Composition
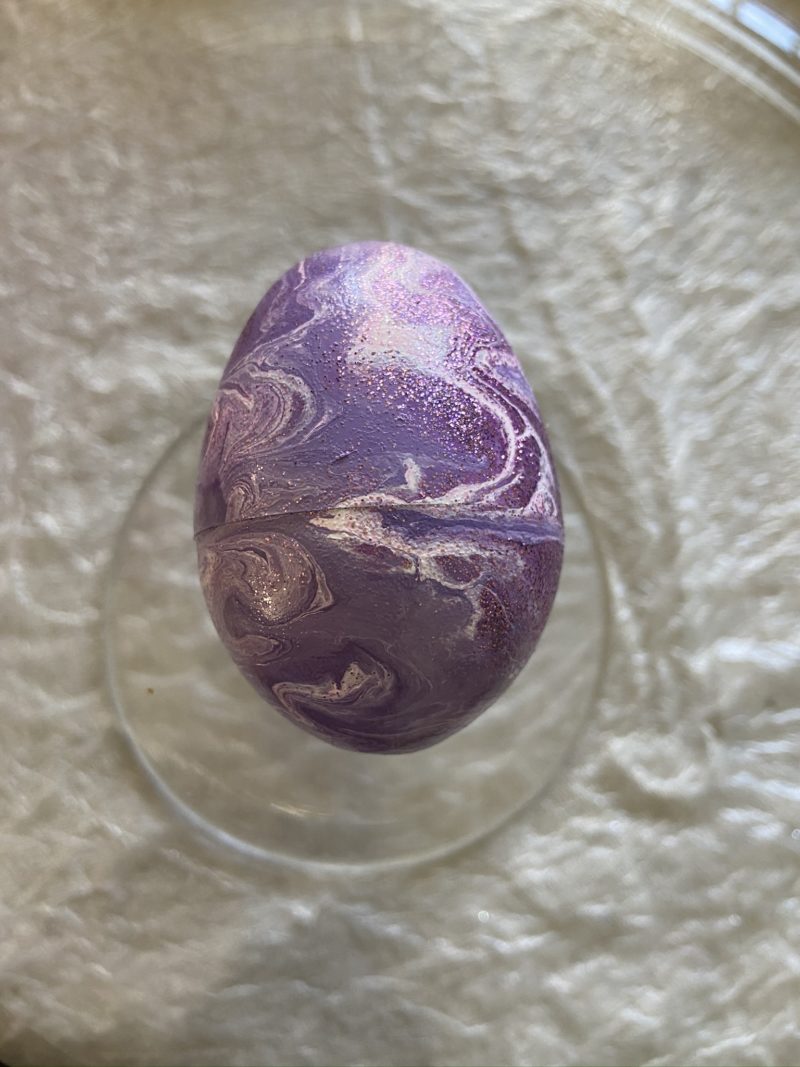
Select your colors! This is a fun part. You can use some classic Easter egg colors like pastels with a few metallics. You can go bold and try vibrant colors. Whatever you choose will be 100% fine. But do try to select some contrasting and complementing colors because they can turn out amazing. It’s always a surprise how they turn out. If you hate, scrape the paint off, wipe it off or rinse it off, and start over – it’s 100% OK!
Pour the Paint!
Now for the fun and messy part! Get painting! There are a lot of different methods you can try out to get the paint on the eggs.
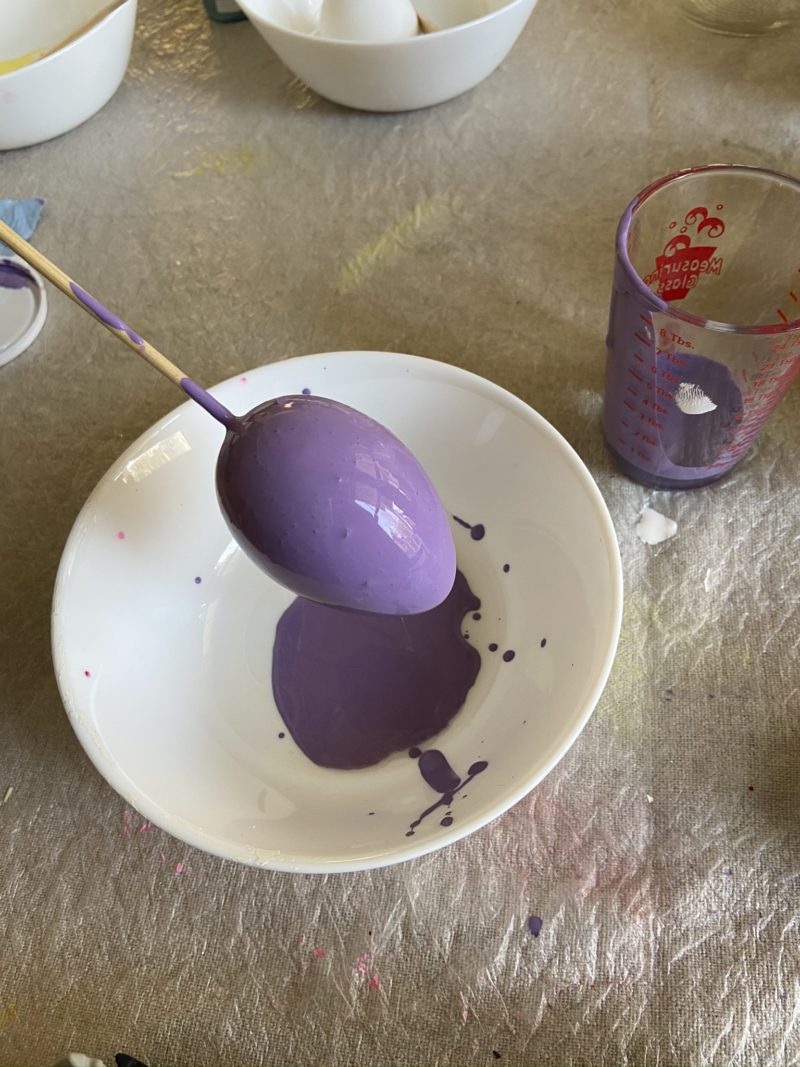
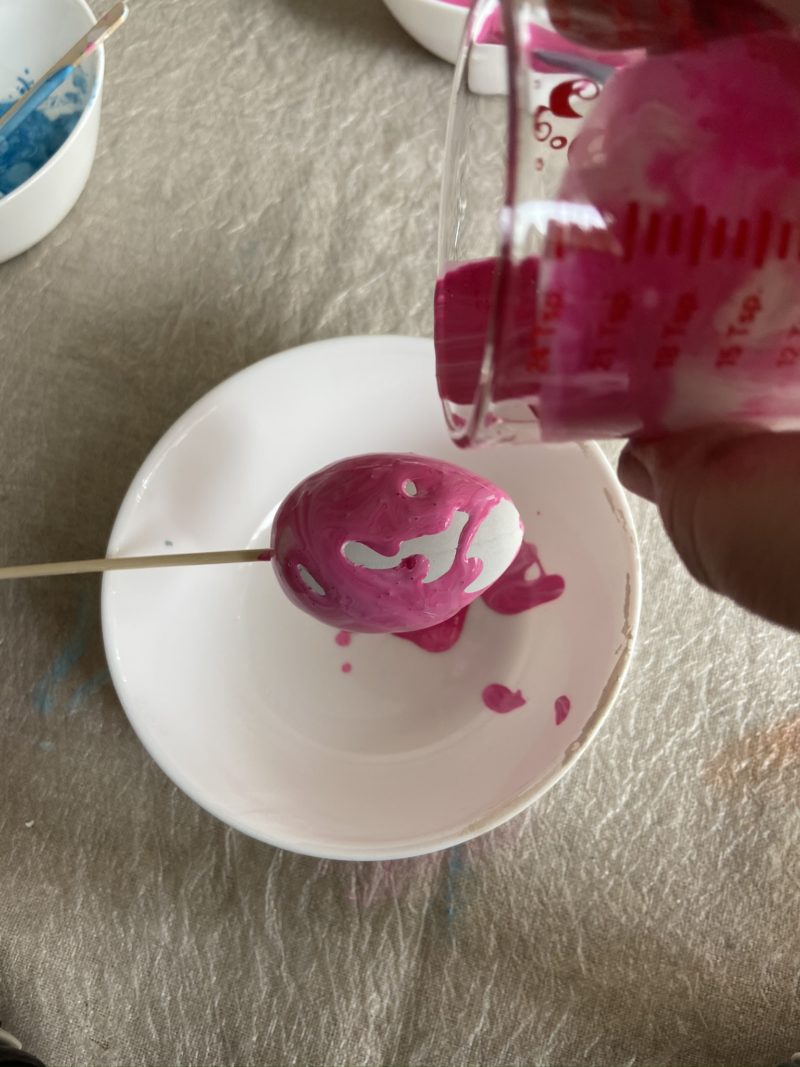
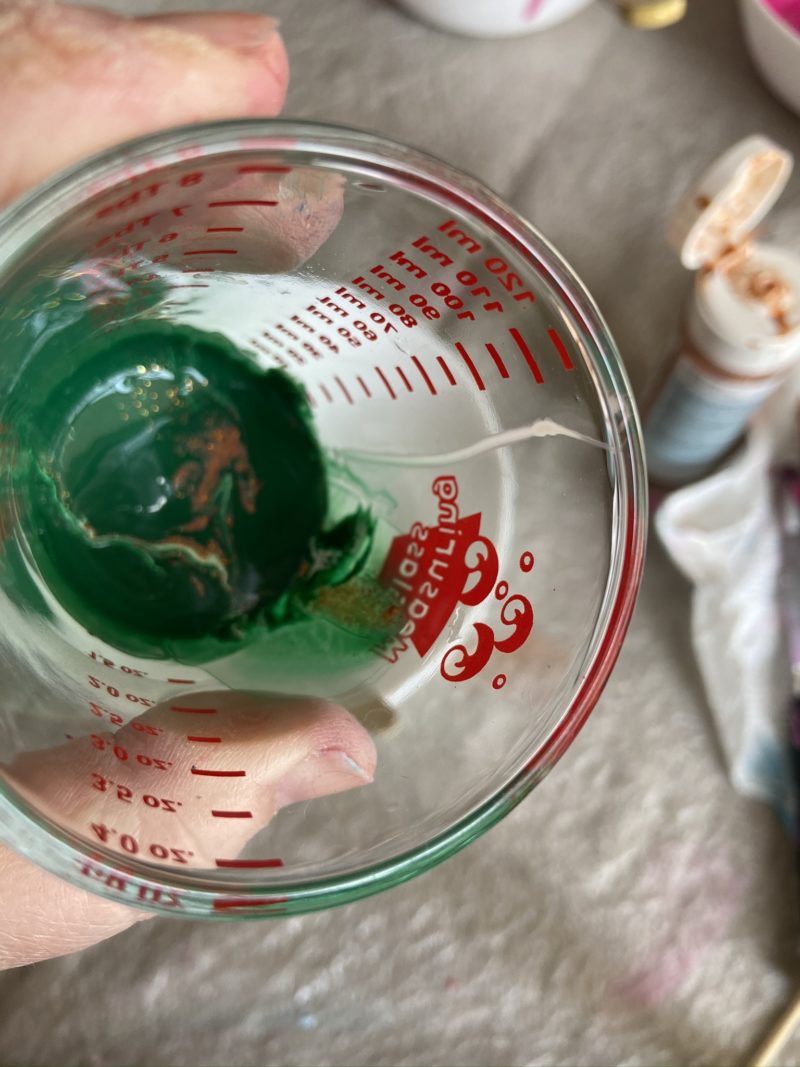
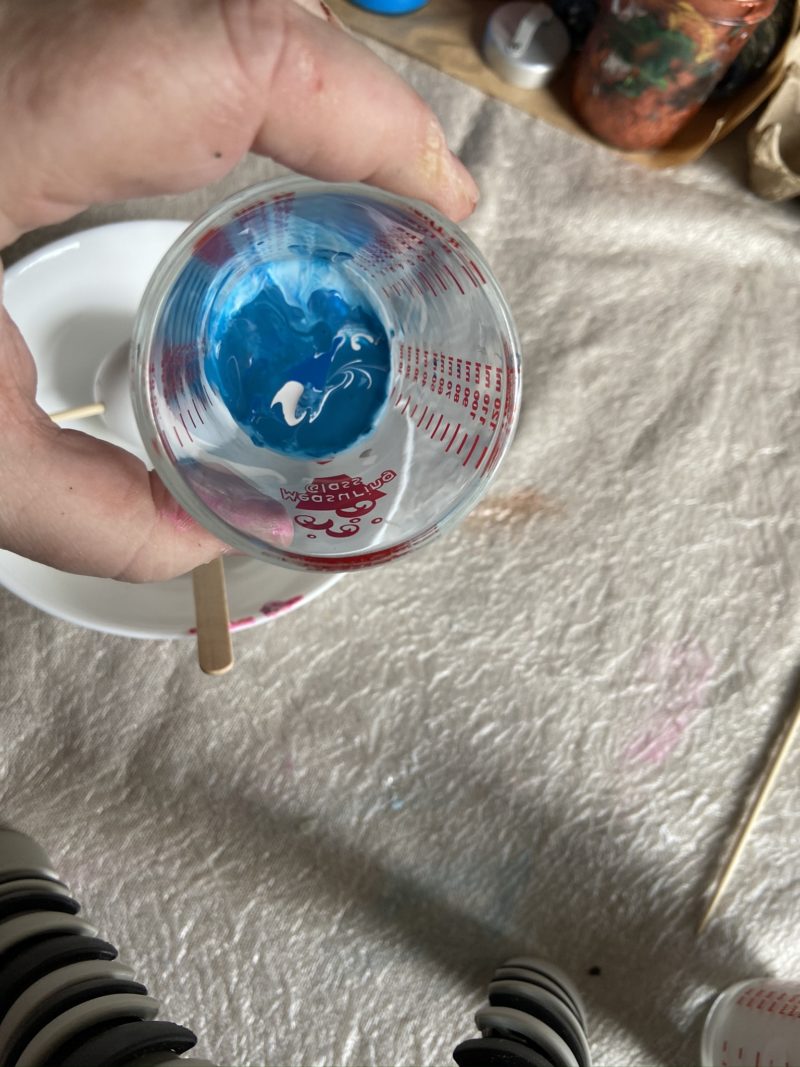
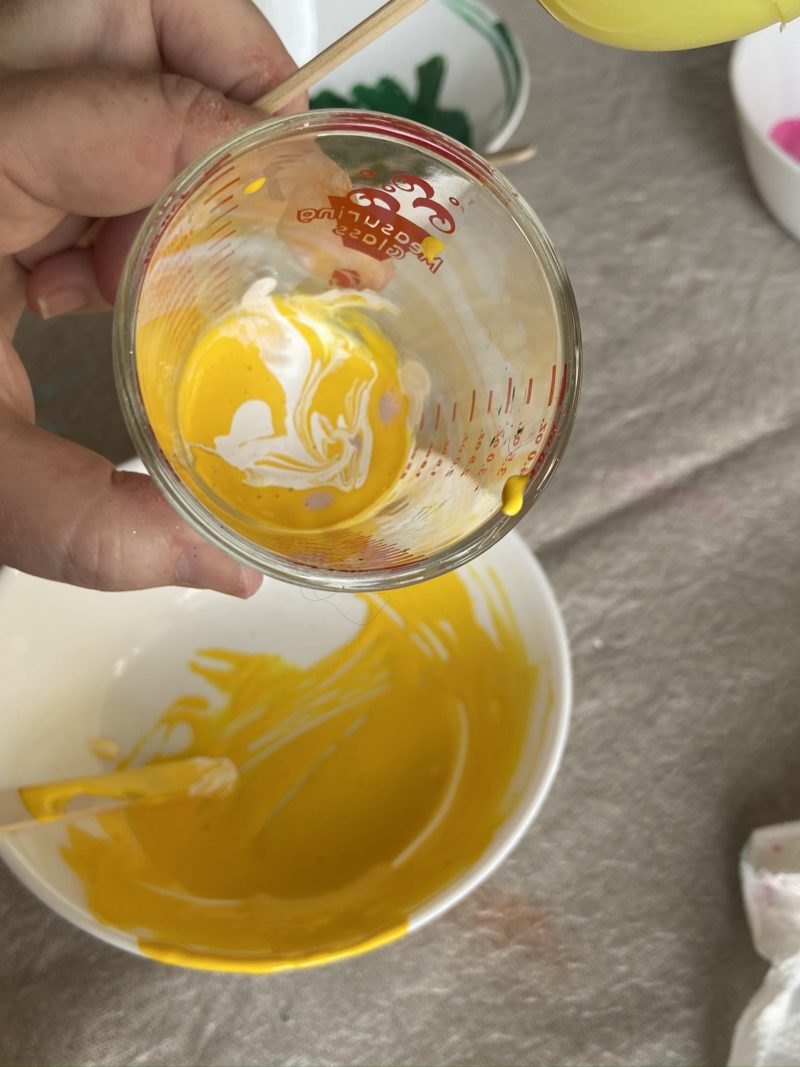
You do not need very much paint to cover an egg. You can see in the small cup I use only 1 TBS! If you use too much paint it will all just pour off! Or worse, it will all mix together and then pour off! Disaster!
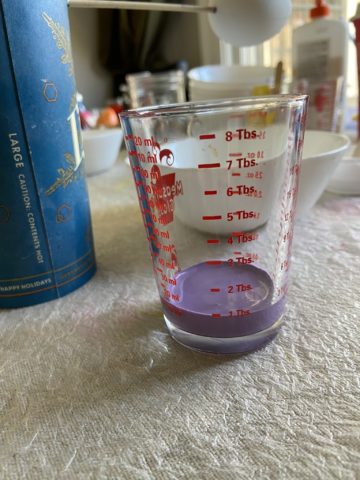
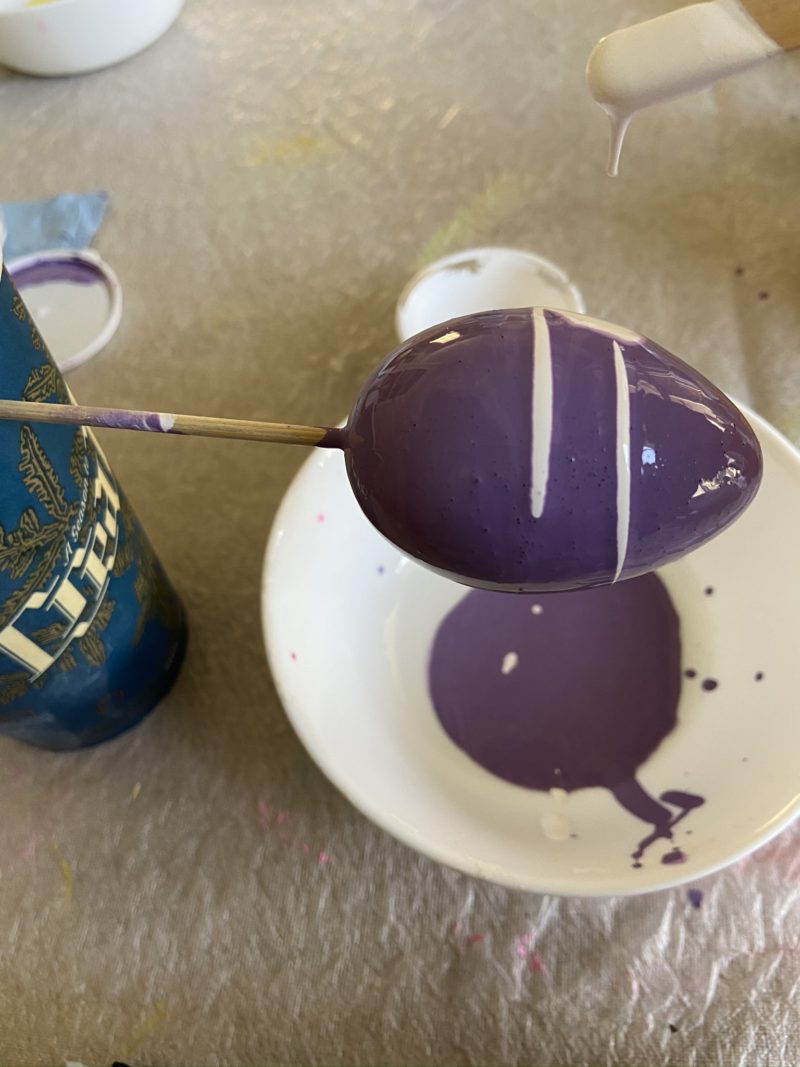
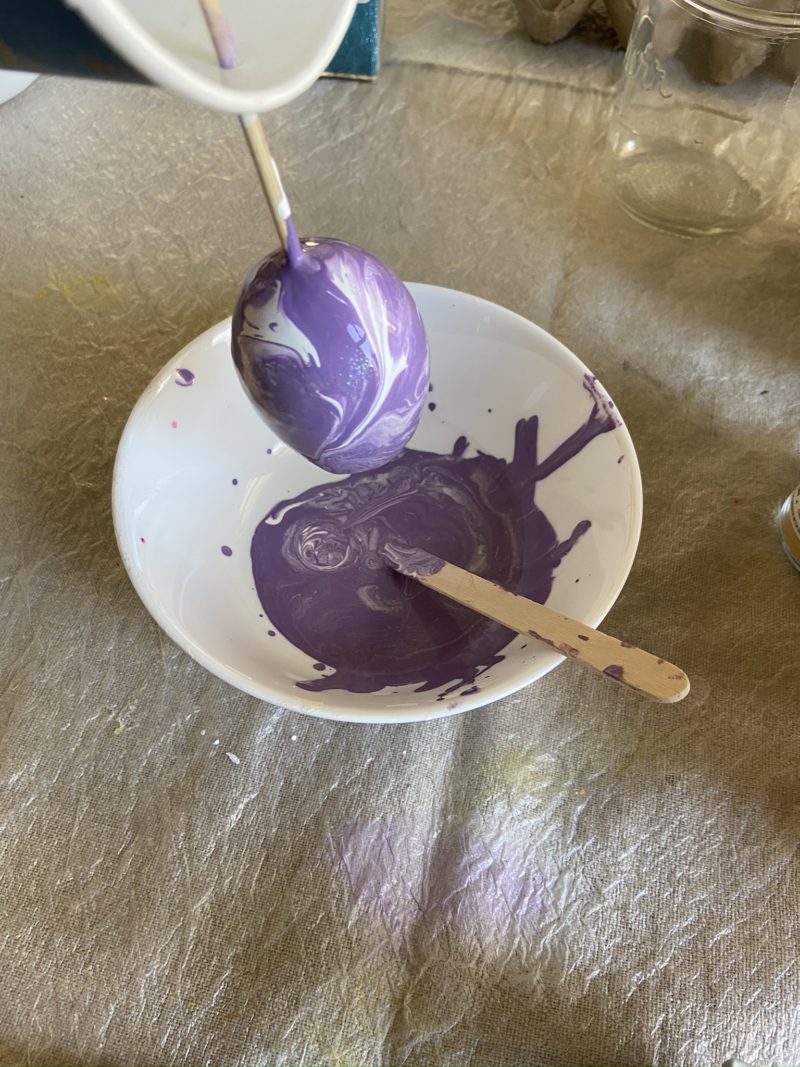
First Technique: Directly pour and layer paint on the egg then spin it
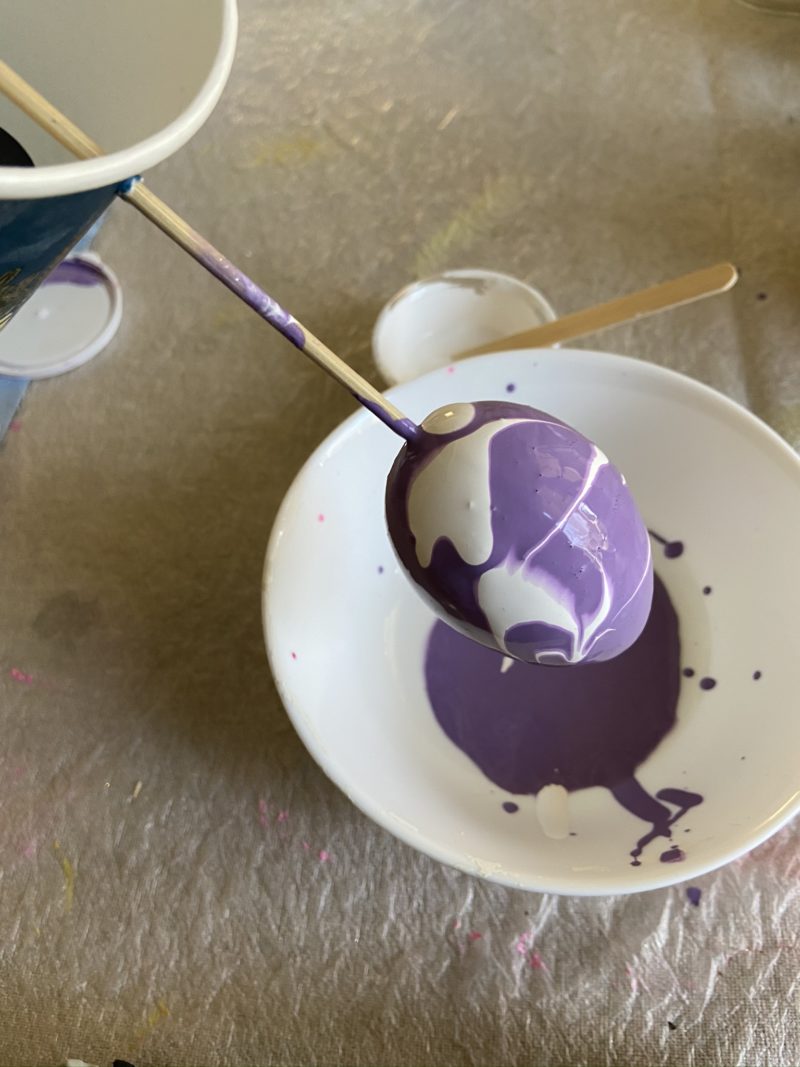
Second Technique: Pour paint in layers in a cup first and then pour it over the egg while turning.
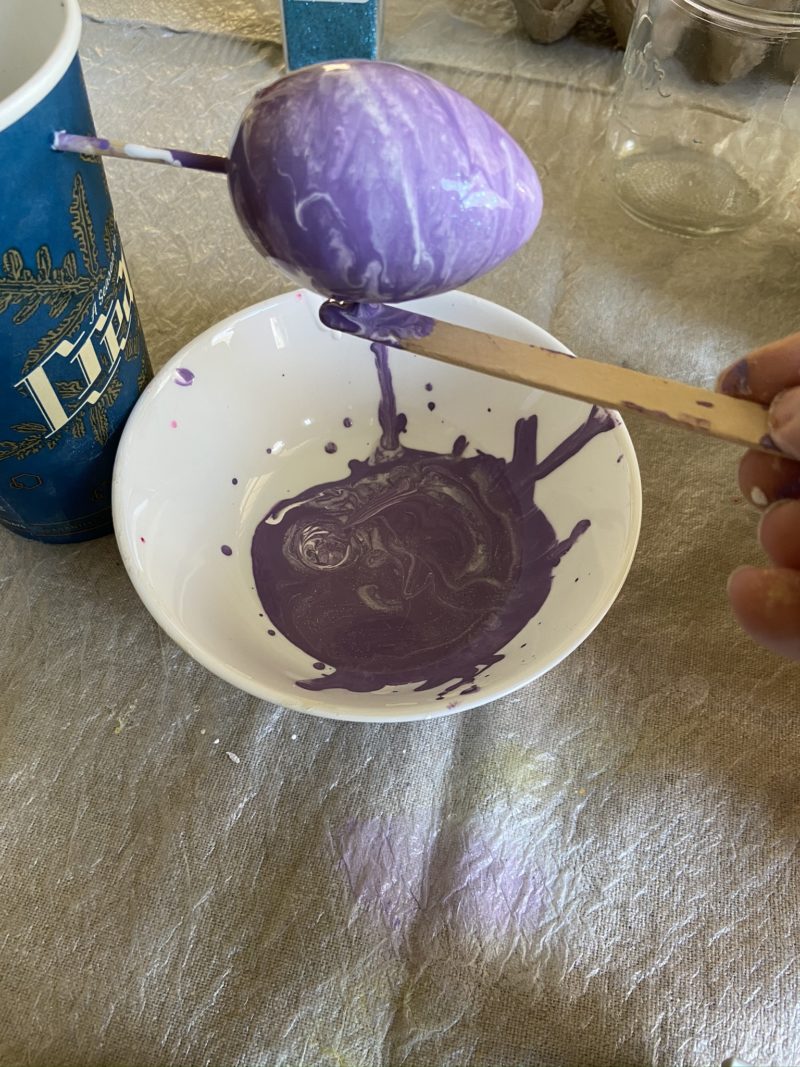
Then move that paint around!
Spin it, tip it, turn it, spread it!
Once you get the paint on you can spin the egg around and move the paint, hold it upright or down or on the side. You can use your mouth to blow the paint where you want it. You can use a stir stick to drop more or drag through the paint.
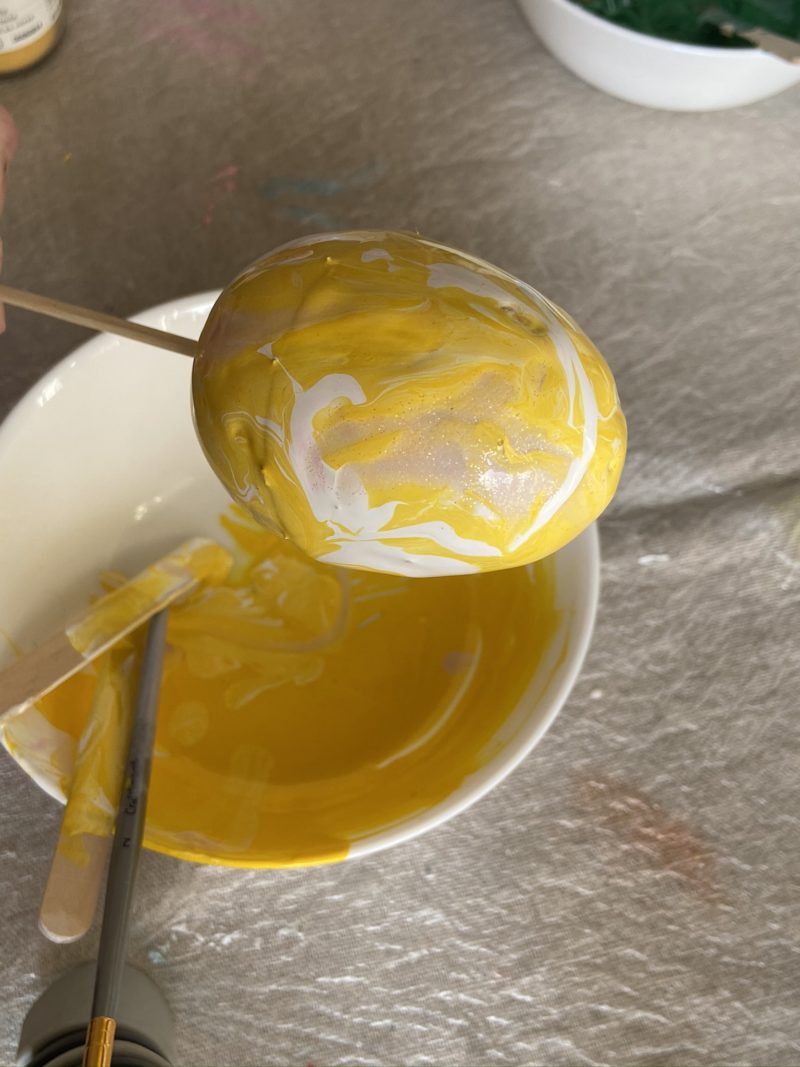
Touch up the paint as needed. You might need to catch drips and drop them back on to cover bald spots. You may want to add extra drizzles of contrasting colors or metallics.
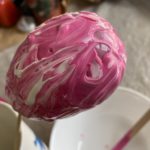
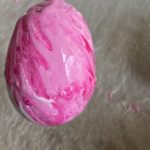
Here you can see I started with just yellow and white. Then I added some light glittery pink and blew it with my mouth. The extra paint drips off and you can see me catch the drip with a paint stick.
And here I got a little crazy and tried to add a flower. I waited until the paint had finished dripping off and then I just dipped my skewer in the paint and drew it on. Not amazing but has potential! I’ll keep working on that one!
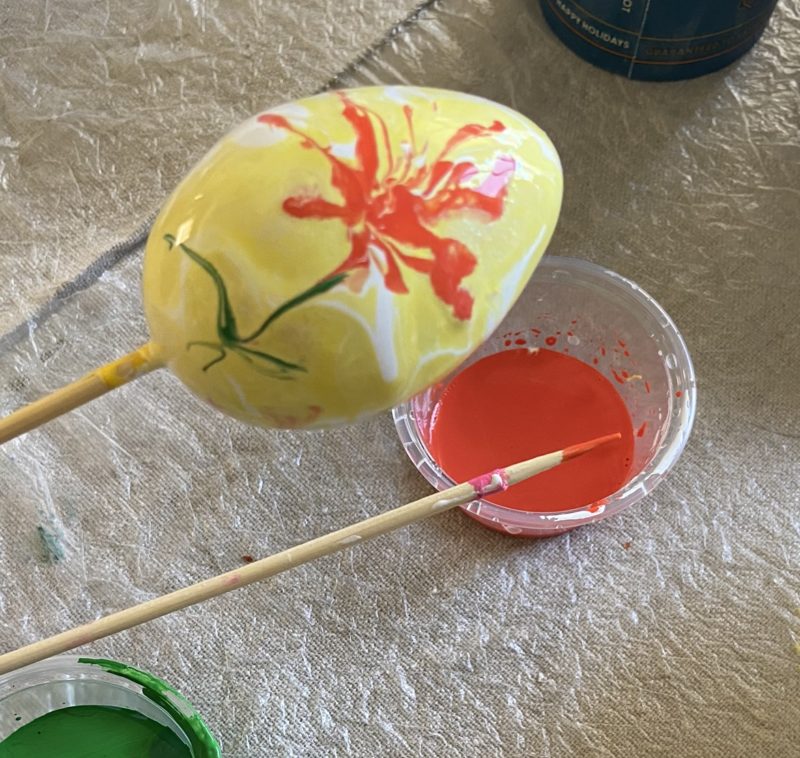
And there you have it folks, some fun with painted Easter eggs. Go. Create!


 Make Your Own Face Masks
