Hey, I’m sharing my Easy Image Transfer Method that works!
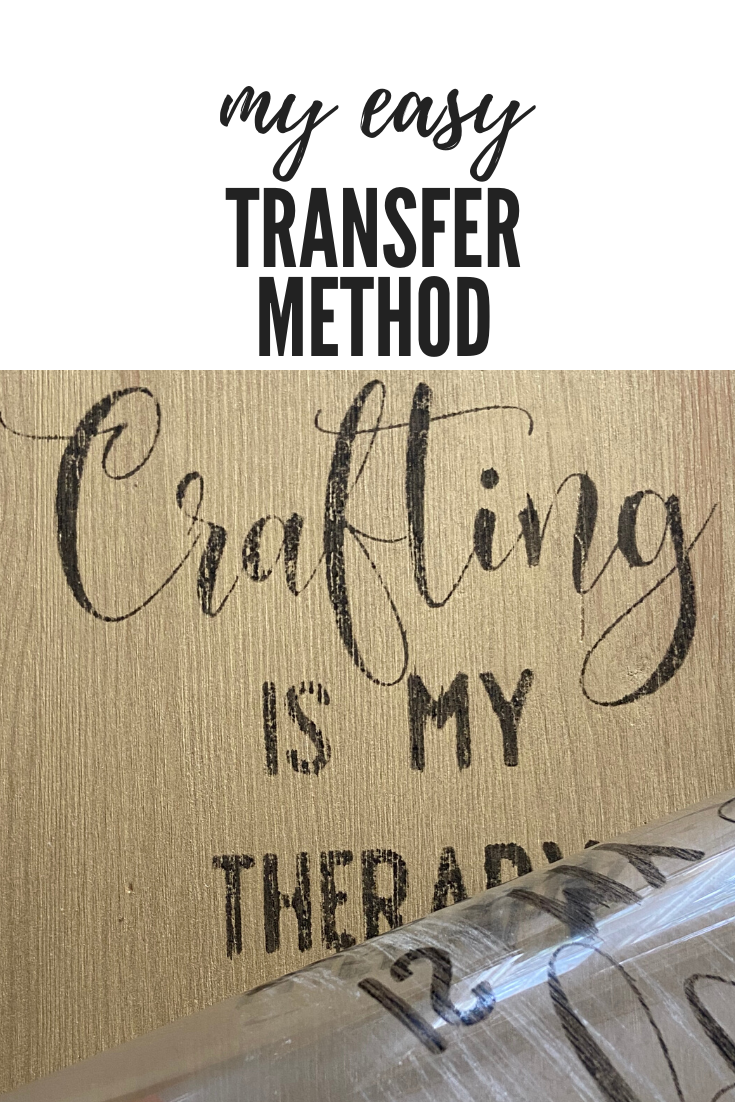
I love it when I can create whatever I want and have it work out using an easy image transfer method. I can use it on all kinds of images and all kinds of surfaces!
After much experimentation, I have nailed and failed many different transfer techniques. If it’s been posted on Pinterest I’ve tried it! I’ve also come up with my own wild ideas and tried and failed lots of times!
I’ve tried as many possible materials and methods as you could possibly imagine. I love some methods and HATE some (no, I don’t have the patience to rub wet paper off my image!)
I have ruined so many projects but I never give up, haha! And don’t ya know, I have succeeded more times than I failed! Because I keep trying I now know what to use on which projects – and have it work – so I don’t curse and rip my hair out!
This easy image transfer method all started with figuring out how to get a drawer to look like a vintage book spine…
I perfected this particularly easy technique when I created my faux vintage book dresser and needed images for the book spines. I tried hand painting and that was a disaster. I love the way they turned out and the nice vintage texture on the wood.
So today I’m going to walk you through my easy image transfer method. Let’s check it out!
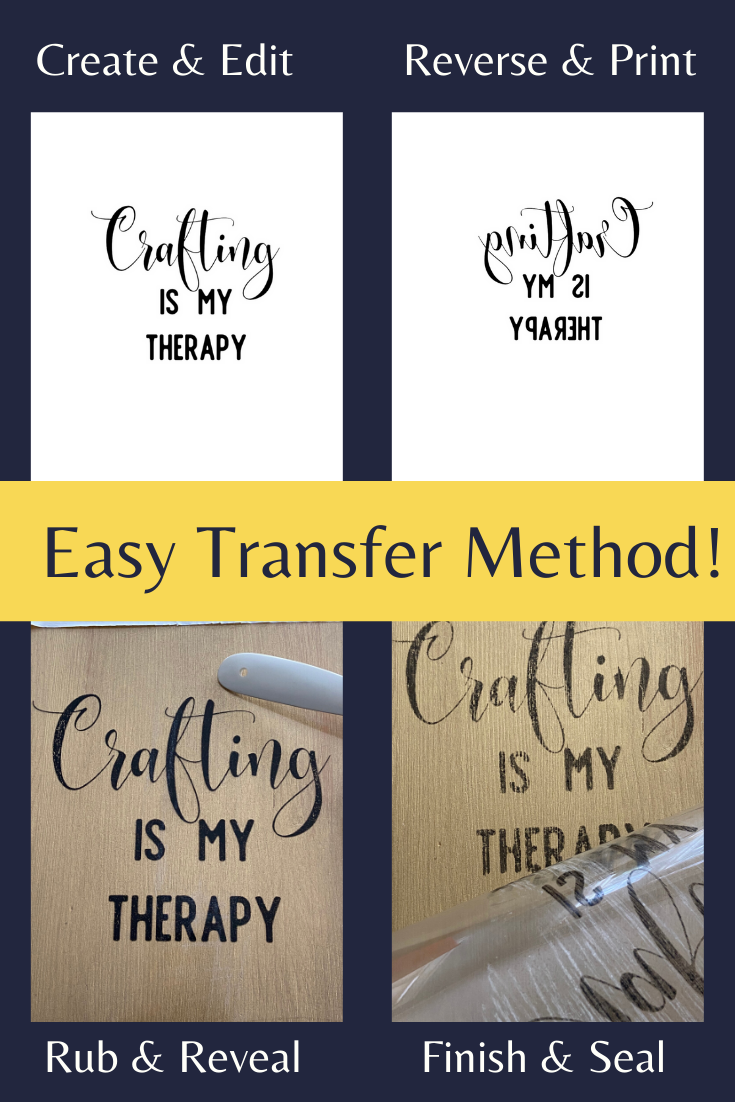
Your image will transfer to lots of different materials from wood to fabric to paper. I used a piece of painted wood to show you this transfer technique. You can experiment with different materials.
Easy Image Transfer Method
Project skill level: Beginner
Time: 60 minutes tops
Equipment used: Computer, InkJet Printer
Supplies used: Paint, Transfer sheets, Tape, Sealer
- Create & Edit Image
- Reverse & Print Image
- Transfer Image
- Dry & Seal Image
Step One: Choose & Edit Your Image
And what fun are transfer techniques without great images? So many possibilities from vintage images to quotes, and more. This tutorial is a simple, print and go. But you can read about where to find great unique images and how I edited the book spine image in detail over in this post.
Ok, but for today I am going to use one of my favorites, “Crafting is My Therapy”. You can get the free download over here.
I created the image in Canva, where I do most of my graphics and stuff. It’s pretty easy to use I swear! I did a very quick canva tutorial awhile back (I need to update it soon!)
Re-size your image to fit your project
Most of my projects are average size, but sometimes you need it bigger. If you are doing one larger than 8.5 x 11, resize in whatever program you are using. Or you can also set it up as a poster size at Canva or Blockposters, both are free and easy.
You can print it in sections, called “tiled” printing in your print settings. Trust me and google your printer type and ask how to do this – you’ll find the steps right away and you won’t have to tear your hair out.
Reverse the image!
REVERSE the image in your program if you can – just choose “flip horizontal”. If you can’t flip it in the program then set your printer to “mirror” (I find printer settings a real pain in the butt so I flip my images before printing). There are screenshots in my other post to help you.
Step Two: Print Image on Transparency Paper with an Inkjet Printer
Figuring out your printer settings will be the hardest part of this project – I curse at my printer all the time! But once you do it, you’ll be in business.
For this easy image transfer method, you need to use an inkjet printer – which most of us have at home. Personally, I am saving up for this Epson Eco Tank model because I’ve heard great things…and did I mention i hate my current printer? I want to bash it with a hammer!
This post contains affilitate links. See my full privacy policy here.
You also need a shiny paper that ink will slide off – I use transparency pages (the old school clear ones your teacher used to use). You can also use many types of paper that ink won’t stick too like the backing from a page of mailing labels in a pinch.
I bought a pack of transparency paper about 10 years ago, and I still have it. It is great because you can wipe the ink off and use them over and over.
Load the transparency paper
When using transparency sheets you need to print on the shiny side – not the matte side. SHINY SIDE!
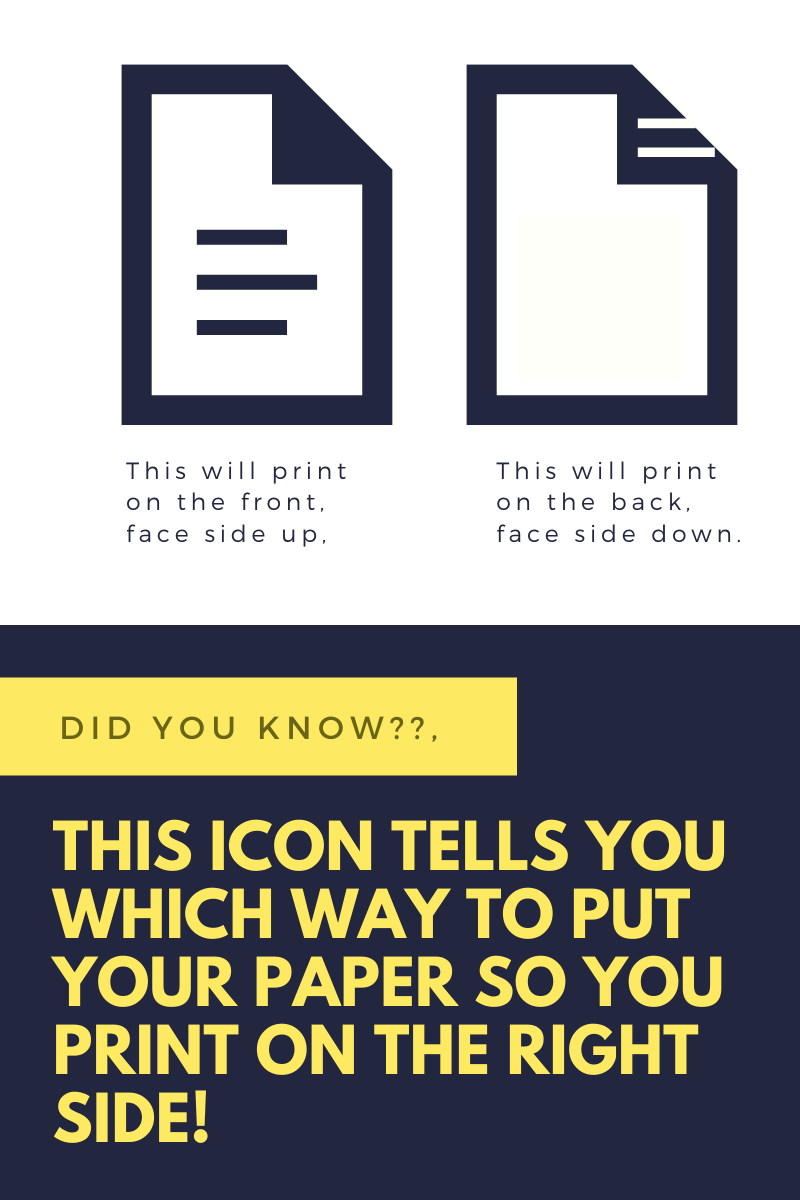
Load the paper in your printer. Note which side is face up or down.
I was in my 40’s before I learned how to read the icon on the printer that indicates how to put paper in – and I’d been working in offices for over 20 years at that point. DUH!
Now Print, but…
WAIT WAIT WAIT! Don’t hit print until you make sure you have the image reversed or it will be backward!
Ok, now that you have it all the right way let ‘er rip!
And then DON’T TOUCH the page because the ink will smear easily. Go gentle dear ones!
Step Three: Transfer Your Image
I will say it again, the ink is wet, don’t touch it because it will smear! It’s, ok, you’ve got this just handle it carefully.
The key is to transfer the WET ink to your project surface carefully, don’t move or wiggle the page.
Don’t touch it or it will smear!
I lay tape on my desk and then put the sheet down so the tape sticks – then I can hold it by the tape and secure it to my project. The tape keeps it from moving around – duct tape sticks well to wood projects so that’s what I used. For delicate projects use painters tape.
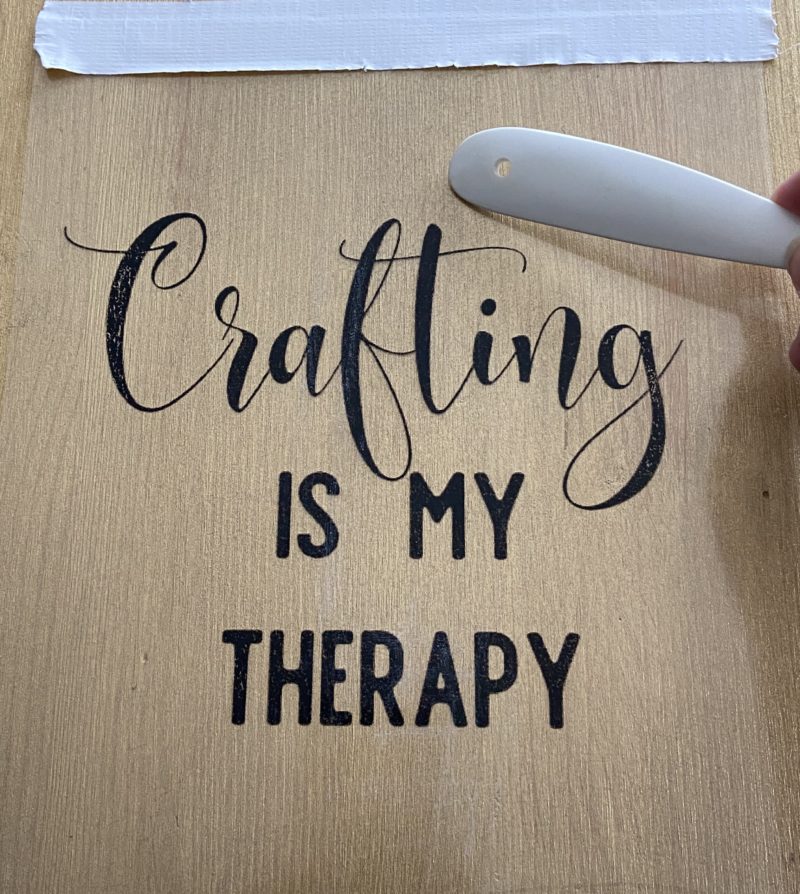
Now you need to transfer the ink from your sheet to your project. Remember – don’t shift it or it will smear! Rub the back of the sheet very firmly where all the ink parts are, I really put some strength into it! You can use your fingers but I like to really get in there with a bone folder or credit card.
Carefully and FIRMLY rub the back of your image to transfer the ink to the project surface.
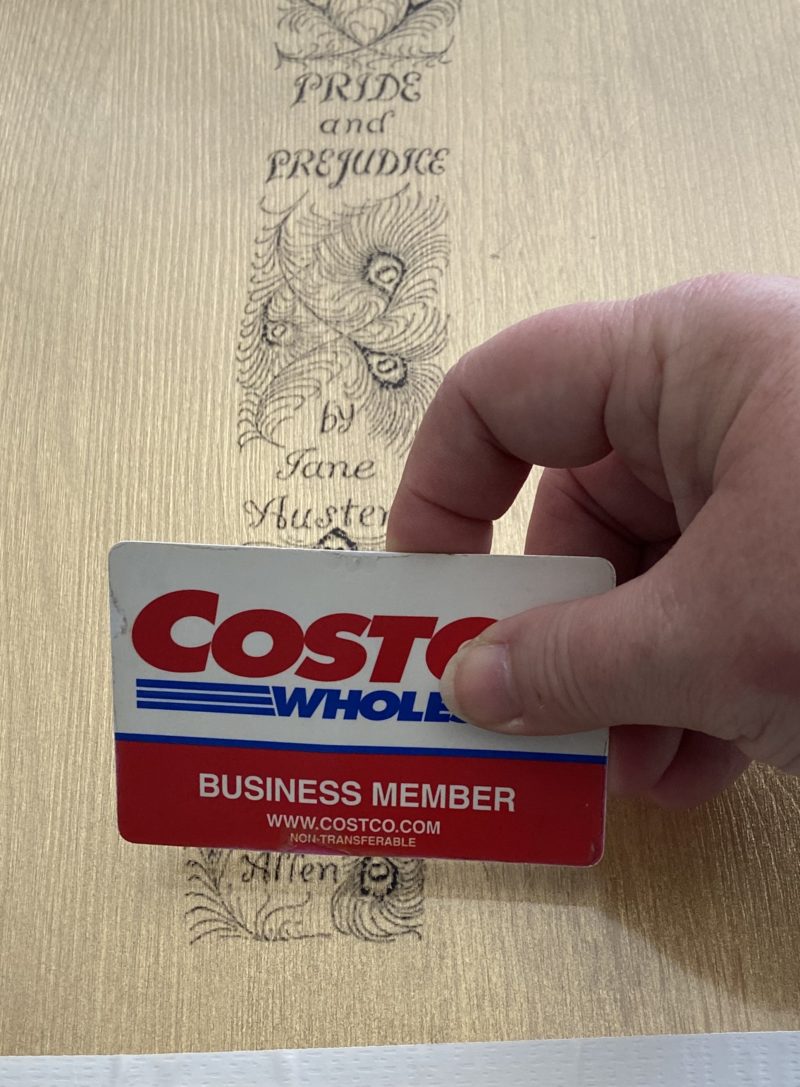
Put some weight on it, really rub it hard – carefully, but hard!
Carefully peel back one corner to check on your transfer – don’t shift the tape from the other 3 corners or may not lay back in the same spot – trust me on this one!
This is looking pretty good – i like it kind of rustic on this wood piece so I’m going to leave it. If you want a more covered look you can keep going over it, or trace over it with a paint pen if you really want to get after it!
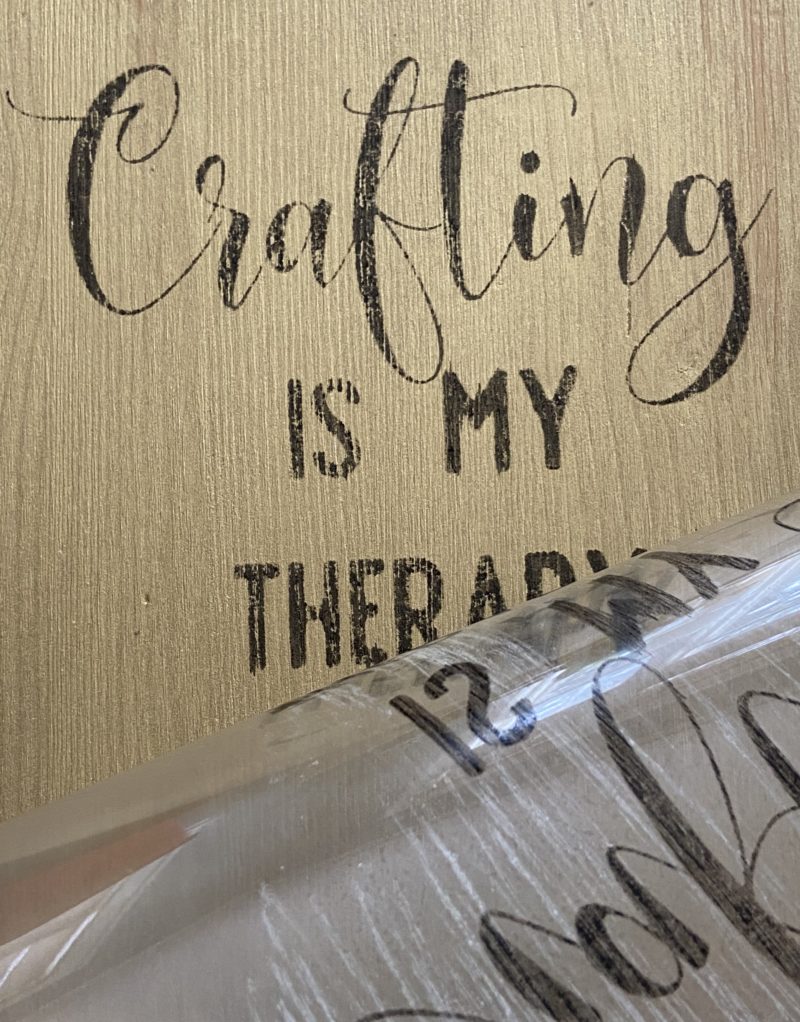
Step Five: Let it Dry & Seal
Let the ink dry completely. Like let that baby sit for a day. Ok, so I am not a patient crafter and I have helped the drying process along with a heat gun before. But try to be patient!
Seal your ink with whatever fits for your project, maybe some Mod Podge Hard Coat or some Poly. Something to lock it down.
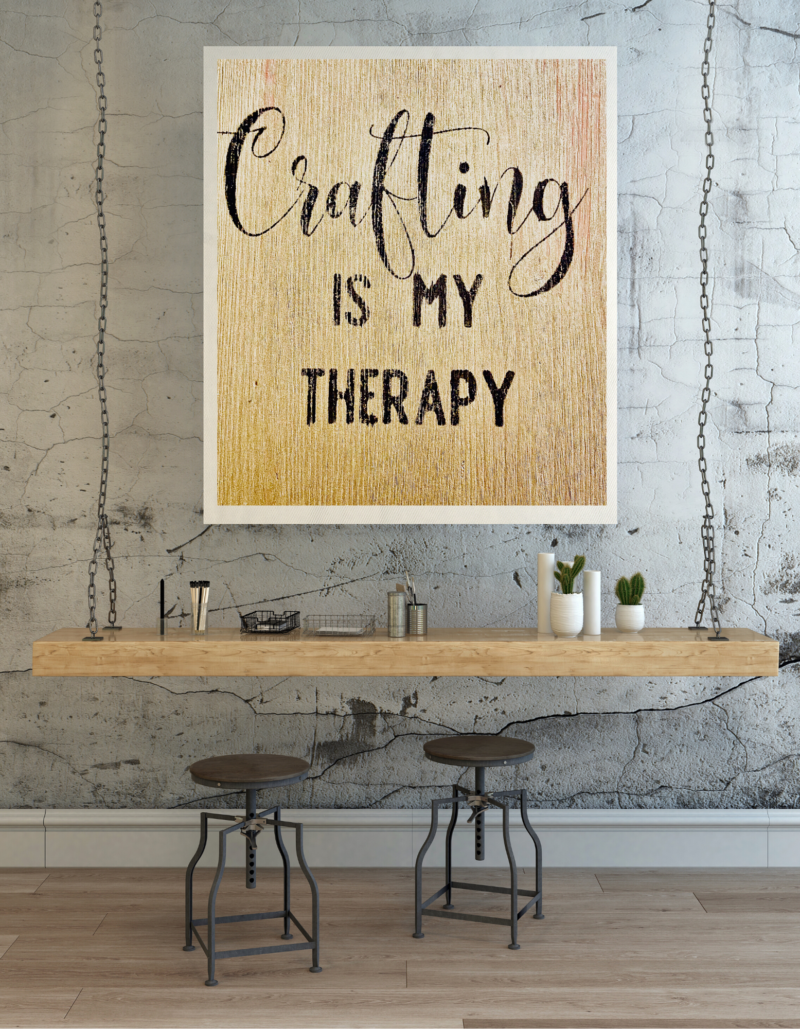
There it is! You have learnd the easy image transfer method. See, you can do this!
It took me about 20 minutes total, from finding and editing the image, printing, and transferring it. It might take you an hour the first time – because…everything takes a bit to learn and…printers suck!
Troubleshooting:
Your ink doesn’t transfer.
- Did you print on the shiny side of the paper? If you print on the matte side the ink will set right onto the paper. You want the ink to slide right off the paper so be sure to print on the shiny side!
- Try a different paper – use a sheet of mailing label paper with all the labels peeled off revealing a shiny side!
- Did you use a laser printer? Ink cooks in with a laser printer, an inkjet printer is key for this technique to work best.
- You might need to wet your material – e.g. wipe the project surface with a barely damp cloth first, that will help the ink activate. Don’t go crazy though, a little bit damp is all you want here. It will BLEED if you overdo it.
Your ink smears all over
- You touched it didn’t you!?
- You shifted it?
- No, Ok, well it could be your inkjet printer is so awesome it lays too much ink, try printing a “fast draft” version for less ink.
- You may have used too much water on your material (the wood or fabric).
- You were a tad aggressive in your rubbing, slow down, be gentle to start. You’ll know when you really need to rub harder.
Shop this post
This post and website contain affiliate links for Amazon, Cricut, and a few other sites. These are all things I really do use and like. If you purchase I earn a small commission, you get something cool and we both win! But you can just as easily whip out your coupons and head to your local craft store to pick them up! See my full privacy policy here.


 #mama gonna cute that shit up

[…] I have written about in my other image transfer method posts, I have nailed and failed many different image transfer techniques. One thing all these fun […]