Upcycle a T-shirt into a Market Tote in a few EASY steps. Trust me you can do this in 15 minutes!

Do you feel the shame burn when you don’t have your reusable bag with you at the store or market? I know I do! I always forget them, or they are really nasty and I don’t want to put my food in them.
Well, my friends, here is the solution for you! A quick and easy upcycled t-shirt to a tote bag!
It’s cute, it’s easy, it’s washable, you can stockpile them in the car- what else do you need?
These are some real basic skills people – like real basic. There are about 1000 options on the interwebs for creating these bags. After my friend Calley and I tried a bunch of them we have fine-tuned this technique, Lucky you – I am giving you the easiest options and some hot tips.
I’m including a few t-shirt into a market tote options for you: sew or no-sew, fringed bottom, cinch sack style
LET’S GET STARTED!
Supply List:
- Upcycle ny old T-shirts and tanks you have around: solids, stripes, and graphics
- Sharp scissors
- Optional: sewing machine or sewing needle if hand stitching
- Optional: Safety Pins
Pick a T-shirt & let it speak to you!
First up grab an old favorite t-shirt or tank top to upcycle into a market tote. You might want to choose an ugly one for your first practice one! Once you get the hang of it, then choose cute ones that you’ll want to use – like stripes, graphics or bright colors. The old ones work too but you might “forget” them in the car more often!
Before you go cutting it up – take a look at it and let the shirt speak to you!
Seriously, I’ll give you some instructions but not all shirts are equal and if I tell you to cut 6” that might be too much for your shirt. Some fabrics are stretchier, some necks are longer, some arms holes are bigger – you get the idea.
Step One: Make the Straps
- To make the straps you will make two easy cuts – that’s it. Cut conservatively at first, you can always cut more off later if needed.
- First up fold your t-shirt in half, lining up the seams. Cut the collar off right along the hemmed edge.
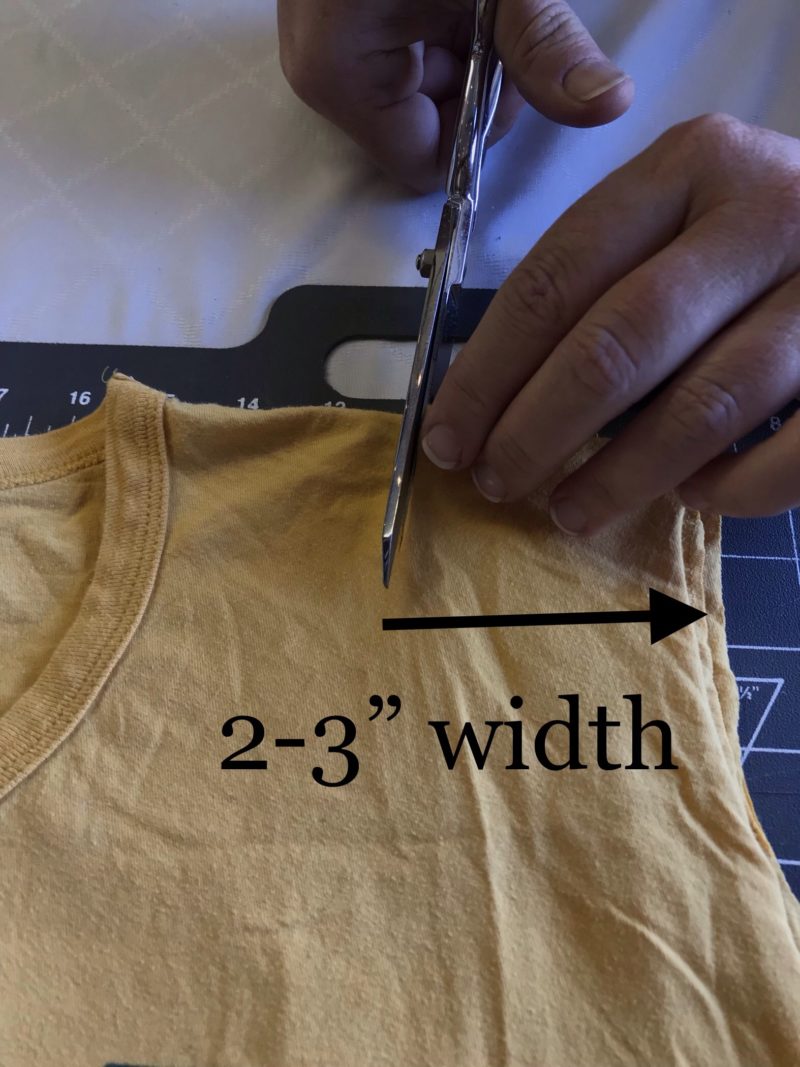
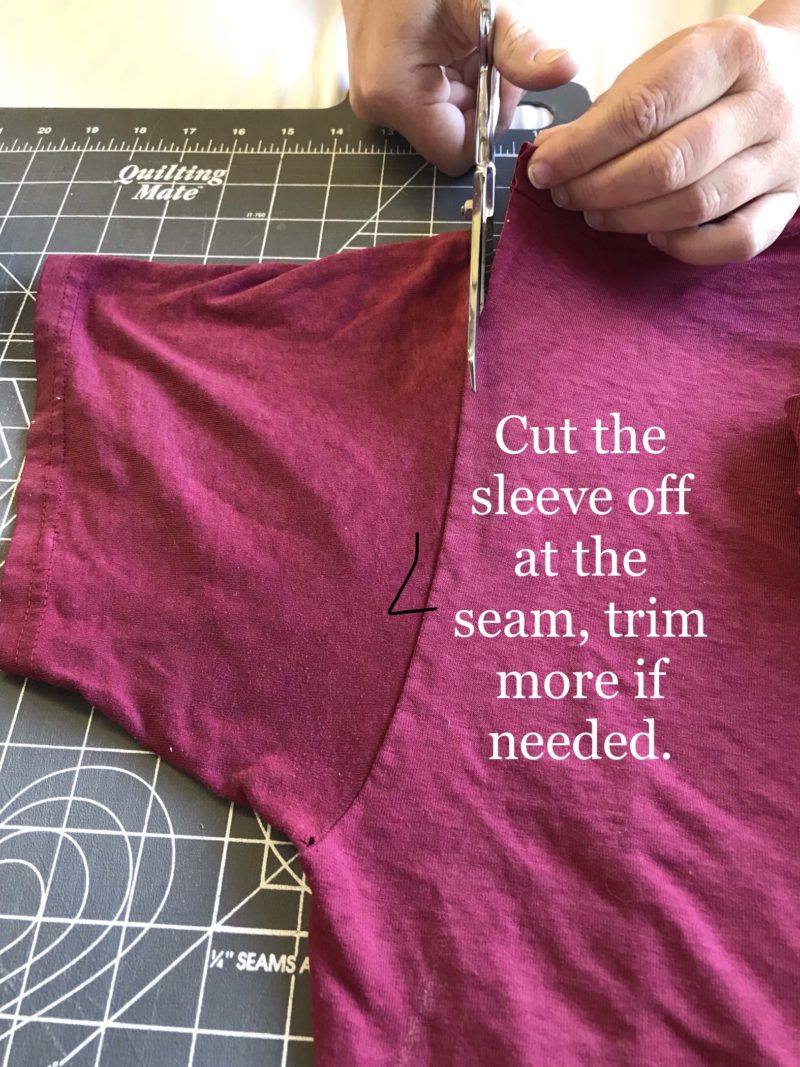
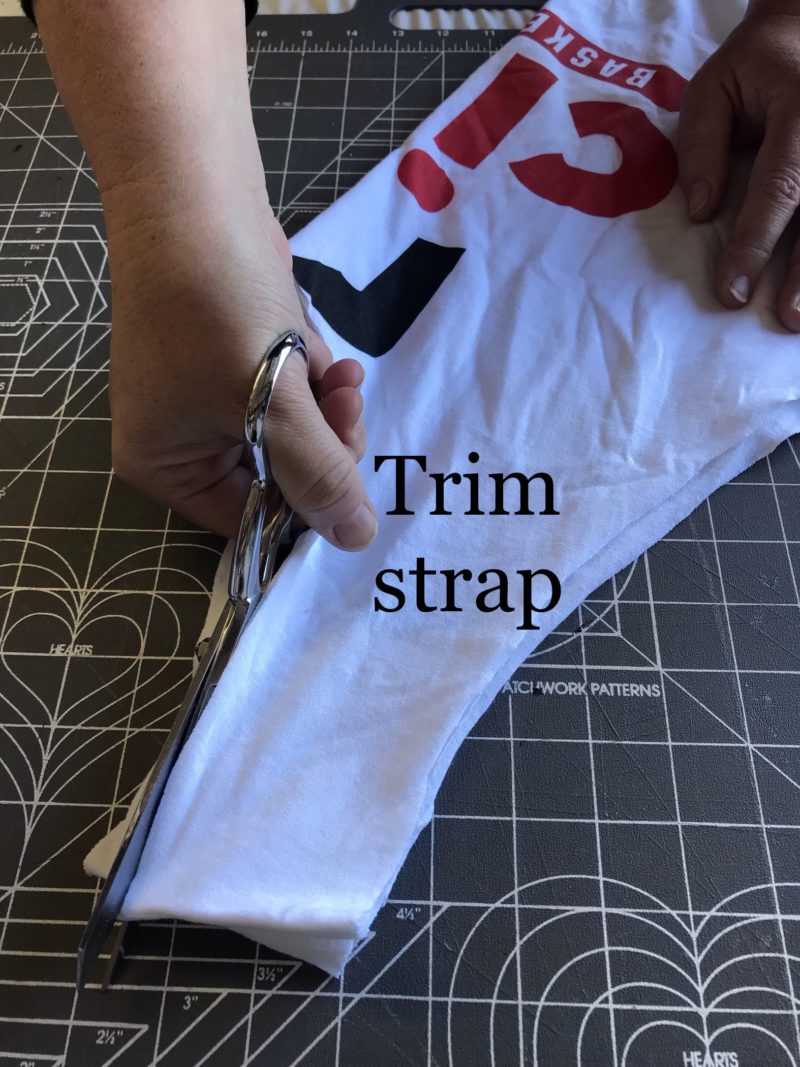
- Next, you are going to cut the arms off. You need the strap to be about 2-3 inches wide to hold up — so eyeball that and start cutting a nice easy curve about 6-7 inches down around the arm seam.
- Pick up the shirt and put your arms through the strap holes you just made – adjust the holes if needed so it fits over your shoulder/arms.
HOT TIP
If you just fold your shirt in half then your bag will go over your should and kind of poke you in the side instead of laying flat. To fix that problem fold the shirt with the seams touching. That will now be the front of your bag, but be aware that the seams will show! Unless you get lucky and have a seamless shirt – those are the best!
Step Two: Hem this baby!
To finish the hem you have a lieu of options. A fringed hem? A no-sew no-fringe hem? A curved hem? A sewn hem? A cinch sac pulled hem?
The No-Sew Fringe Hem

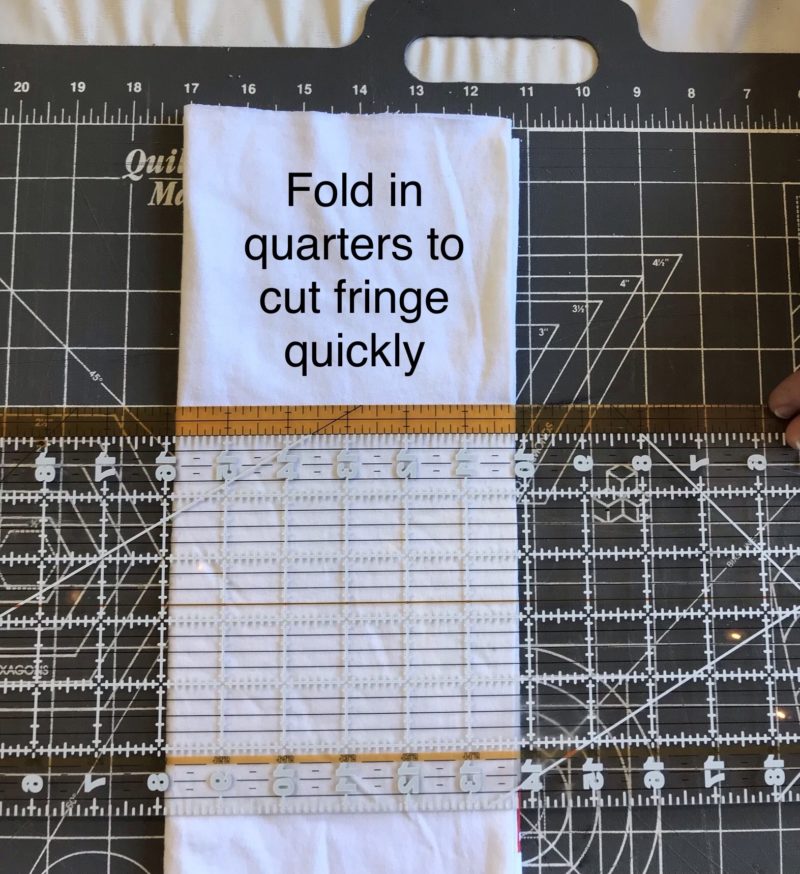
- Fold your shirt in half, or in quarters if you’ve got good scissors!
- Cut off the hem at the bottom of the shirt. If you don’t cut the hem off the fringe won’t roll.
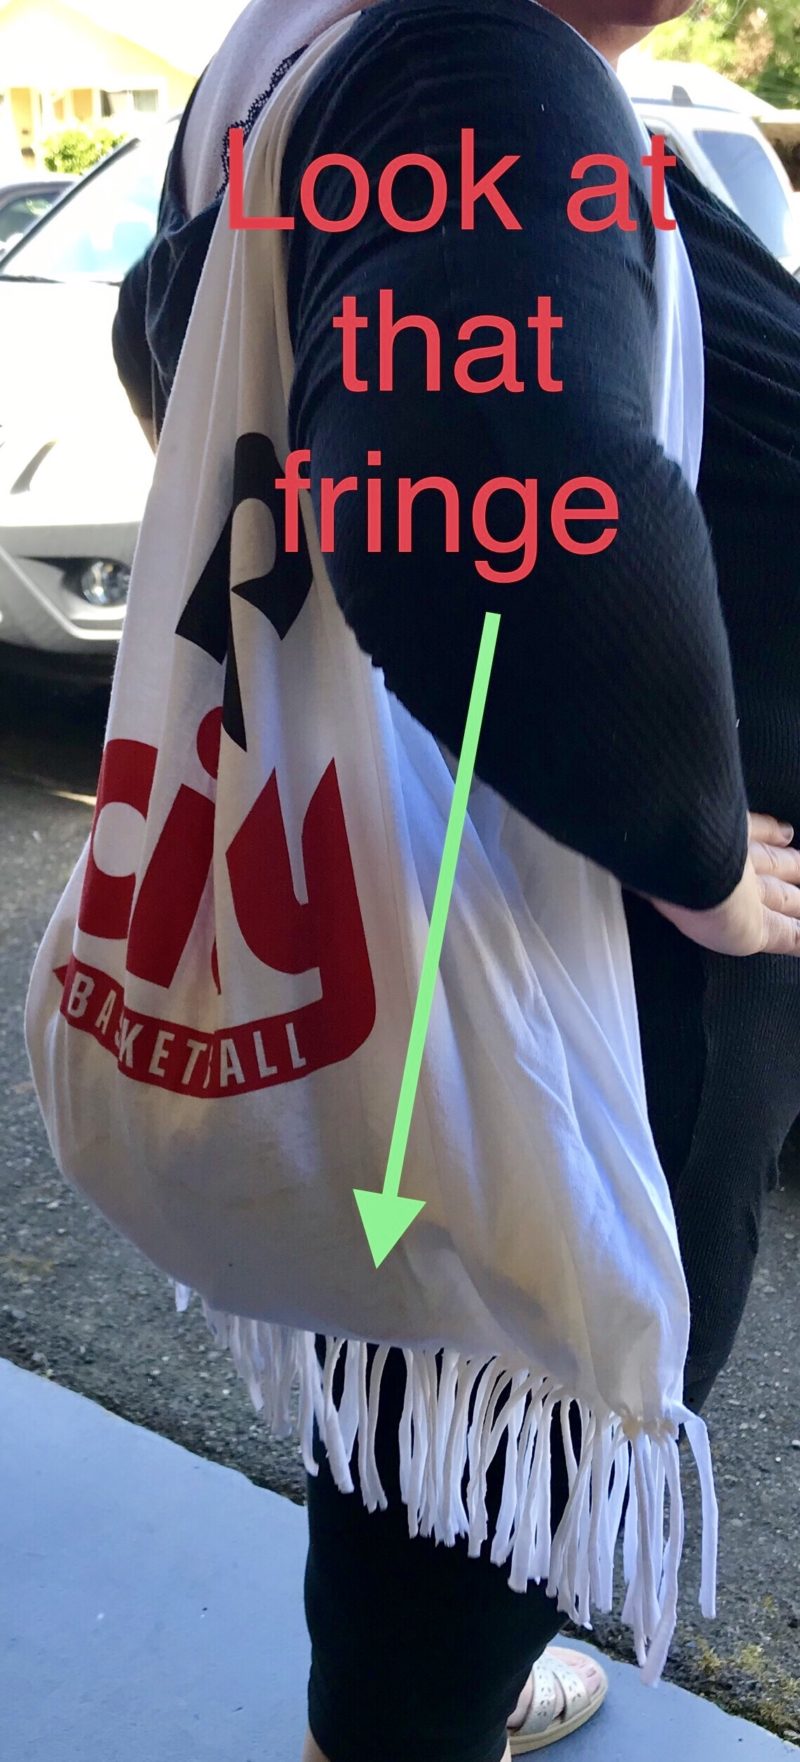
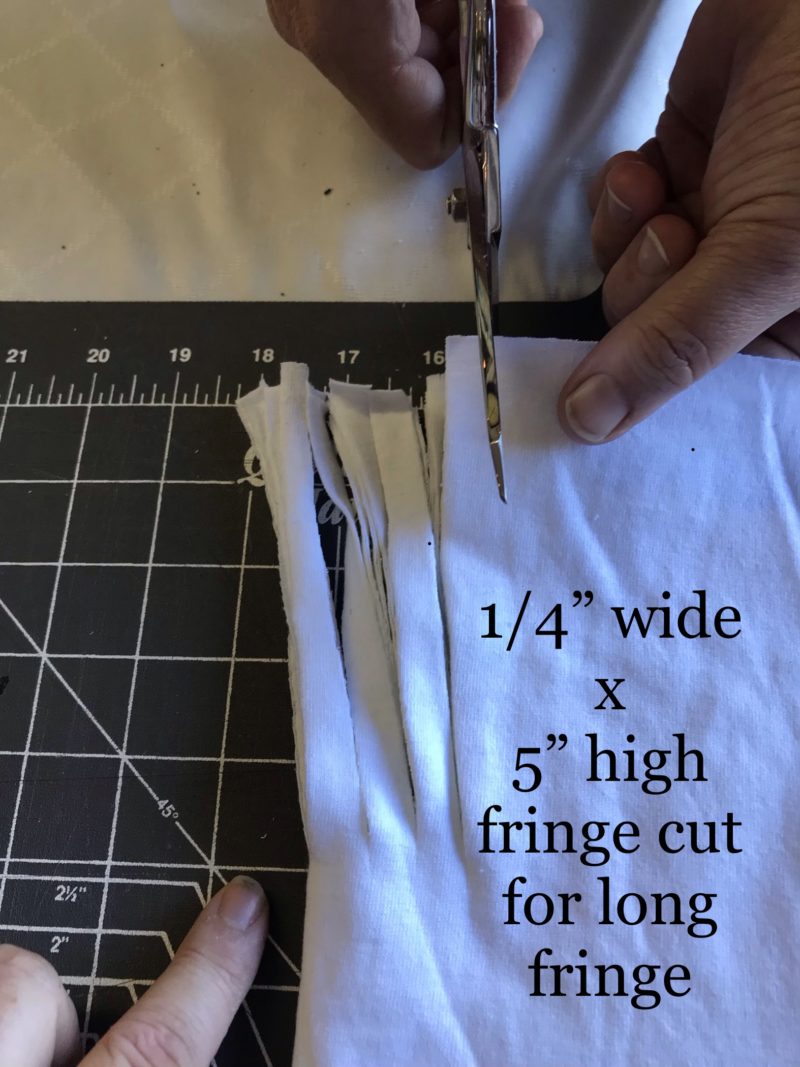
- Begin cutting slits along the bottom hem, they should be 2-5″ long and space them anywhere from 1/4-1″ apart depending on how much fringe you want.
- Unfold the shirt, trying to keep the slits from getting tangled up.
- Begin tying by taking 2 strands that are next to each other and double knotting them.
- Continue on until you are all tied.
- You are done with your bag!
The No-Sew Knotted Seam Hem
- You will follow the same steps as the fringed bag – except before you start you will turn your bag inside out. This will put the fringe on the inside of the bag, leaving cute little knots on the outside. Once you are done knotting them all just turn the bag back right side out.

The Sewed Hem
- You can simply turn the t-shirt inside out and sew a straight seam across the bottom hem. If machine stitching, use a zigzag stitch for extra support.
- If hand sewing – good luck to you! Just kidding, but that seems like too much work, I’d opt for a no-sew option rather than hand sewing!
Variation for Curved Hem
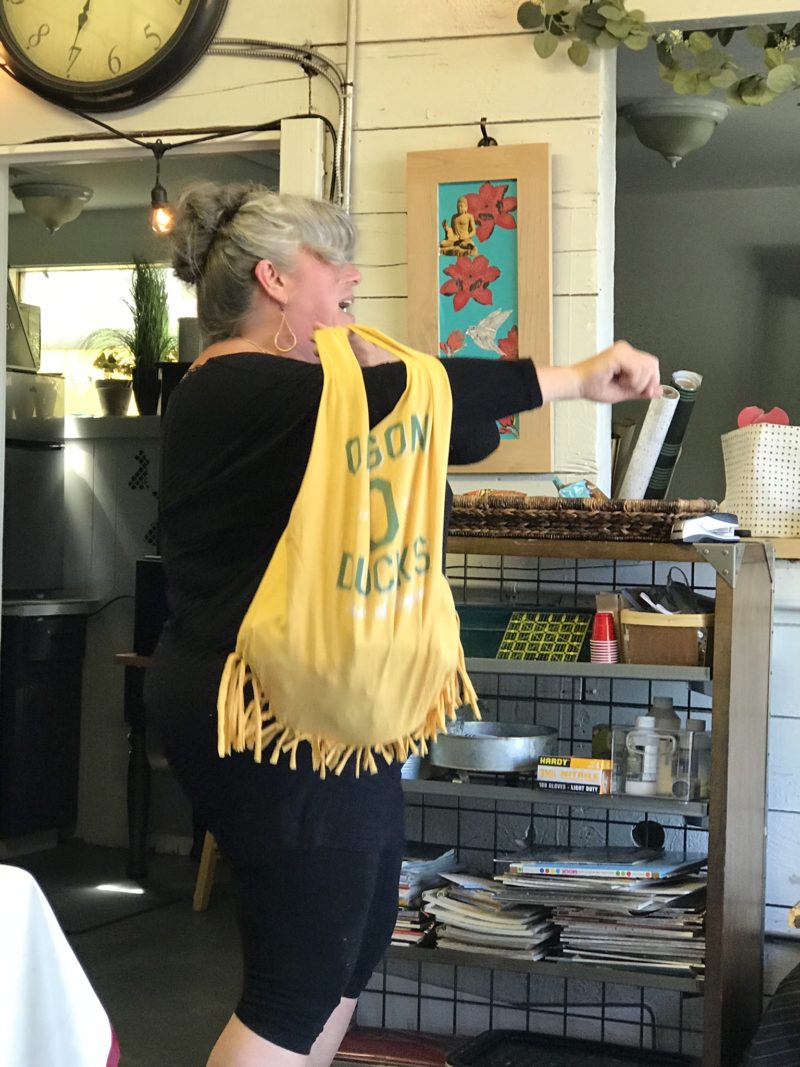
- Lay the shirt flat while and create a U curved bottom by cutting both sides slits higher, then gradually decreasing the length of the slit. This creates a nice curved bottom with some of the fringe being quite long and the other short.
Drawstring: A Cinch Sac Style Hem
- For this style, you will KEEP the bottom hem instead of cutting it off. The hem will be used to cinch so it must remain intact.
- Cut a small hole on the inside hem – you don’t want to cut all the way through, but just make big enough to loop the drawstring through.
- Choose a ribbon or string long enough to thread through the shirt. Take a safety pin and pin it through one end of the string. Push the pin with the string attached through the hole you made and squinch it through the entire hem until it comes out the other end.
- Pull the drawstring closed and tie it in a knot and a bow. Done!
That’s it folks! Isn’t that easy? Don’t you want to go upcycle a t-shirt into a market tote?
Here are some of my favorite upcycling sites:
Duct Tape and Denim
Confessions of a Serial DIYer
Martha Stewart Living (and you can read about my love hate relationship with Martha here).






 Beginner Paint Pouring Like A Pro