A Fool-Proof Stencil Method for Painting Fabric using Freezer Paper
This is a long post so feel free to jump right to what you are looking for: Free Download, Supplies, Troubleshooting, Quick Steps.
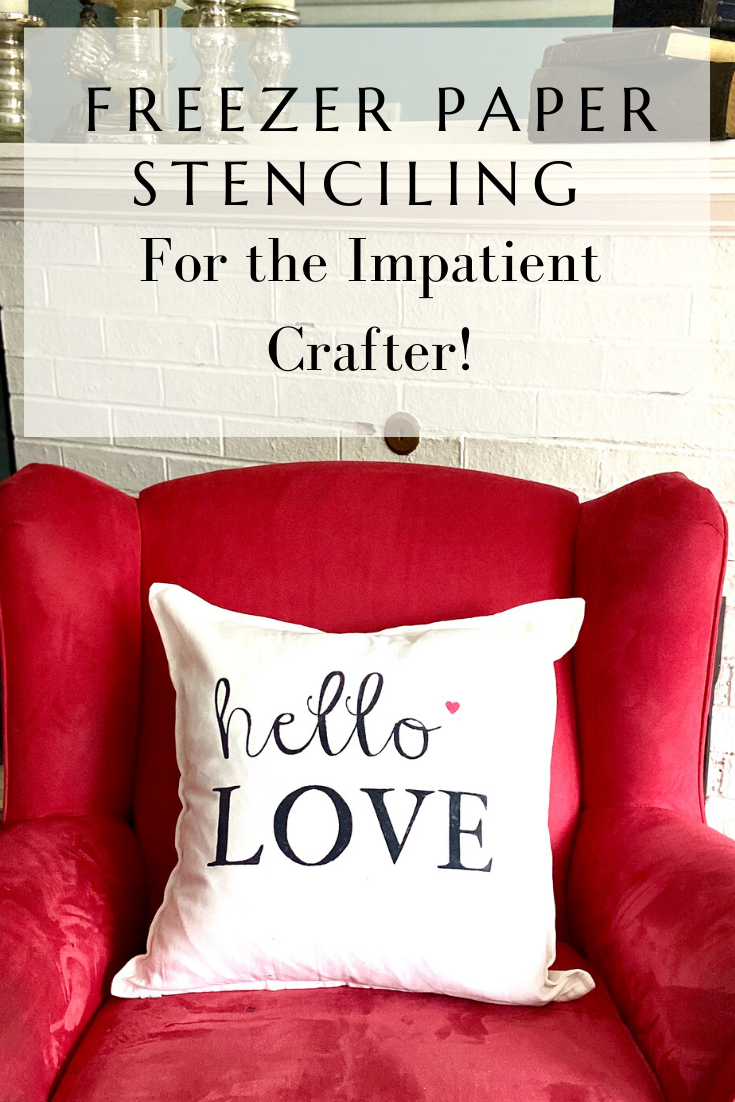
Impatient Crafter Stencil Pillow 
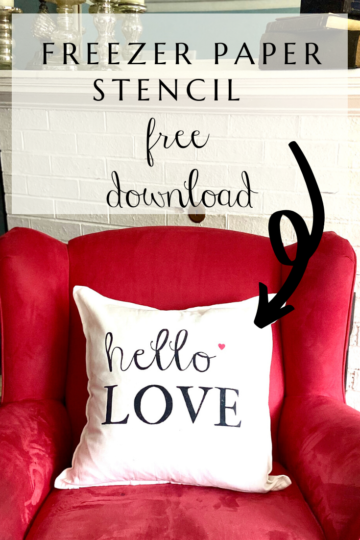
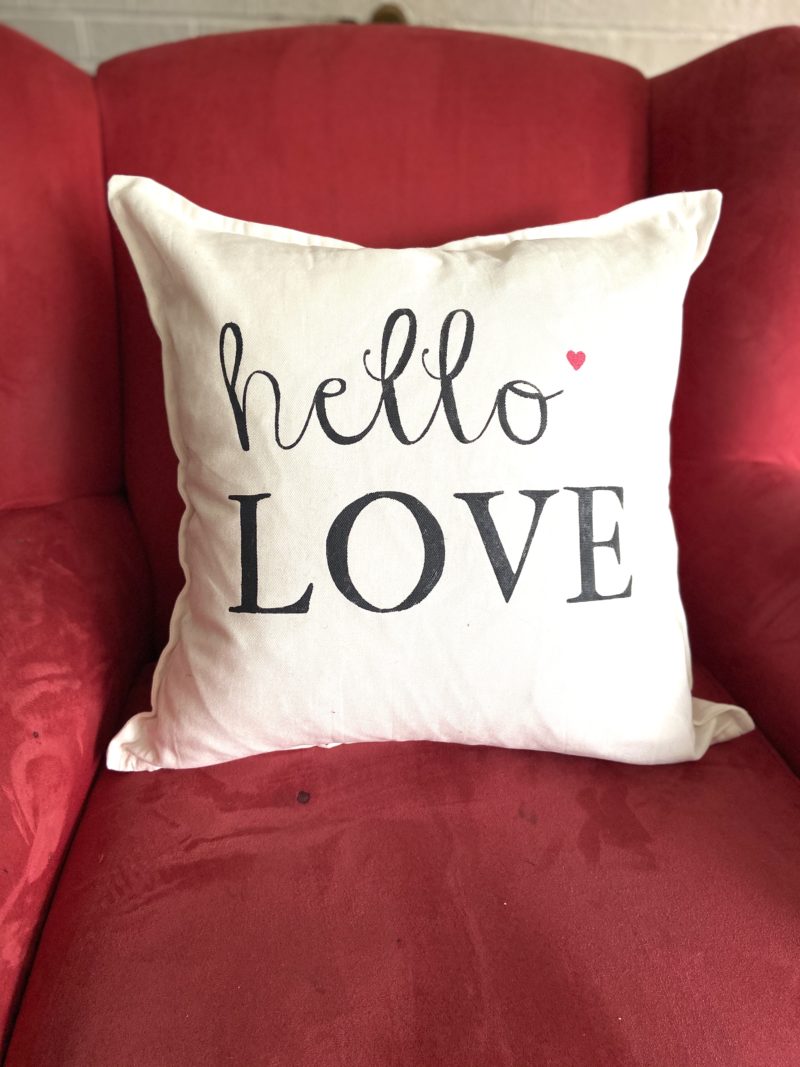
Hello Love 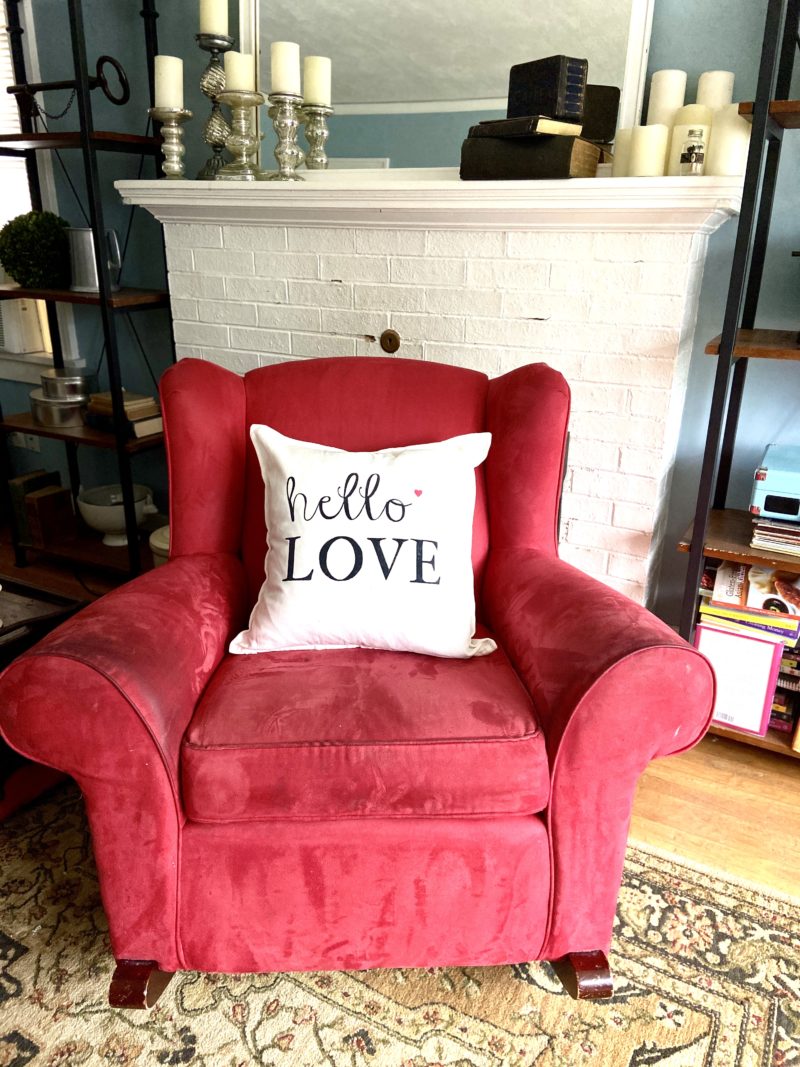
Hello Love!
I think I have now tried every stencil method out there – and with mostly sad results. I am an impatient crafter, like really impatient! I can’t stand to “pounce lightly” over and over again to stencil the traditional way, I simply can’t bear it. Then, even after all that careful pouncing (not to mention the time I’ll never get back) I pull back that stencil to see bleeding through! AAAGH, the worst.
After much experimentation, I exclusively use the freezer paper method for stenciling on fabric. I researched about a dozen different DIY’s for this method and have settled on the way I do it below.
I love freezer paper stencils for a few basic reasons:
- It is CHEAP. I buy the freezer paper at Costco – the big ol’ rolls. or on Amazon in this big roll of Reynolds.
- You iron it on and the waxy/plastic coated side sticks for a very TIGHT seal so no sneaky paint underneath.
- It pulls right off to reveal crisp lines! Perfection!
This post contains affilitate links. See my full privacy policy here.
To cut the stencil I use a Cricut which is one of my favorite crafting tools. If you don’t have one you can use an exacto knife and DIY it but if you can swing it get yourself a Cricut because they are worth every penny in my opinion. I don’t have the patience for exacto-knifing my way! You can read about my love of Cricut for crafting here.

Freezer Paper Method for Fabric Stencils in 5 Easy Steps
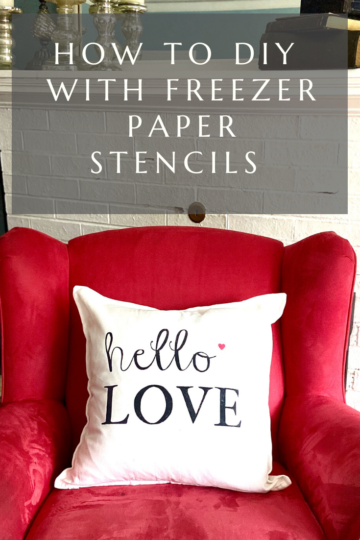
I’ll show you my freezer paper method on pillows since that is the bulk of the fabric-stenciling I do (I sell these babies at Flea/Junk Markets!).
I make a lot of my own pillow covers. But I also use the Gurli IKEA pillow covers all the time because they are cheap and stencil great. I bulk buy them when they are on clearance/sale, I’ve bought them as low as $1.99/each at times, but there regular price at $3.99 is pretty great!
Step one: Create Your Design
Hit Pinterest for some inspiration. There are loads of ways to get free images and ideas out there. Choose fat fonts, and try to avoid anything to thin and curvy (especially if you are hand cutting it out – think about how many cut-outs you’ll have the O’s, e’s, a’s, D’s…the more of those the more tedious the cut-out process is.
I use Canva almost exclusively for designing just because it is easy and pretty flexible (yep there’s a tutorial for that!). I also design in Cricut Design Space but I find it clunky at times and you can’t export your designs easily for other purposes. You can also use a simple Word Document to create your design. This is especially true if you just want words! Find a font you like and just type and re-size it!
I have a growing list of downloadable images and sayings that you can use completely free. I also have designs on my Etsy shop. Today I am going to use one of my oldy but goodies: “Hello Love”, simple but sweet.
I created this image in Canva using a few fonts and an image of a heart. Watch my Canva tutorial to see how I did it. Then I saved it as a PNG file and uploaded it to my Cricut Design Space. The PNG file makes a transparent background so it is very quick to upload and start cutting.

Step two: Cut your design out on Freezer Paper
Like I said before, use a Cricut! See how it’s done here. Look at how fast it is, I mean come on, if you can swing it get one I have never regretted it.
If You Have To: Create a Stencil By Hand
But if you have to cut it out by hand you can (with patience and a simple design and a sharp exacto or craft knife). You can either trace it onto the freezer paper or print your design out so you’ll know what to cut! You can print it right on the freezer paper: trim your freezer paper to 8.5×11 piece of plain paper and tape it securely; tape it with the shiny side DOWN, so print on the non-shiny side; print. Then get trimming cut around all the letters removing the printed parts- leave it taped on the plain paper, it will be easier to cut through (you don’t need to cut out the plain paper, just through the freezer paper). And remember, you can only use this stencil once so make it easy on yourself! If you want to use a stencil more than once this isn’t your tutorial – you need to use stencil film for that.
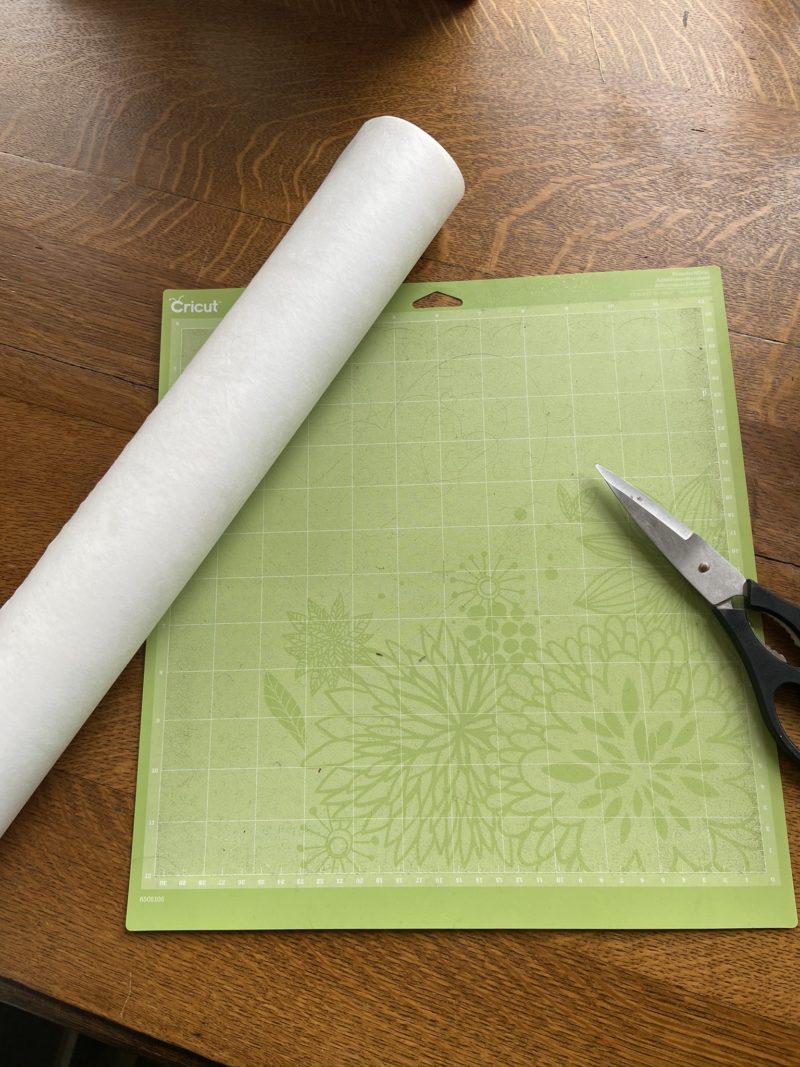
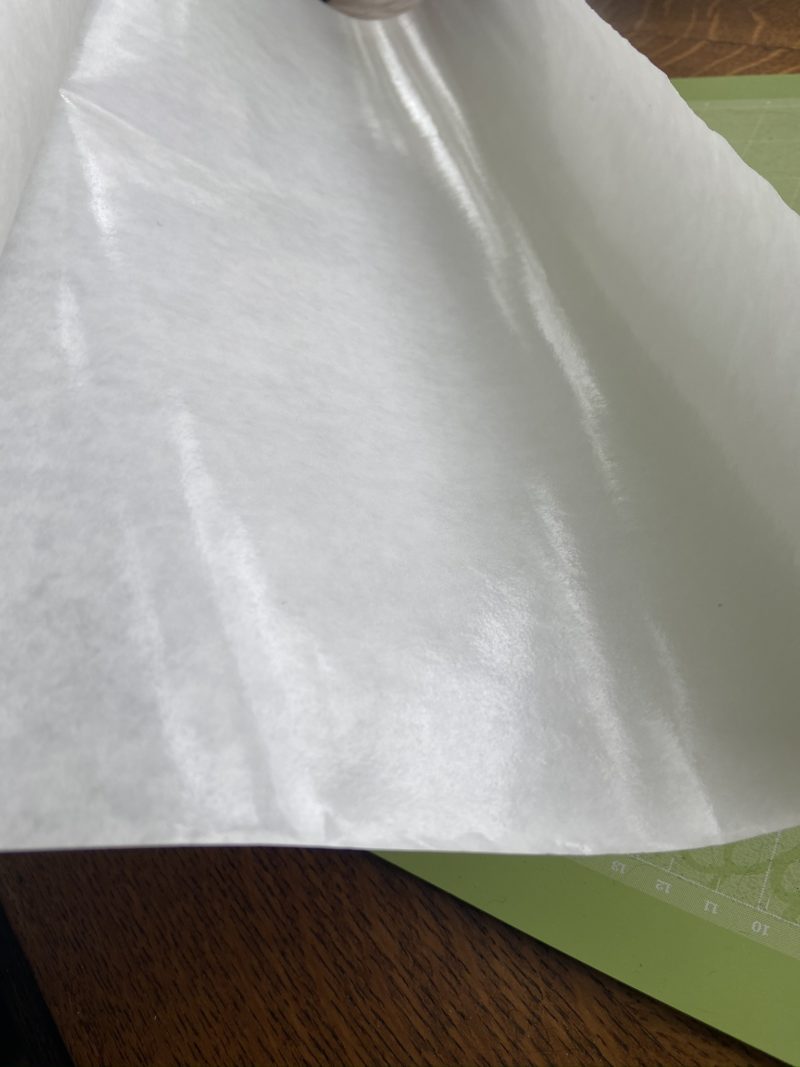
Shiny side of freezer paper 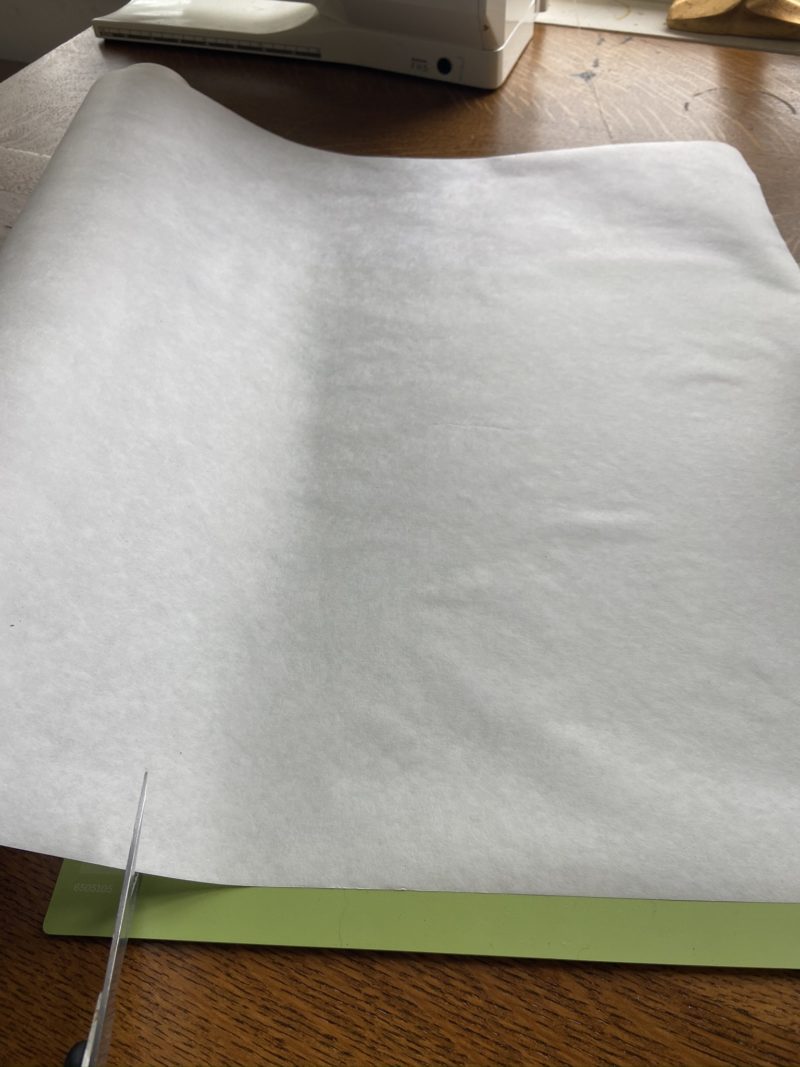
Matte side of freezer paper 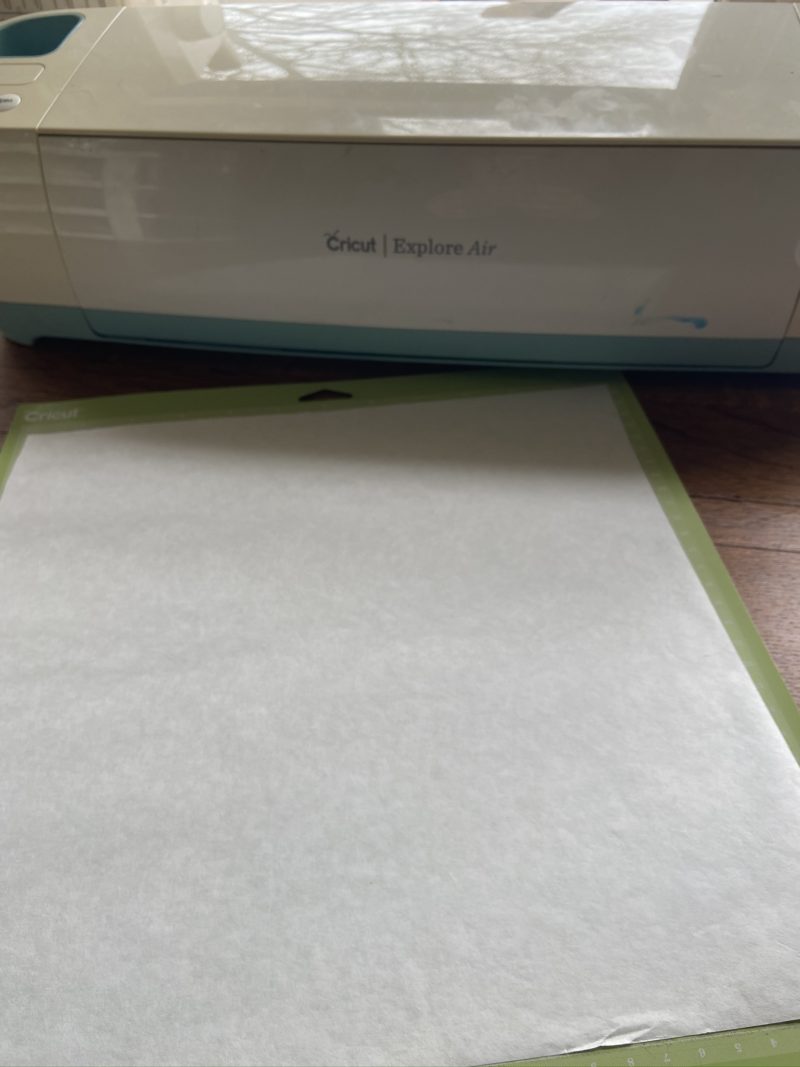
Matte side FACE UP on mat 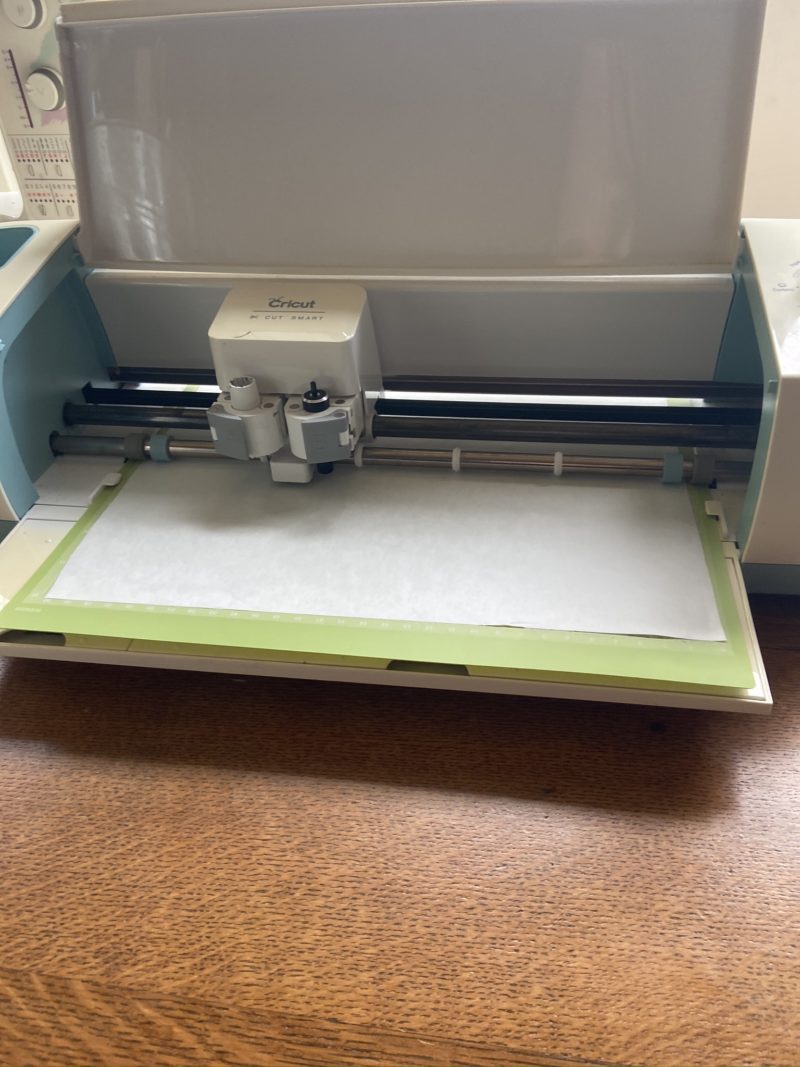
cutting the image 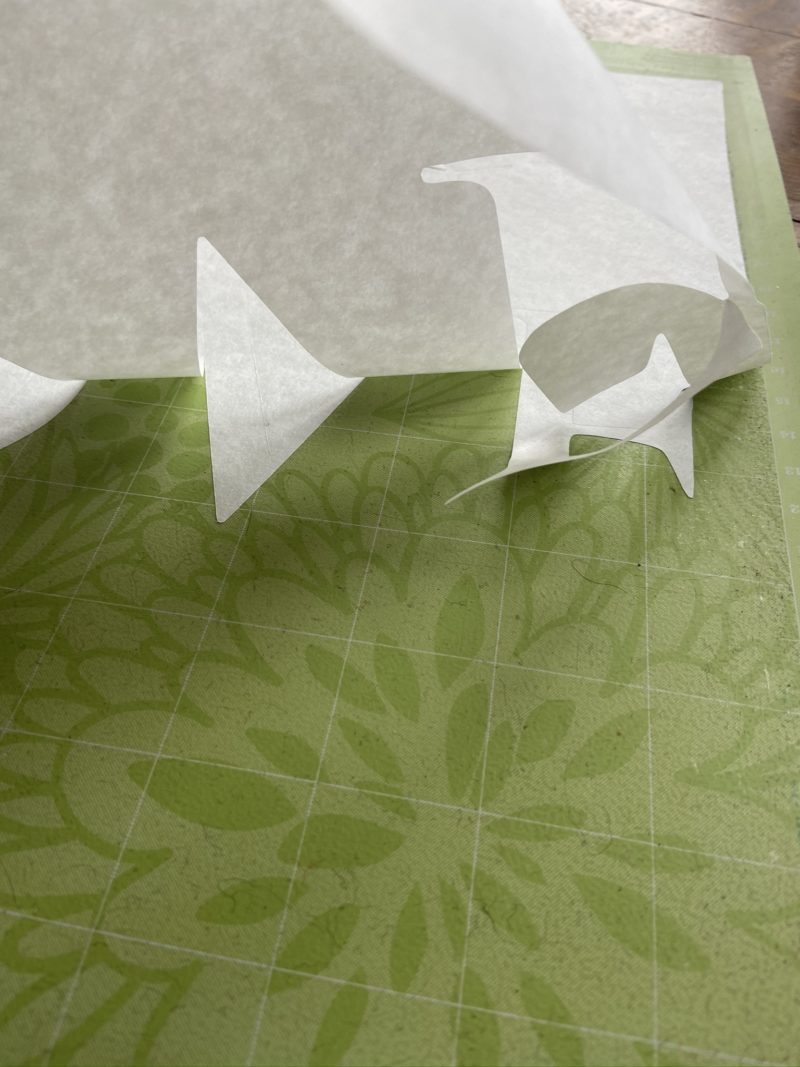
Peels right off the mat 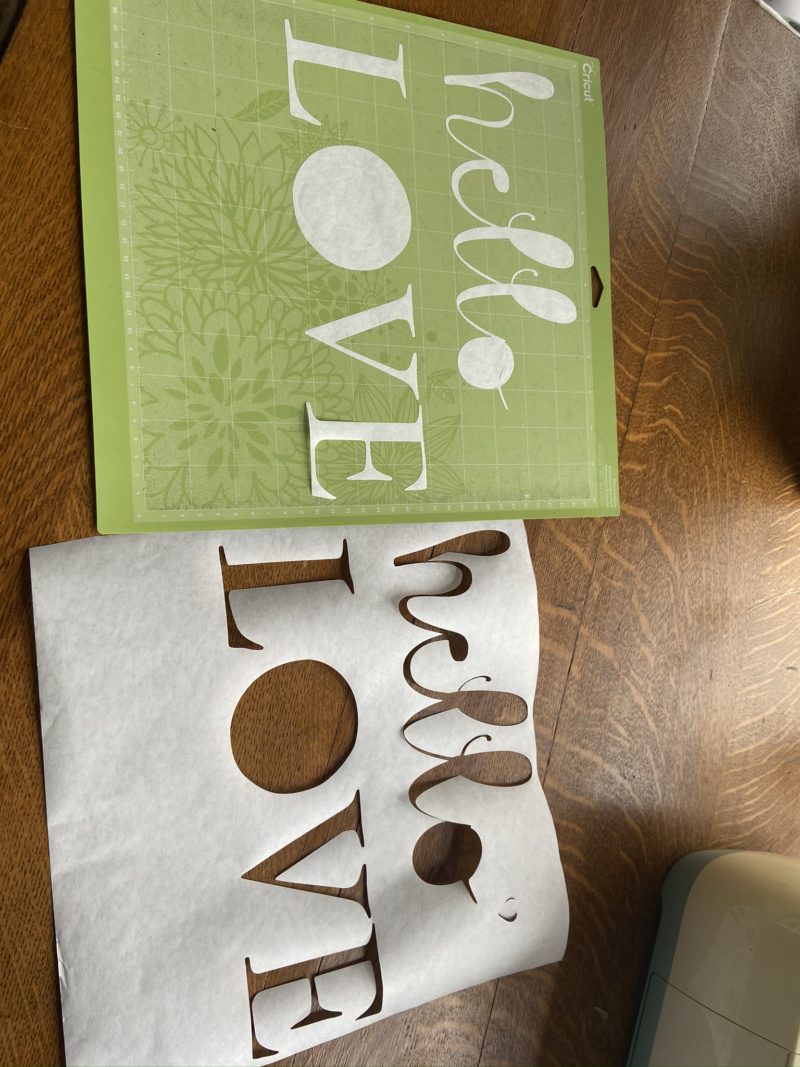
Look how easy!
Step three: Iron the cut-out freezer paper on to your fabric
- Roll the lint off your fabric.
- Heat up your iron and run it over the fabric first.
- To find the center on your pillowcase fold it in half each way and crease it with your fingers or iron -it will leave an indent that will quickly iron out later.
- Lay the cut-out freezer paper stencil shiny side down on the fabric just how you want it – then begin ironing -this stabilizes and seals everything.
- I usually tack the edges down first and then go in to iron finer bits. I use my Cricut Easy Press Mini iron to do this. Once it is all tacked down, hit it with your iron or heat press for 20-30 seconds. Be careful not to use too much heat and burn your fabric, keep the iron moving.
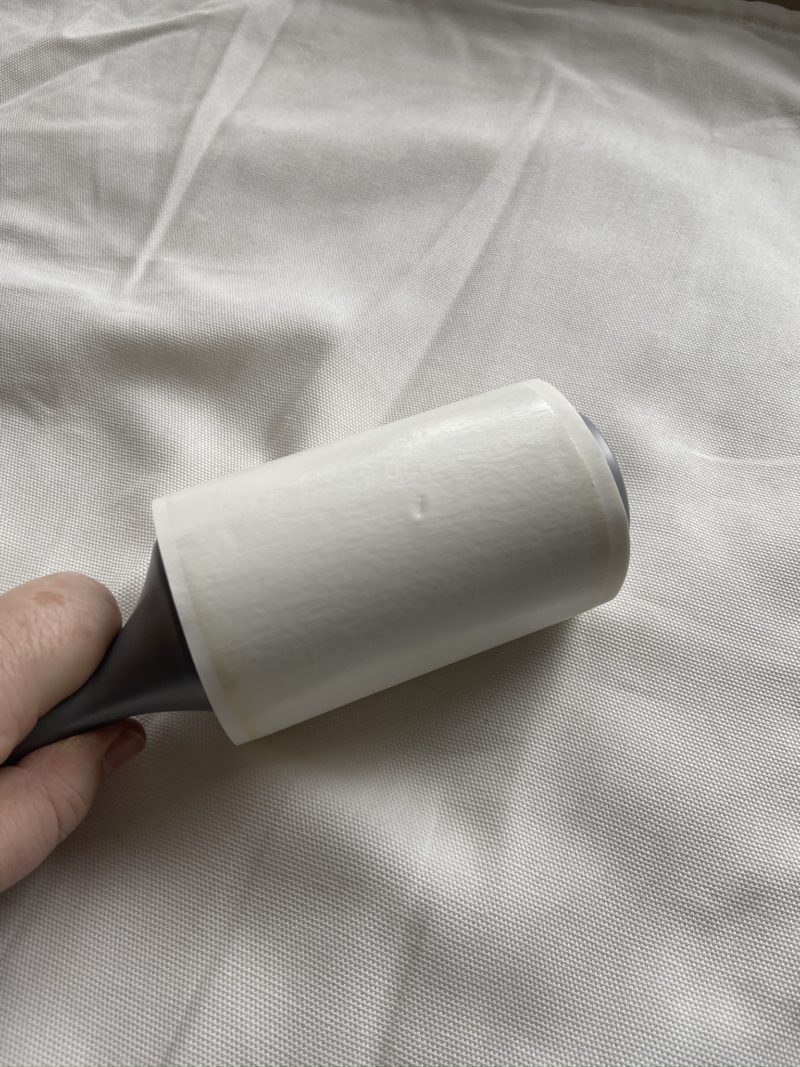
Roll the lint and junk off the fabric 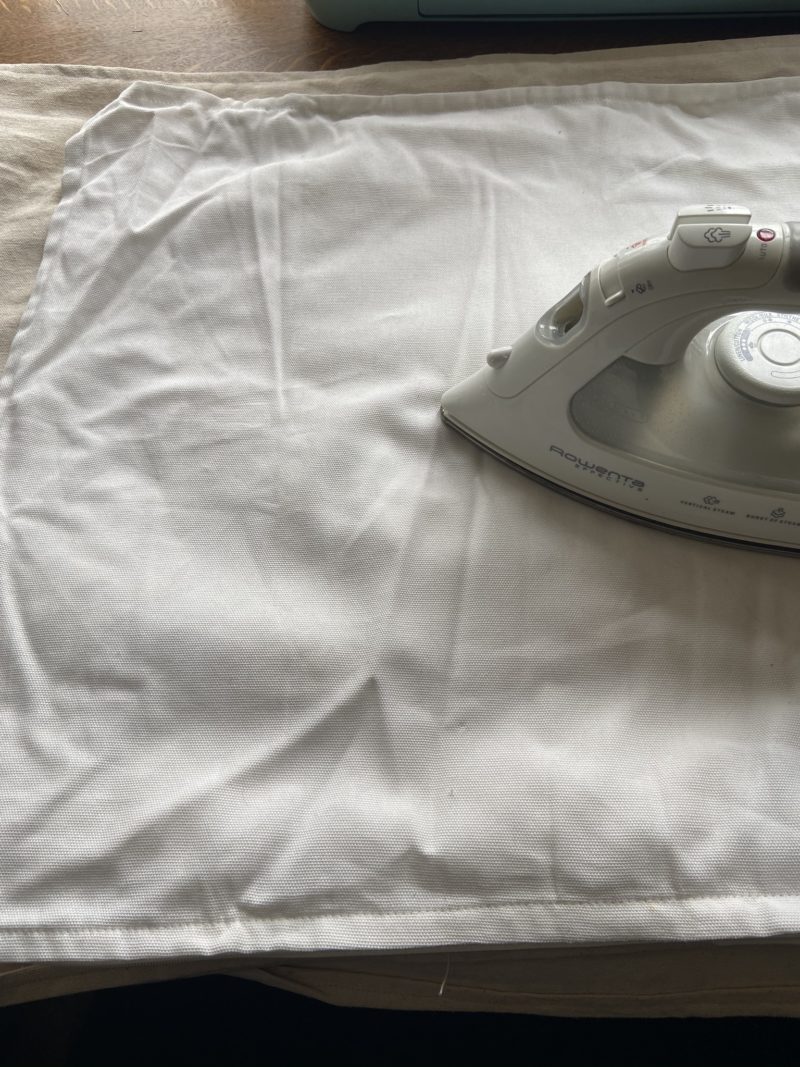
Iron your fabric 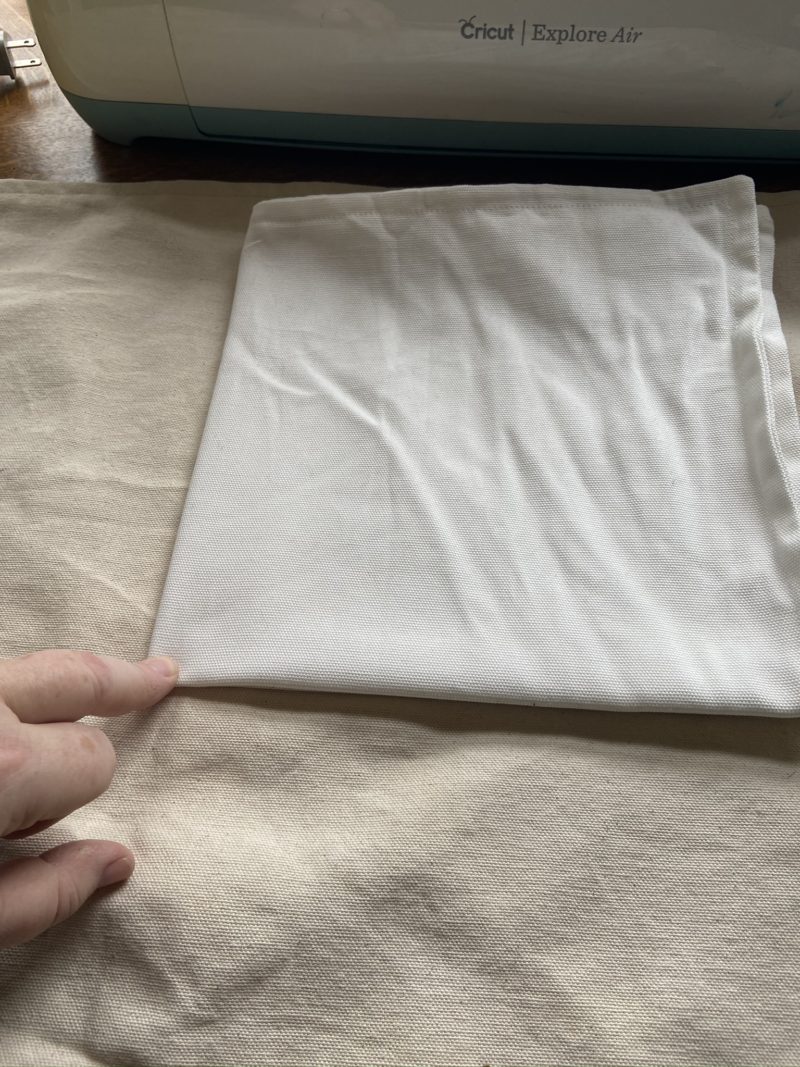
Fold pillow case in half/quarters to crease it for easier centering 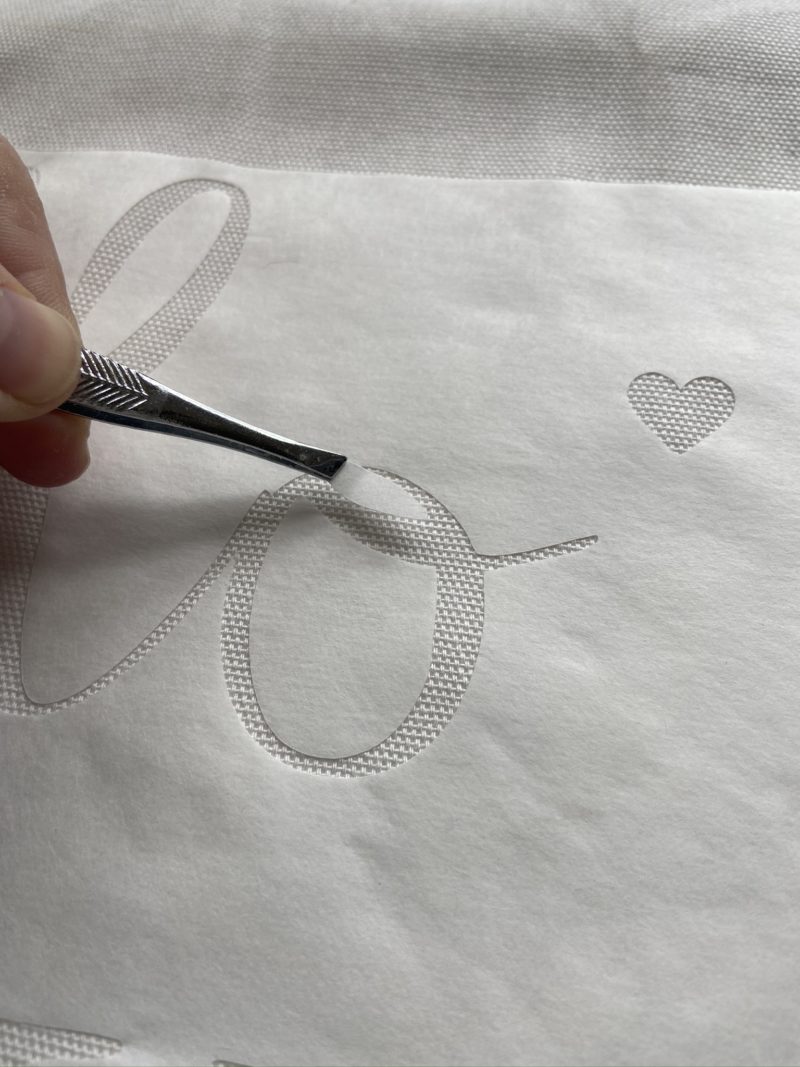
Lay the freezer paper shiny side down, don’t forget to fill in the little o’s and e’s 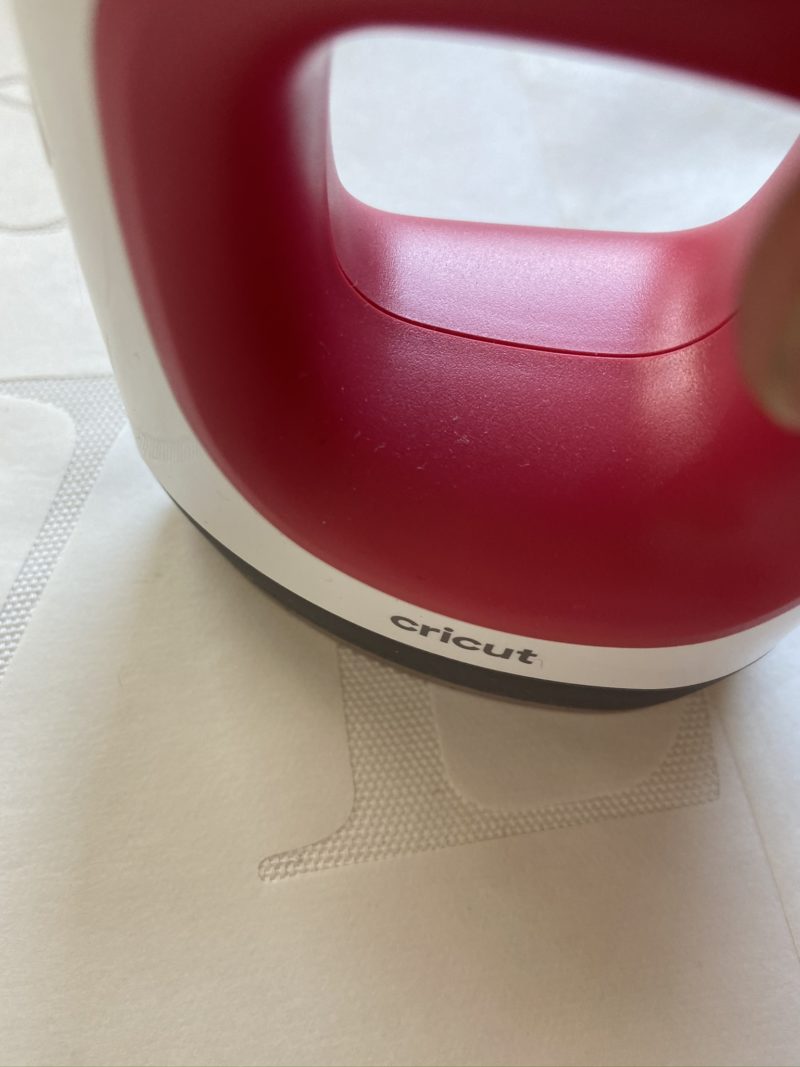
My Cricut Easy Mini Press – love this thing
Step four: Paint Your Design on the Fabric
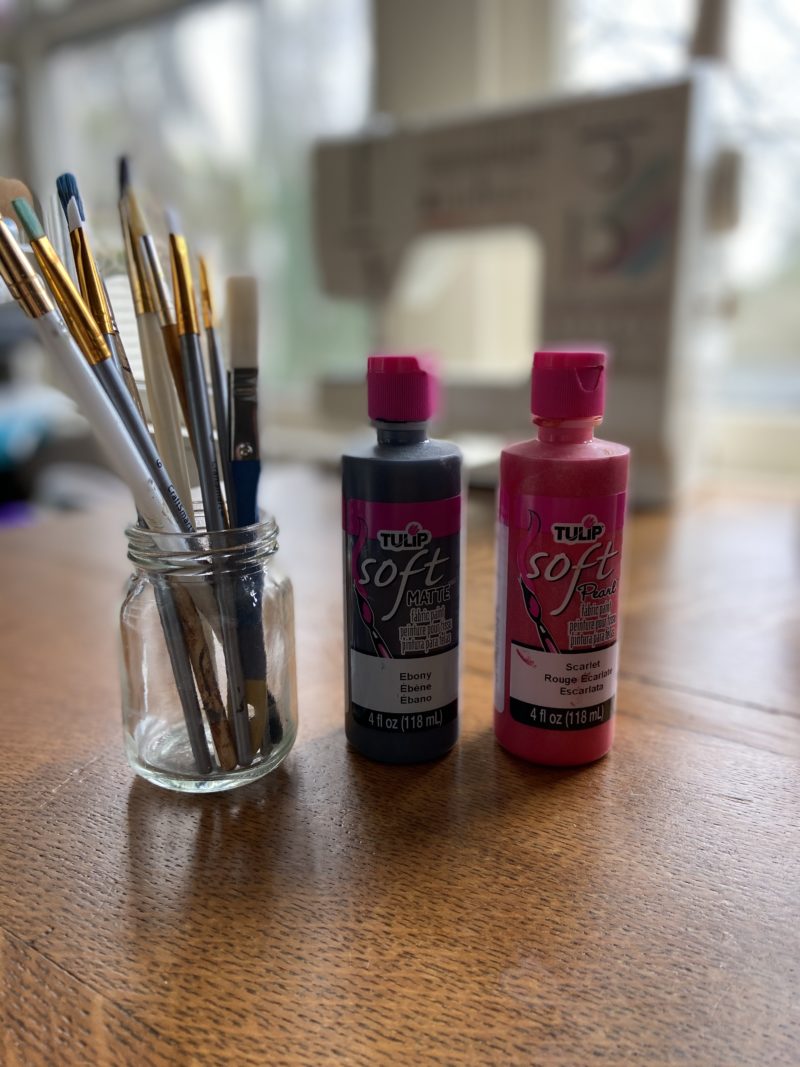
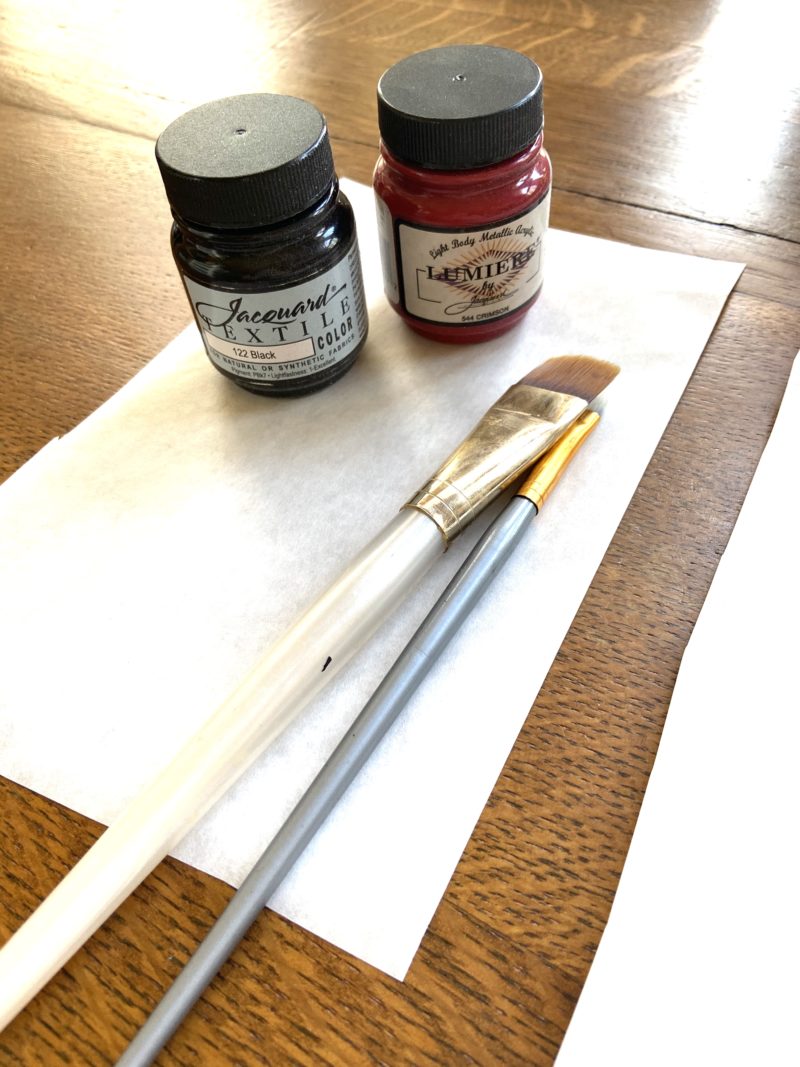
I use basic fabric paints on my projects – Tulip and Jacquard are two brands I use. They have lots of colors and styles. I use Soft type Tulip paint and I love Jacquard for their metallic colors. I use flat brushes or pieces of sponge, but if I am going to pounce (rarely but it happens) I prefer the Martha pouncers. For sponge techniques I use pieces of my kid’s old bath sponge – yah I like to re-use stuff ok!? Well, he is 15 now, and I still have a few pieces of that left so it goes a LONG way. I’m just saying, try it before you deny it!
Wait! Before you start painting…
- Arrange the pillowcase with the zipper/opening at the BOTTOM (I have oopsied this a few times).
- Then slide a piece of cardboard or plastic or something in between the layers so that the paint doesn’t bleed through – it can ruin your project so don’t forget this step!
- Always follow the directions for using the right type of paint for your fabric. I use Tulip on almost anything but some of the Jacquard’s are for specific types of paints. There are also differences for using on light vs. dark fabrics. One last paint tip, the Jacquard type paint is thinner, the Tulip brand might be better for a beginner until they get the hang of it, since it is thicker it is a bit easier to avoid bleeding.
Paint techniques will vary your outcome. In all cases make sure your freezer paper is tacked down (hit it with the iron if it pulls up anywhere). Always paint from the outside inward, start at the edge and paint toward the center, avoid running your paintbrush/sponge against the paper which will pull it up. Don’t paint from side to side. Don’t press too hard. Don’t use too much paint.

Flat brushing 
From the outside in 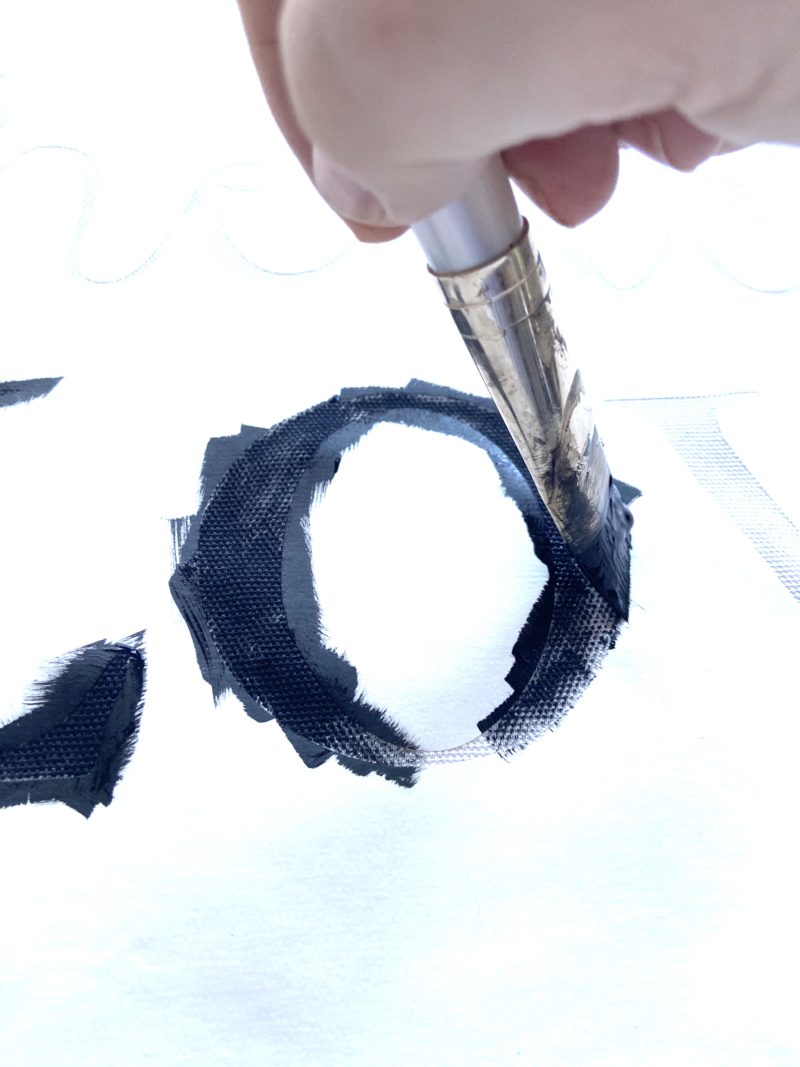
Avoid those edges 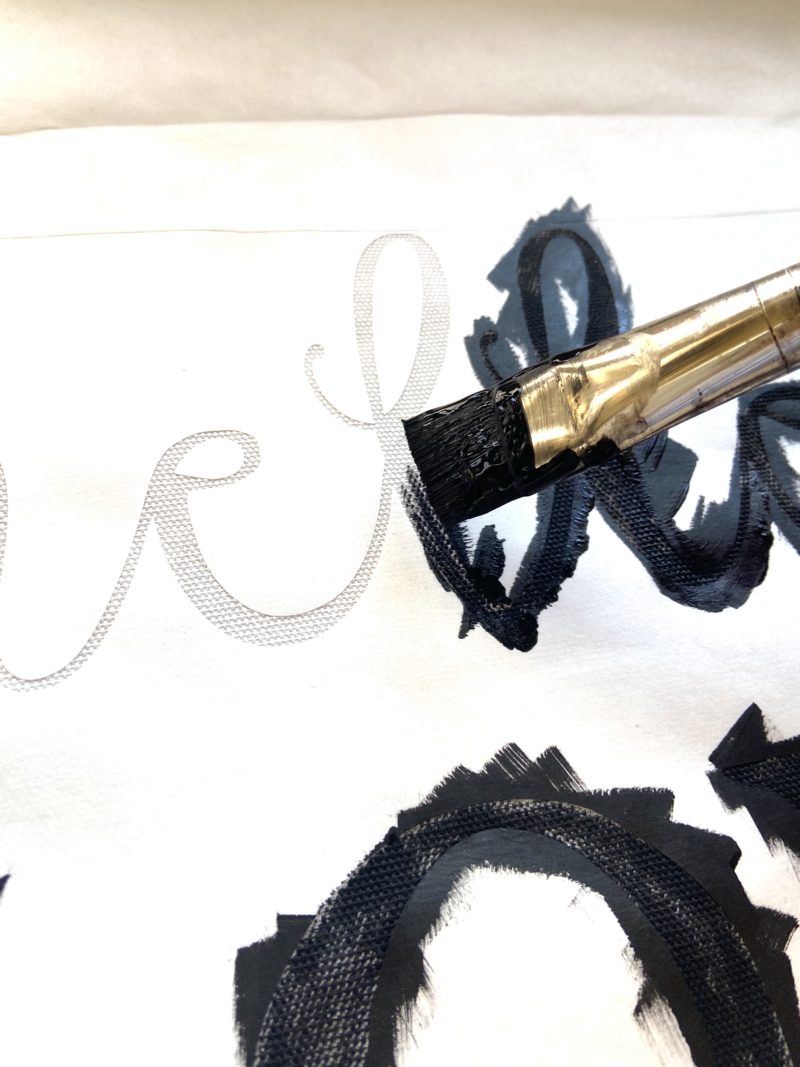
Pounce dab the little spaces
- If you are a perfectionist, selling or gifting them: go slow, dab the extra paint off, pounce lightly with an up and down motion, build your color up in several light layers, and be patient.
- If you are using it for home decor and are in a hurry: just go for it, paint it on! You’ll likely have some a little bit of bleed or distorted edges in places. This is the technique I used for both sides of this pillow.
Step five: Let it Dry & Big Reveal
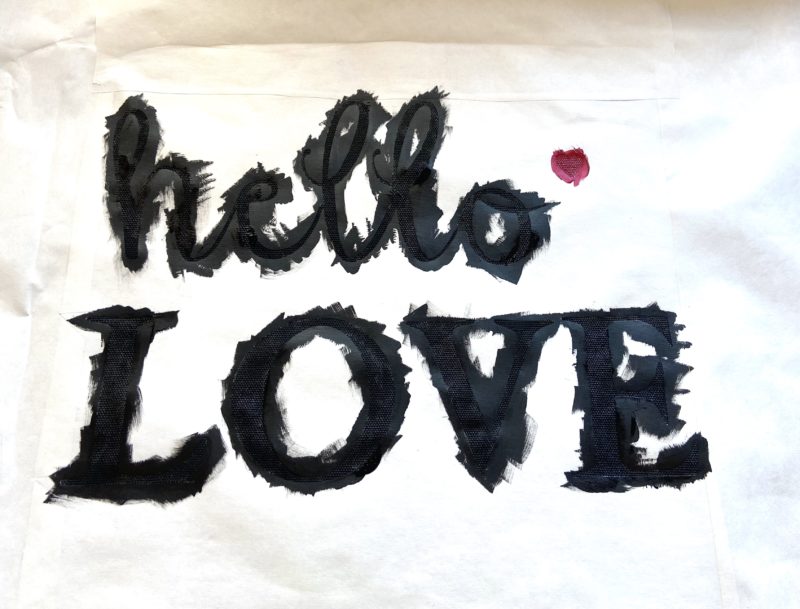
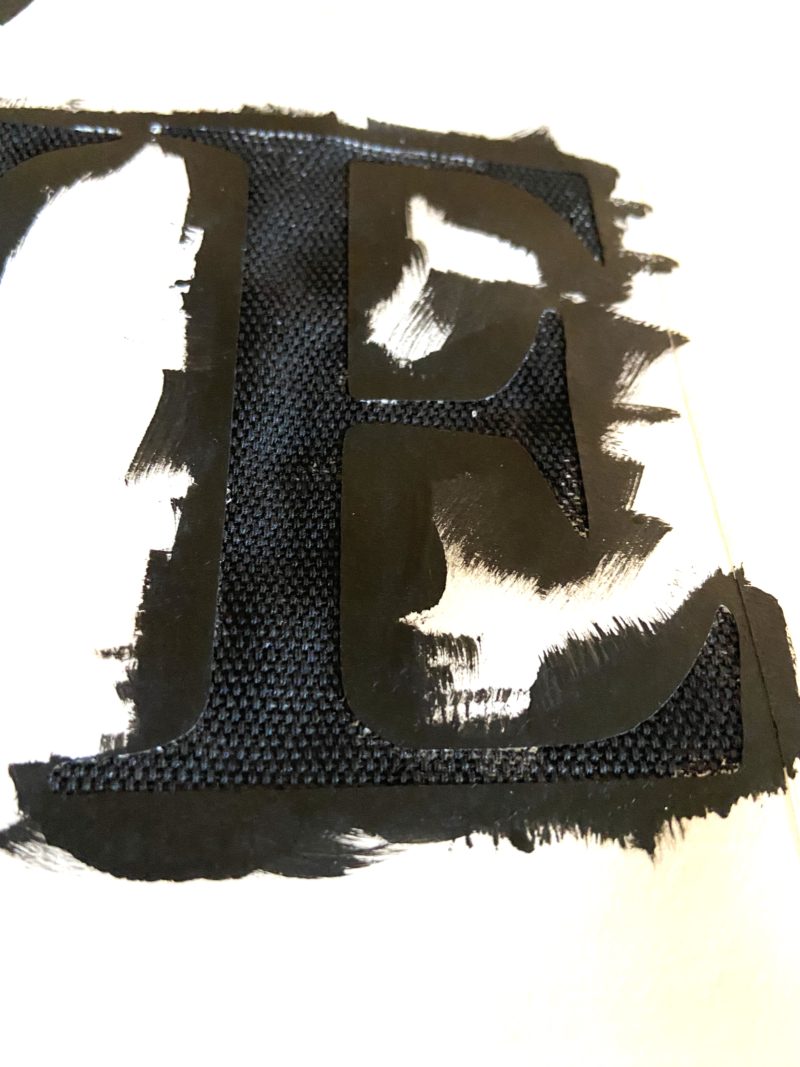
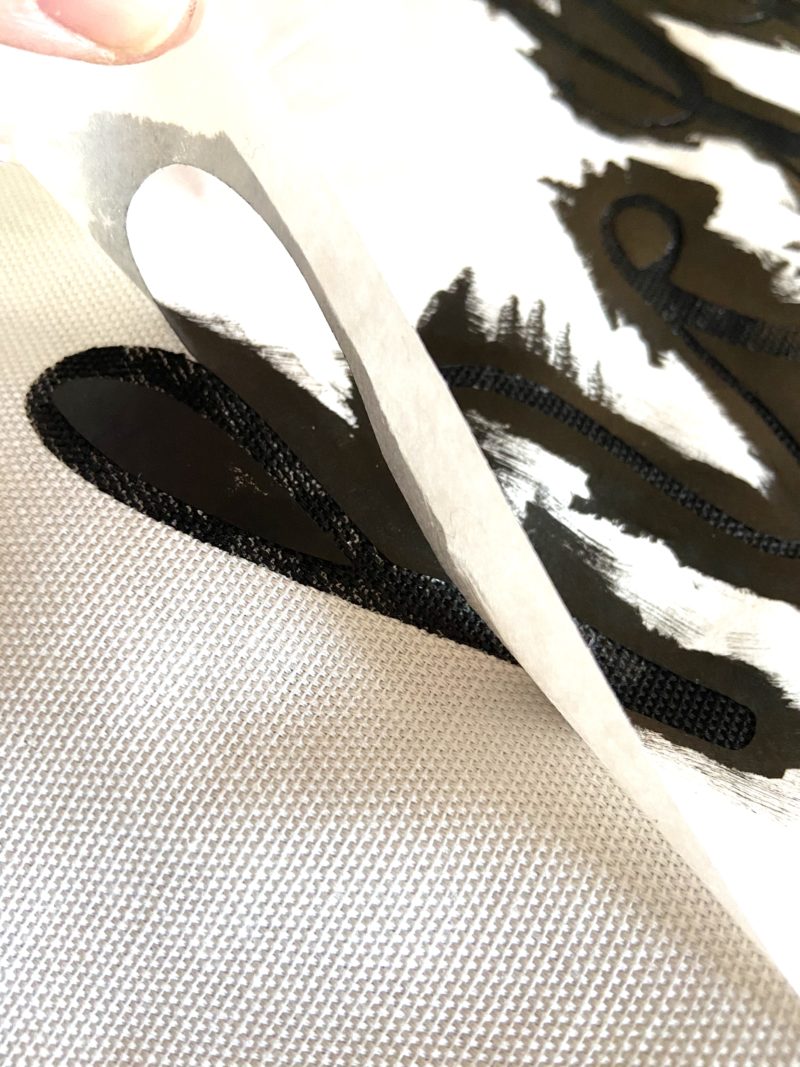
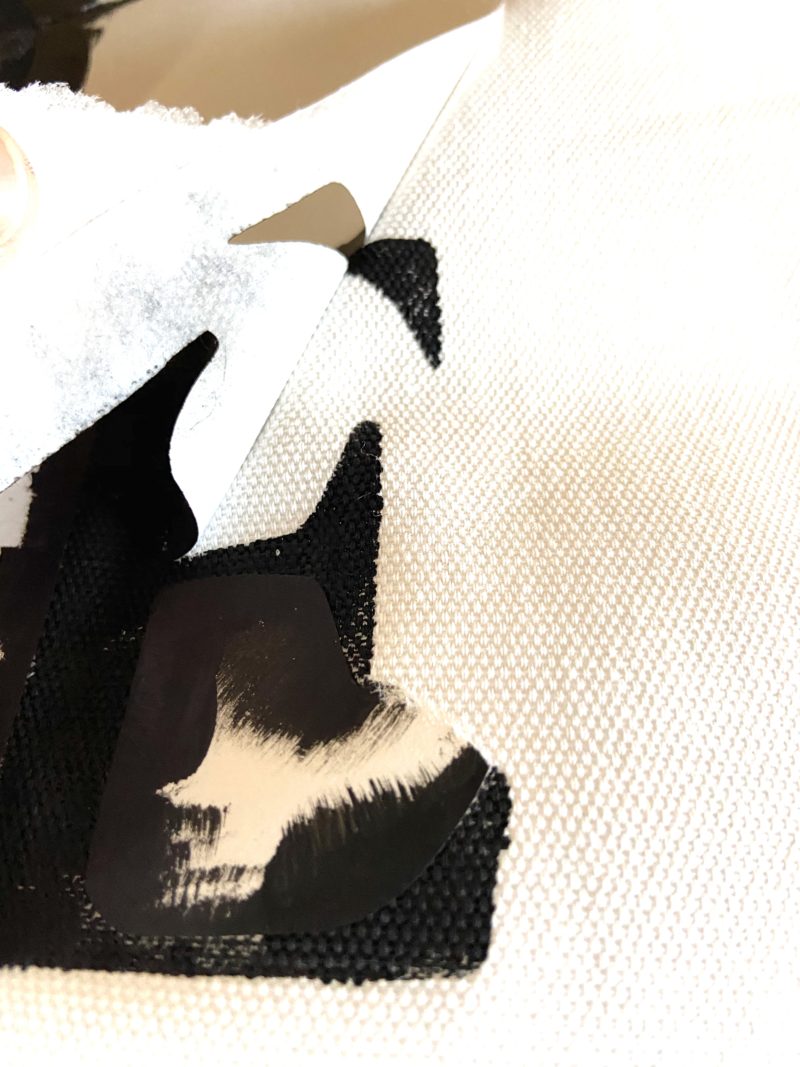
Let the paint dry completely. It dries fairly quickly (and I’ve been known to help it along when I’m in a hurry). It will look a hot mess. See below, you’ll be scared you ruined it…don’t despair!
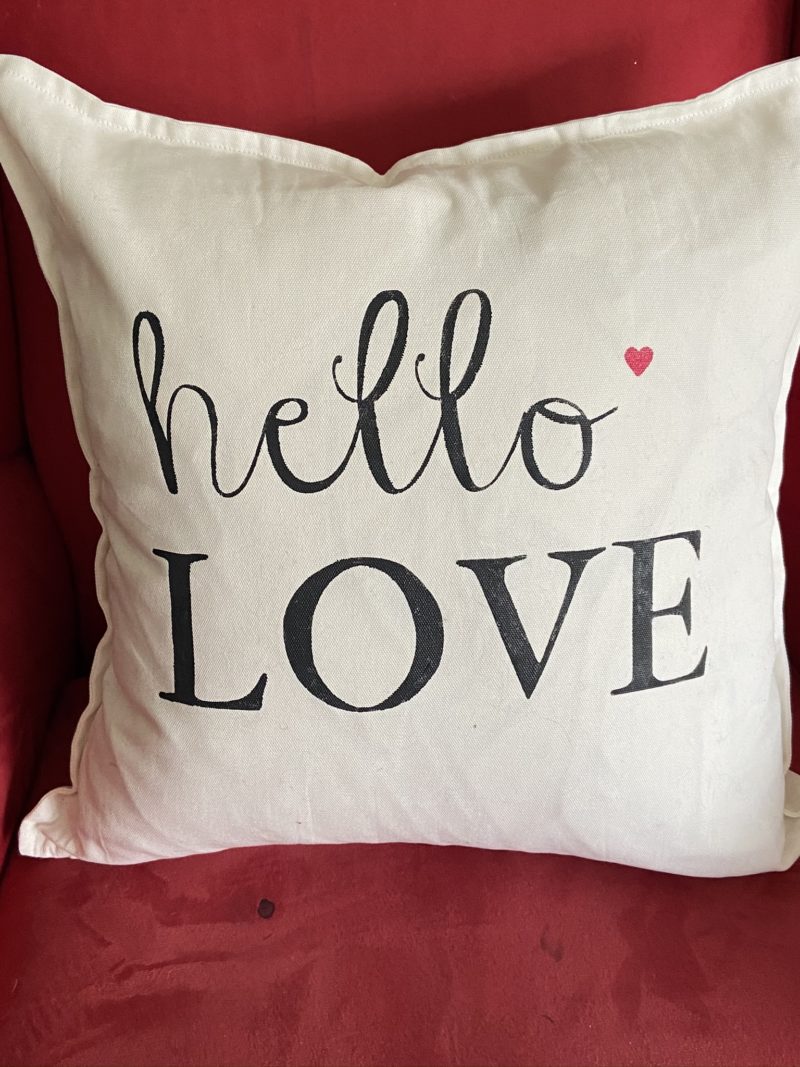
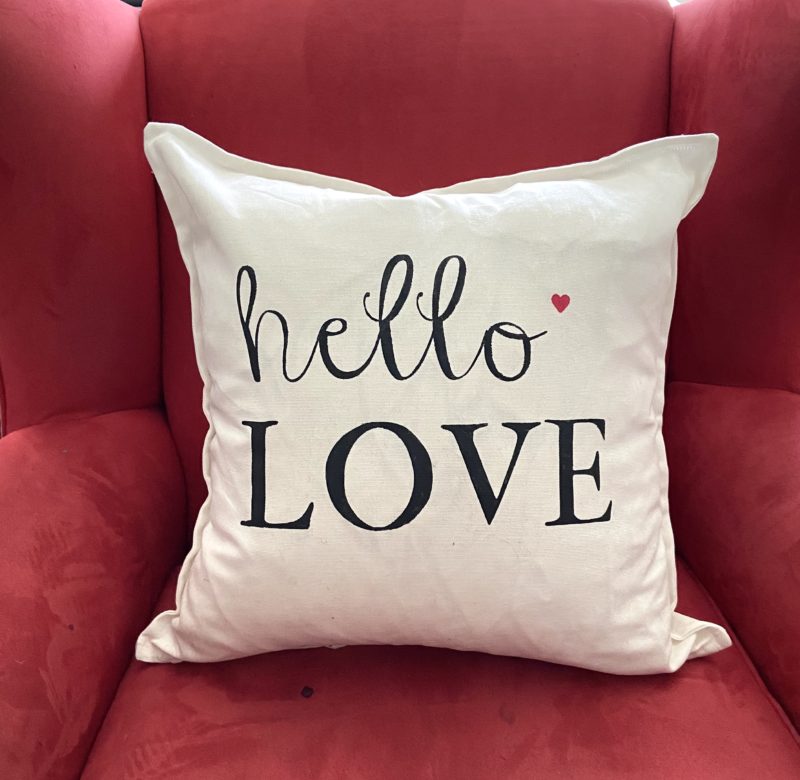
But once you peel off the paper you will reveal the crisp, beauty you see here!
TIP: Heat set the paint before washing! Follow the directions on your paint & fabric – usually about 30 seconds or so. Some brands don’t require this but Jacquard usually does.
There she is all finished. I have learned to fight my perfectionist tendencies and roll with “good enough” for my home projects. It took me about 30 minutes total, from creating and loading the design, cutting it out and painting it. It’s not my first rodeo, but after you do a few you’ll be that quick too!
Troubleshooting:
If you have bleeding: Your freezer paper isn’t tacked down right.
- Are you ironing the SHINY SIDE DOWN? That is the coated side and the side that will stick when heated with the iron.
- Is you paper old? Sometimes old paper will lose the ability to iron on, so buy some fresh paper.
- Getting the iron temperature right can be tricky – hot but not too hot as to burn the fabric.
- Too much paint – if you overdo the amount of paint on the brush or sponge it will bleed. Dab off extra! It’s called “offloading”.
- Aggressiveness against the edges – if you brush against the edges of the ironed down lettering you will get your bristles and drips underneath it. To avoid this brush from the outside in. In skinny spots use the dabbing/pouncing technique.
- If you tend toward aggressive/sloppy painting and you want crisp lines you should use the classic pouncing technique for stenciling. Here are some great tutorials for that classic stencil style that I don’t have the patience for!: How to Stencil on Fabric and Martha Stewart Stencil Technique
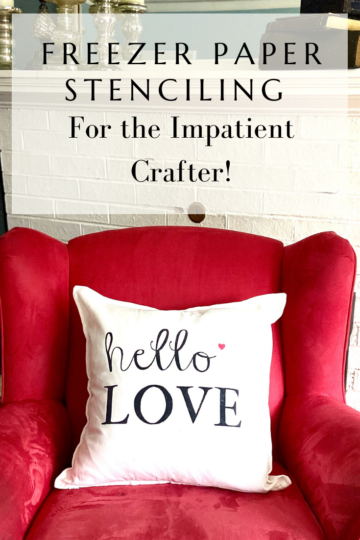
Freezer Paper Stencil Tutorial 5 Quick Steps
Project skill level: Intermediate
Time: 30-60 minutes
Supplies used: Computer, Canva Program, Cricut, Freezer Paper, Cricut Easy Press mini, Tulip and Jacquard Fabric Paint, Brushes
- Create Your Design
- Trace or Cut Design out of Freezer Paper
- Iron Freezer Paper on Fabric
- Paint Fabric
- Let dry, remove the stencil and you are done!
Shop this post
This post and website contain affiliate links for Amazon, Cricut, and a few other sites. These are all things I really do use and like. If you purchase I earn a small commission, you get something cool and we both win! But you can just as easily whip out your coupons and head to your local craft store to pick them up! See my full privacy policy here.





 The Ultimate Stocking Stuffer Guide
